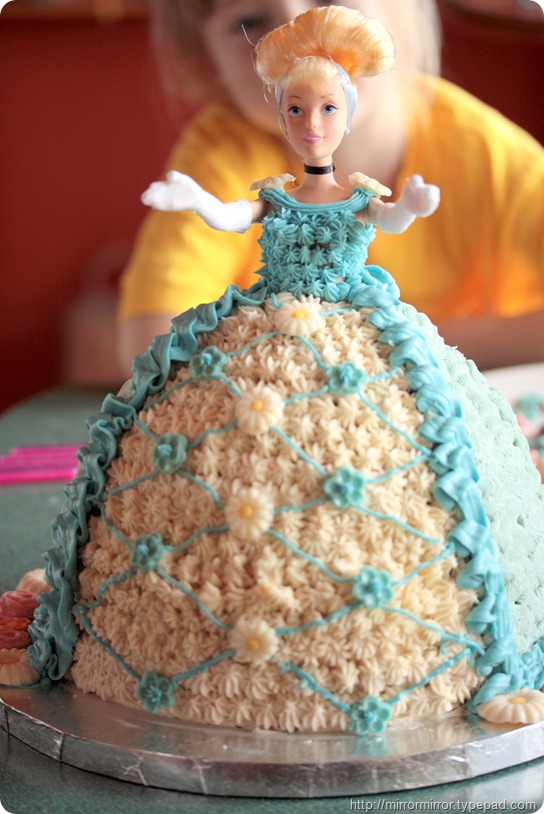
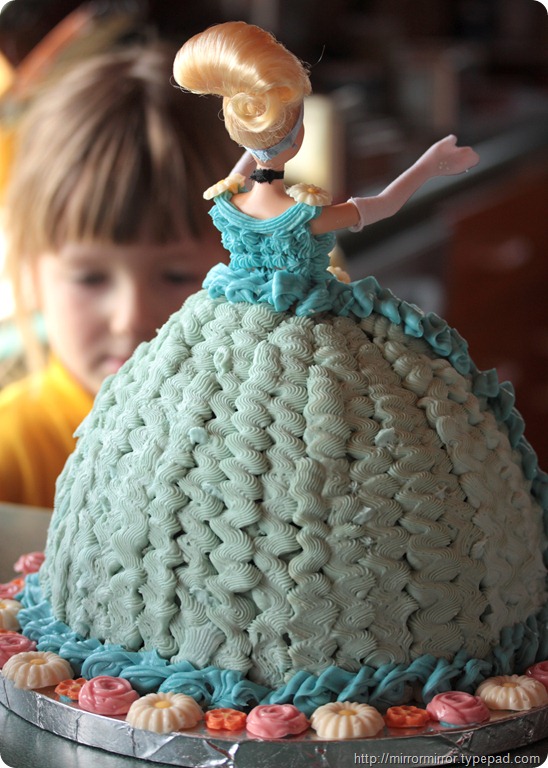
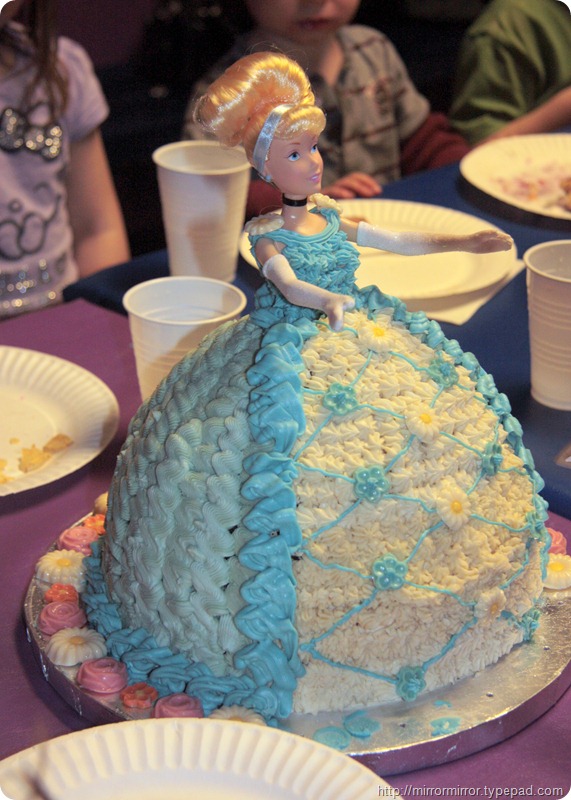
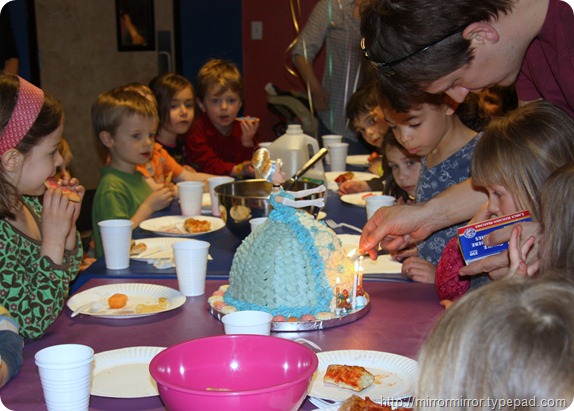
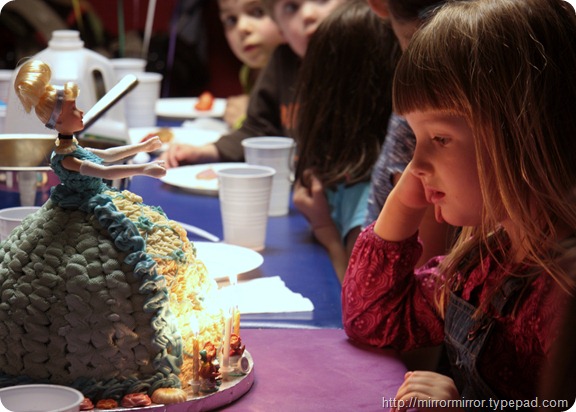
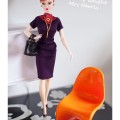
And here’s the little hussy with her clothes on!
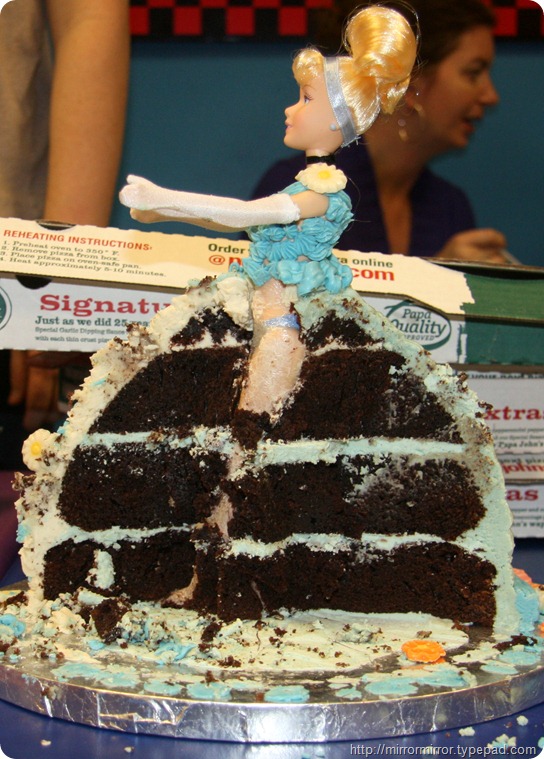
Here’s a quick overview of what we did. You can get a much better idea of the structure from this pic. I don’t think Cinderella found this to be an entirely dignified experience.
Note the careful styling with the empty pizza boxes
1) Buy a nice clean Barbie-type doll, styled how you’d like. The stripper gloves, choker, hair and earrings on this doll did make a huge difference to the effectiveness of the cake, so it’s good to start with a new accessorized doll, which then makes a great additional present for the birthday girl.
2) You can buy kits to do this but I used took a large stainless steel pudding basin
and a springform cake tin of the same diameter. The bottom layer above is a 9” cake pan, the middle two layers are the pudding basin.
3) Make up 3 x your favourite cake mix. I again used the recipe for ‘Mom’s Chocolate Cake’ from the Macrina Bakery Cookbook. I can’t find it anywhere online, so I’ll try and write it down in a future blogpost. Suffice it to say that I’ve used it for birthday cakes for the last four years, it’s IMMENSELY forgiving to being moulded into all sorts of different shaped pans, is moist and flavourful and much loved by adults and children alike (to the extent that year on year people tell me they hope I’m making the same cake). Divide your mixture up so that one third is in the pan for the bottom layer and two thirds is in the pudding basin. The only tricky bit is gauging the cooking time for the pudding basin cake. I monitored mine closely and stuck a stick of spaghetti into it every 15 minutes after the initial cooking period was up. It took about an hour and half to cook in the end.
4) Slice the domed tops off the two cakes so that they’re flat, cut the pudding basin cake in half and layer the three cakes with buttercream. Wrap Barbie’s nether regions with clingfilm and plunge her into the cake. Our Barbie was tall and so had to go in at a bit of an angle. We also had to take the trimmings from the cakes and build up an embryonic fourth layer on the top so that the cake went up to her waist and not just her crotch.
5) Decorate with vanilla buttercream. This dress designing bit was fun! I’ve seen cakes online which use fondant icing for this part and they look incredible as you can arrange the ‘dress’ into pleats and folds. Unfortunately I don’t like the taste of fondant icing so much, so buttercream it was, there’s only so much compromising a glutton such as myself will do.
I also should have tested out my blue food colourings beforehand. They were entirely the wrong blue for Cinderella but because it’s a primary colour I couldn’t change it by mixing in other colours as I usually do.
6) Go OTT with frills and furbelows. I realised that the colourful flowers I’d made previously would be very un-Cinderella like, so at the last minute I coloured some of the white melty stuff blue and made little forget-me-nots to decorate her underskirts. The coloured flowers I made went round the base. She would also have been wearing a lot of pearls if I hadn’t run out of white dragees.
(Disney’s Cinderella is sadly quite tastefully attired, so I had to keep my wildest flights of fancy in check).
