Pinteresting


Or a small study in the effectiveness of social media.

This past weekend I had the most blissful time at ‘Patisserie Camp’.

I was hoping to blog my pastries this week, but with the Minx now home from school for the NEXT. THIRTEEN. WEEKS (heaven help me), and with us heading off for a mummy and daughter long weekend in Victoria tomorrow, the processing of the over 800 photos I took is taking some time.

She’s off to camp next Monday though, so normal blog service will be resumed then.

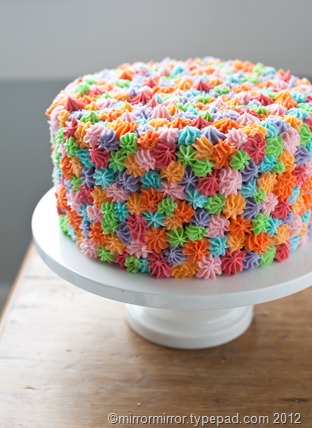
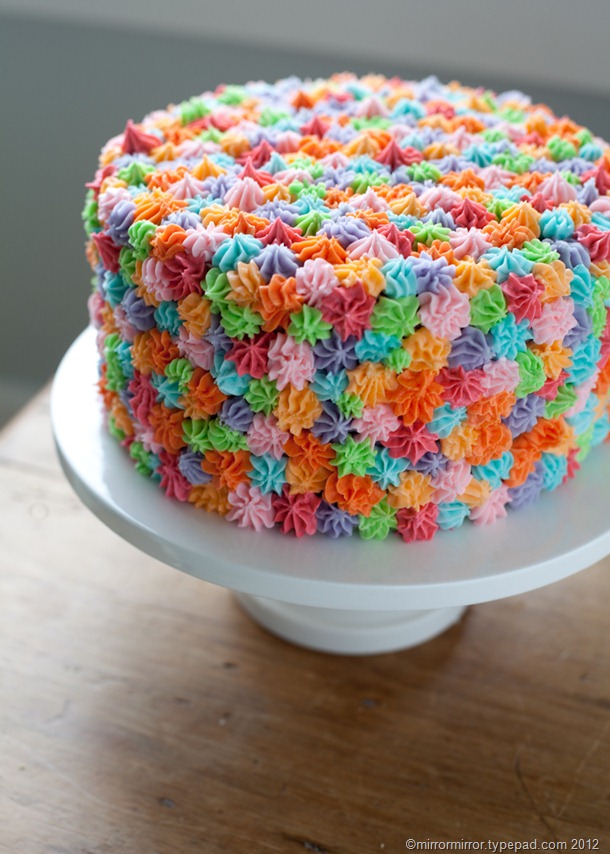
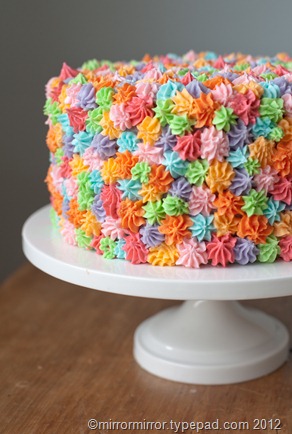
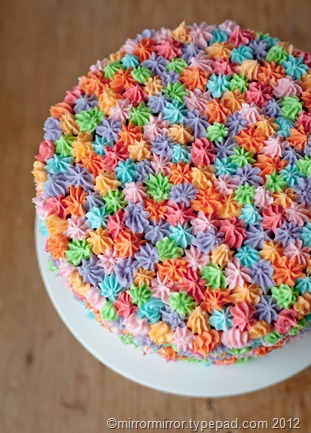
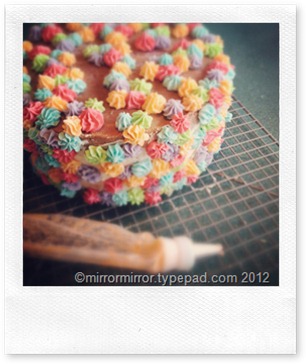
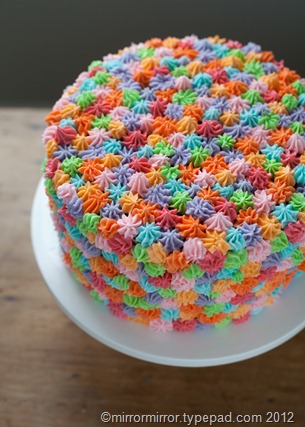
In the meantime I leave you with a small but intriguing study in the power of social media and Pinterest in particular. Remember the cake I made a week or two back?
 

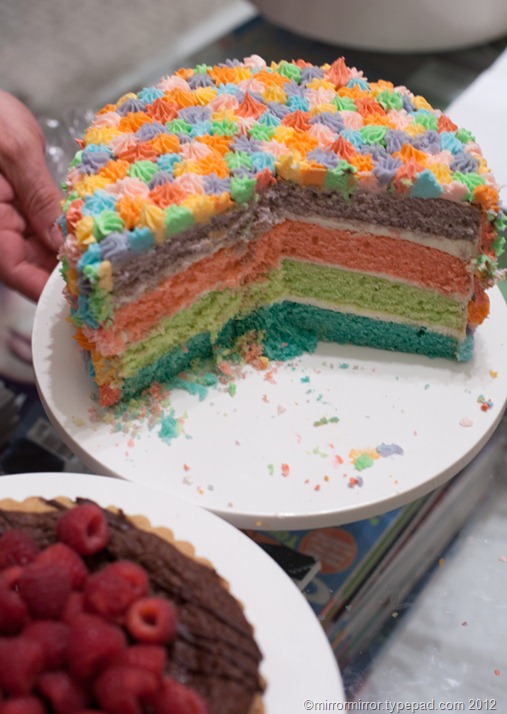
easy-cake-frosting-idea-2513 easy-cake-frosting-idea-2518


Well ever since I posted it I’ve been getting a small but gratifying bump in traffic to mirrormirror thanks to a few blog readers posting it on Pinterest (thank you whoever you are). Until this weekend, when it absolutely went through the roof.

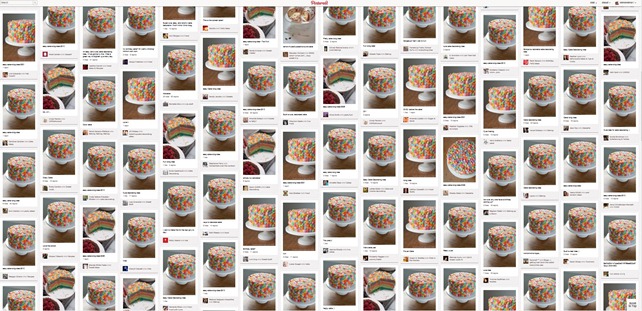
I checked back on Pinterest (did you know that if you look at something which has been pinned from your site you can see ‘Also From XYZ.com’ to the left?) and this is what I saw.  Suddenly the cake had been pinned and repinned literally hundreds of times.  It had gone viral.


Pinterest cakes


I’ve been looking back through all the pins and can’t identify the ‘tipping point’ when it all went crazy. Suffice it to say that I yesterday I had 6x the blog traffic I normally get and the craziness shows no signs of abating.  To put it into perspective that’s about 3x the traffic I got when Salon.com mentioned my Kelly Wearstler Go Fug Your Room back in 2008and that abated after about a day.

I mention this not to show off – I’ve actually been feeling like a bit of a fraud since I found the original idea on Pinterest, in a picture that had been repinned maybe two or three times – but because now I finally understand why big brands and big bloggers court Pinterest so assiduously.

I’m fascinated to see where my little cake ends up, what happens to blog traffic over time and whether any of the hordes of people stopping by turn into regular readers/commenters.

And you can probably expect a lot more images of photogenic cakes in the weeks and months ahead.

Update: Yay! I don’t feel such a fraud any more.  The source of the original idea has been tracked down to I Am Baker. The original pin just said ‘uploaded by user’ so I couldn’t get to the source originally.  So happy to be able to credit the right person.
   
Share

Easy Cake Decorating Idea


I’m starting to think that Pinterest has pushed back the cause of feminism by several hundred years.


easy-cake-icing-idea-2510


easy-cake-icing-idea-2521 easy-cake-icing-idea-2499


This weekend we were hosting a Eurovision party and since it also happened to be the birthday of one of the Minx’s friends who was attending, I offered to make a quick birthday cake.

And then I went on Pinterest, disappeared down the rabbit hole, and emerged to find several hours had gone by and the kitchen was totally covered with food colouring and buttercream.  This is indeed a very easy frosting idea, but quick it is most certainly not.  It was enormous fun to do though.


easy-cake-icing-idea-2876 easy-cake-icing-idea-2879
easy-cake-icing-idea-2882 easy-cake-icing-idea-2885


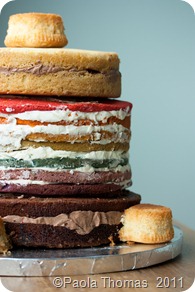
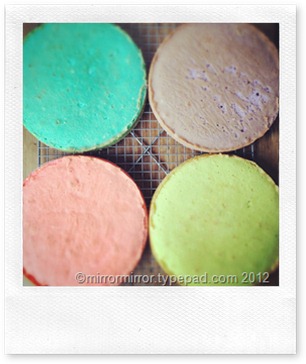
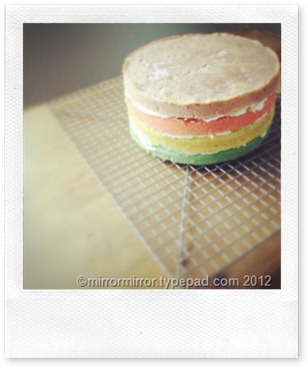
The Minx and I got a little carried away with the food colouring and made coloured layers inside the cake, which I think in hindsight was a garishness too far, particularly as they were not quite as subtly pretty as I was hoping  It would have looked better just as plain cake with white buttercream inside.

But then garishness isn’t really a problem when making cake for an eight year old. Please excuse drunken pic below, but you get the idea.

easy-cake-icing-idea-2526


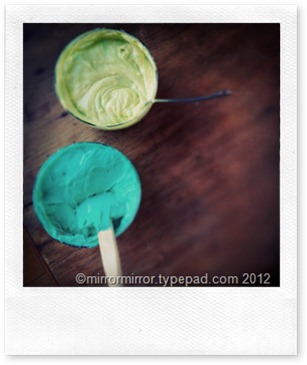
Update: Several people have asked me to provide a bit more information on how I did it. I mixed up a big batch of vanilla buttercream (beat together 2 sticks/220g of  room-temperature butter, 6 cups/640g icing/confectioner’s sugar, plus a little vanilla extract, plus a tablespoon or two of milk until the buttercream is soft and smooth).

Then I divided the buttercream into six and the Minx and I conferred long and hard over which colours to choose. I spread a very thin crumb coat over the sides to even them up and then used a #21 tip to pipe little rosettes onto the cake, making sure that I didn’t pipe the same colour in adjacent spots.  And then kept going and going and GOING until every bit of the cake was covered.

Further Update: Thanks to the comments below, I’ve been able to track down the original source of the idea at I Am Baker. Thanks for pointing it out. The original pin I found was ‘uploaded by user’ and no source was indicated, so I’m glad to finally be able to credit the right person.
   
Share

Food Photography Workshop with Andrew Scrivani


At the weekend I popped down to San Francisco for the day.  It was meant to be longer, but then it worked out that the Minx’s end-of-year performance was on Saturday afternoon and of course I couldn’t miss that.

But I also couldn’t miss a food photography workshop held by New York Times food photographer, Andrew Scrivani hosted by the wonderful Contigo, a Spanish restaurant in San Francisco’s Noe Valley neighbourhood.


untitled (2 of 14)


Andrew is the master of a more painterly approach to food photography – he focuses on perfect lighting, simple propping and graphic styling to make the food seem to leap from the page and which makes you the viewer wish it would leap straight into your mouth.  Truly it’s food porn at its most succulently droolworthy.  Luxuriate in his portfolio here and you will see exactly what I mean.

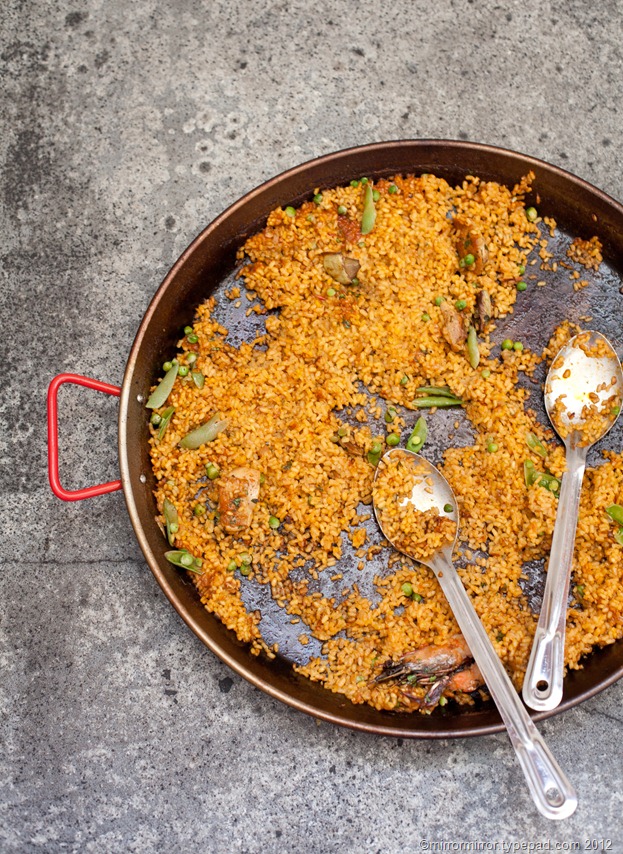
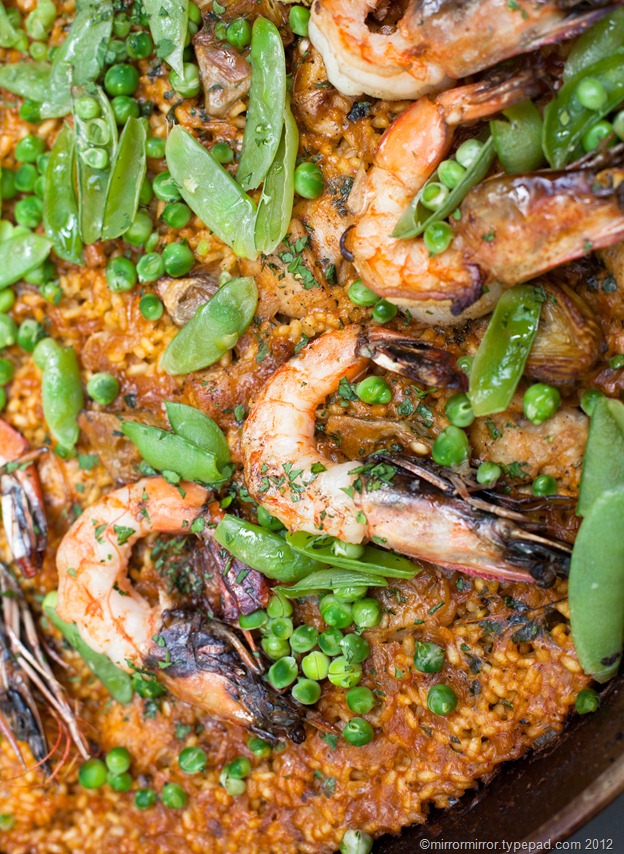
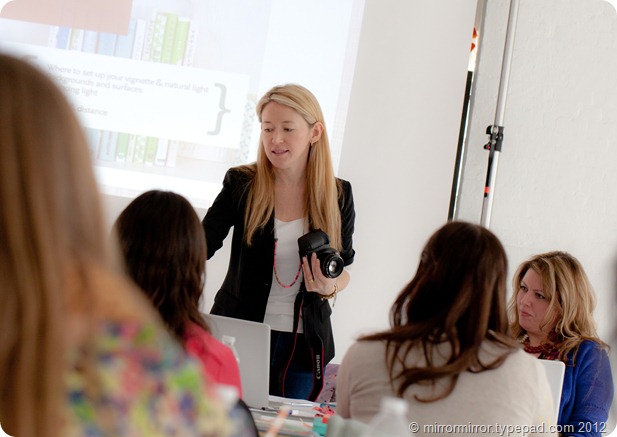
I met Andrew before when he came and gave short workshop in Seattle (which for some reason I forgot to blog) and I was really excited to see and hear him again.  Andrew used to teach before becoming a food photographer, and you can tell.  He’s infinitely patient and very good at explaining what he does.  He went through a greatest hits slide show in the morning, explaining in great detail how he manages to achieve his shots (and imparting a whole load of new knowledge that I hadn’t picked up during the first workshop).  Then we had lunch featuring the most incredible paella known to man, followed by an hour or two to play, with props and food provided by the restaurant.  For the last part of the day Andrew critiqued our work, which was scary – I never want anyone to see my outtakes, let alone a professional food photographer, but obviously incredibly useful. And it was almost more fascinating and inspiring to see what other photographers were able to achieve with the same lighting, food, props and equipment, just by looking at things differently.

We learned that sometimes it’s good to go in close.


untitled (1 of 14)


And sometimes we should look for shapes and colour.


untitled (4 of 14) untitled (5 of 14)


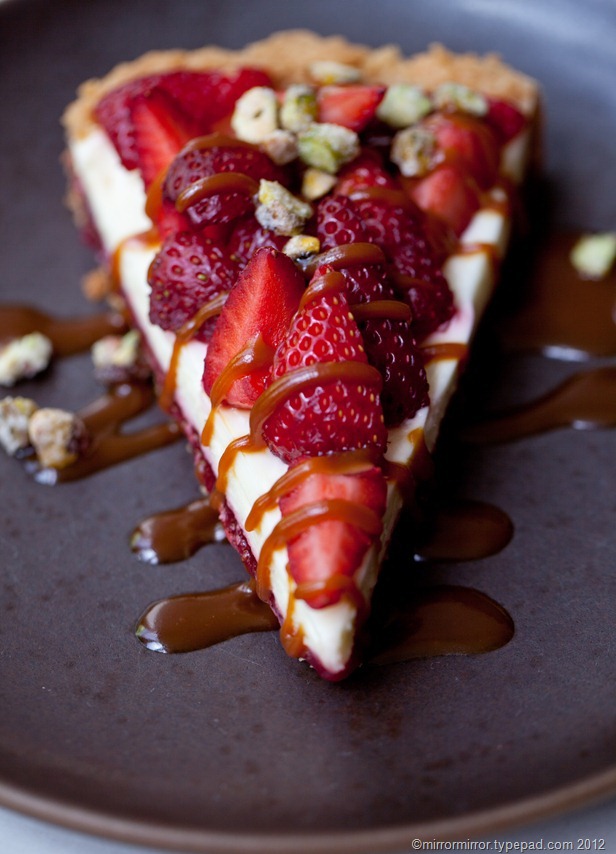
Drips and oozes are always good.


untitled (8 of 14)


Or else you could just focus on tiny details.


untitled (6 of 14)


Flares and reflections on bottles add shape and interest.


untitled (10 of 14)


And sometimes food is just too darn ugly, however much you try and brighten it up with props and garnishes and bright sunlight.


untitled (11 of 14)


Make sure your board is clean and free of grease stains and salt (now you tell me).


untitled (9 of 14)


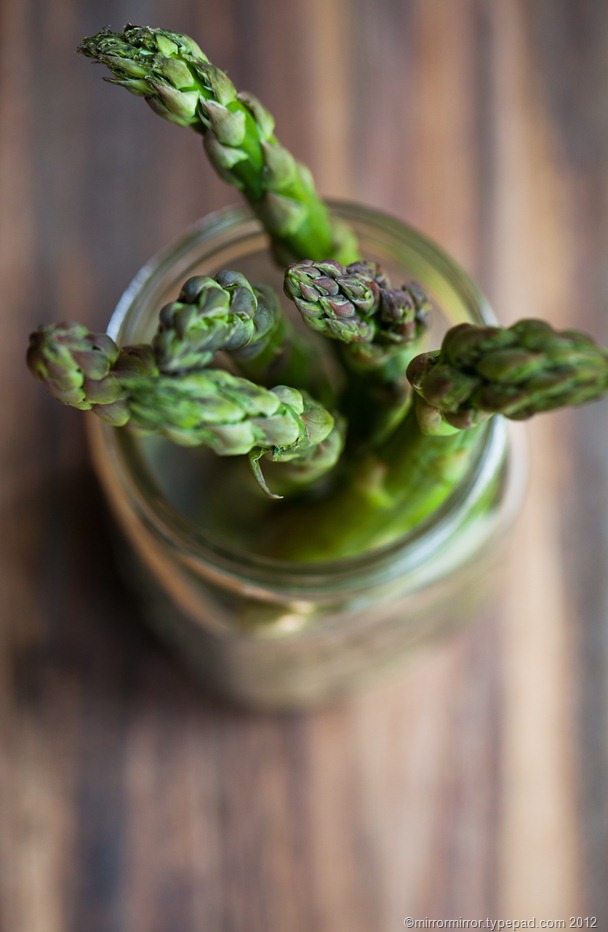
And sometimes harsh backlighting is your friend.


untitled (12 of 14)< /p>


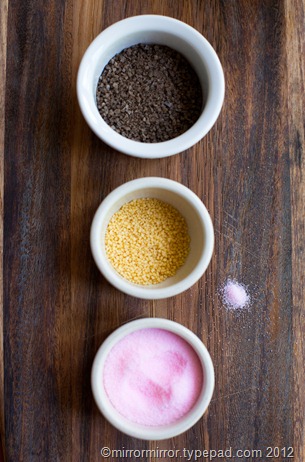
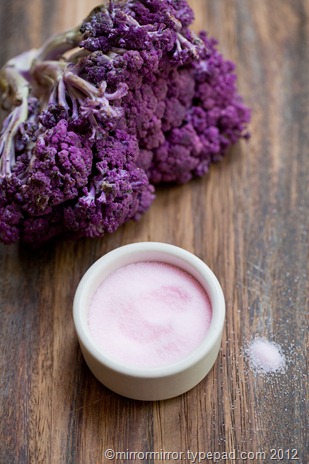
When in doubt about which picture to choose try a diptych (and yes I fell in love with a pot of pink curing salt).


untitled (13 of 14) untitled (14 of 14)


A little bird tells me that Andrew will be giving a workshop in Seattle in June.  Details have not yet been published but follow him on Twitter @andrewscrivani or on his blog Making Sunday Sauce for news.  You won’t regret it.

   
Share

Fancy Hotel of the Week: Four Seasons Seattle


When the sun does come out in Seattle there is no more beautiful place on earth.  The unfortunate thing is, that, unless you have your own yacht, there are not so many places to just lounge and enjoy the view.


four-seasons-seattle (10 of 24)


Yes, there are the lakes and the cold ocean beaches, but there are very few loungers and margaritas types of places, and, as you have probably guessed, I am very much a loungers and margaritas type of girl.

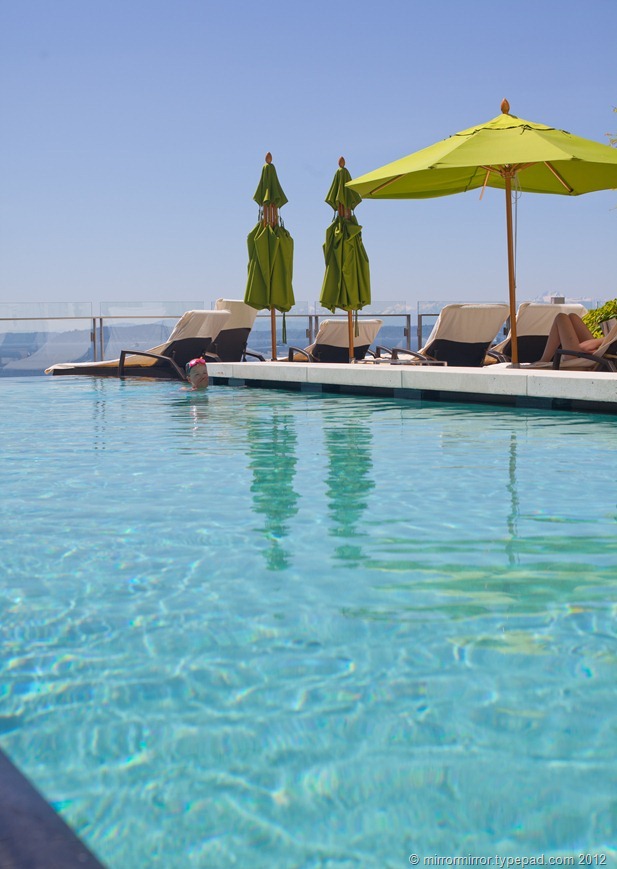
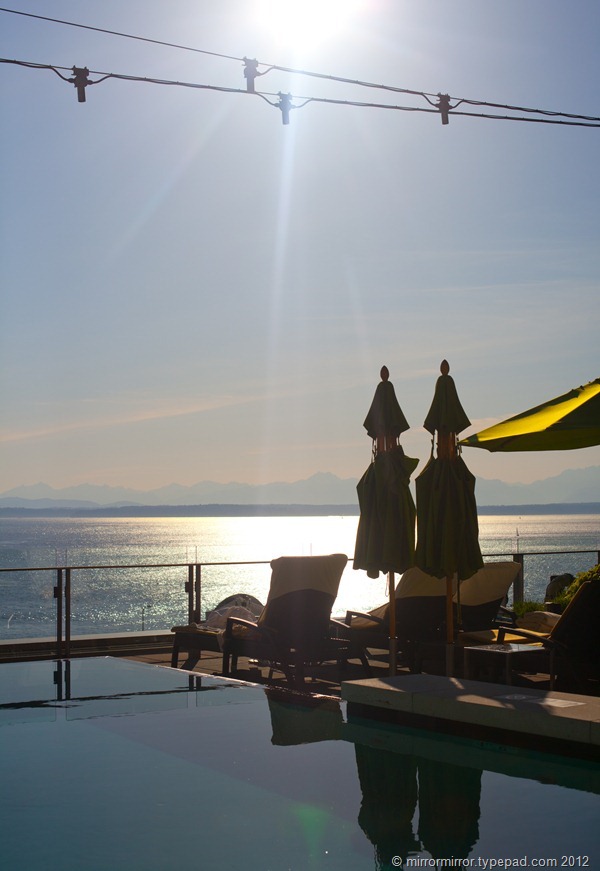
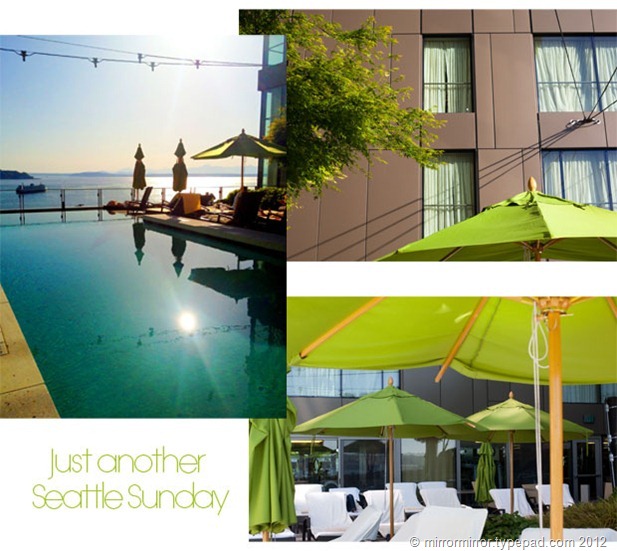
So when it became apparent on Thursday that temperatures were set to soar in Seattle for the Mother’s Day weekend, we decided to throw caution to the wind and book into Seattle’s Four Seasons hotel for a ‘staycation’.  The Four Seasons is unusual for Pacific Northwest hotels in having an outdoor infinity pool, with breathtaking south-west facing views out over Elliott Bay to the Olympic mountains beyond, which reminded me of the similar views we had from our downtown apartment when we first moved to Seattle.  


four-seasons-seattle (1 of 24) four-seasons-seattle (16 of 24)


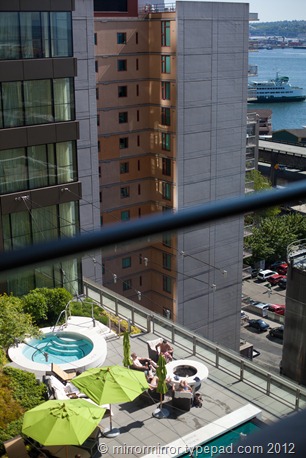
The pool area also features a hot tub and fire pit and is protected on three sides by the hotel and other high rise buildings, so I would imagine that it would still be very pleasant in the cooler months of the year.

The beautiful spring green planting creates a little rooftop oasis and exactly matches the beautiful spring green umbrellas, which looked amazing against the blue sky and turquoise water.


four-seasons-seattle


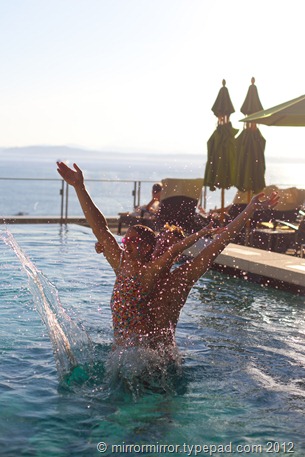
The pool itself is heated to 85 degrees and also gently salinated, which makes the water deliciously soft and somehow bouncy, and there was plenty of room for the Minx and the Husband to practise their synchronised swimming routines.


four-seasons-seattle (15 of 24) four-seasons-seattle (1 of 1)

four-seasons-seattle (20 of 24)


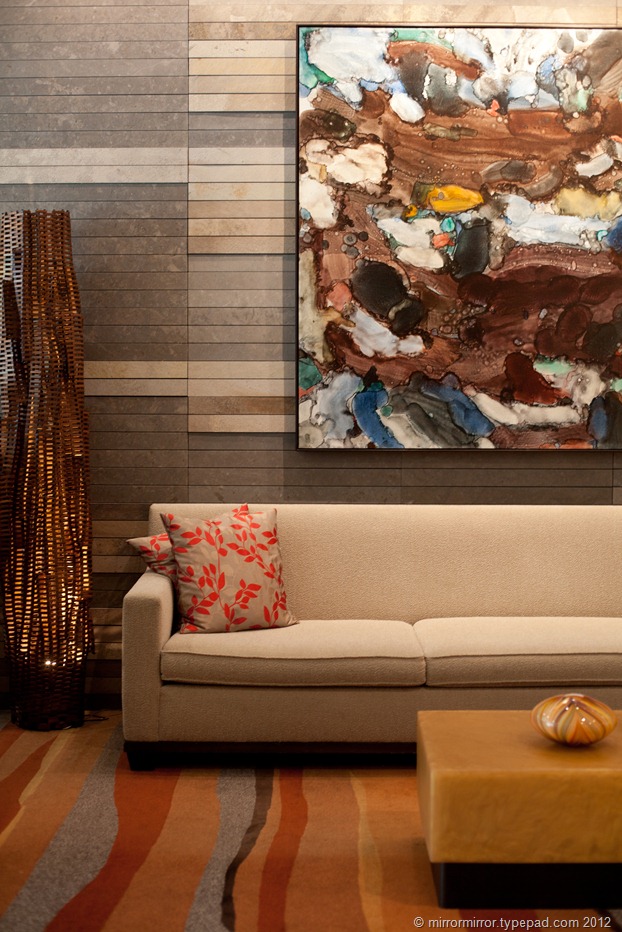
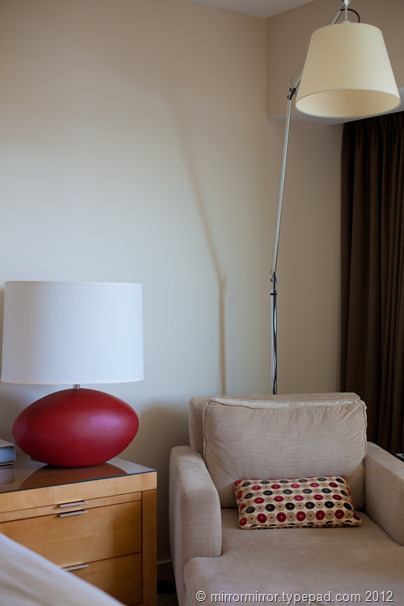
Inside the décor is luxurious, clean and contemporary, with an emphasis on natural stone and woods, soft autumnal hues and organic shapes, with lots of interesting artworks and glass.


four-seasons-seattle (24 of 24) four-seasons-seattle (3 of 24)
four-seasons-seattle (23 of 24) four-seasons-seattle (6 of 24)

four-seasons-seattle (2 of 24)


four-seasons-seattle (21 of 24)


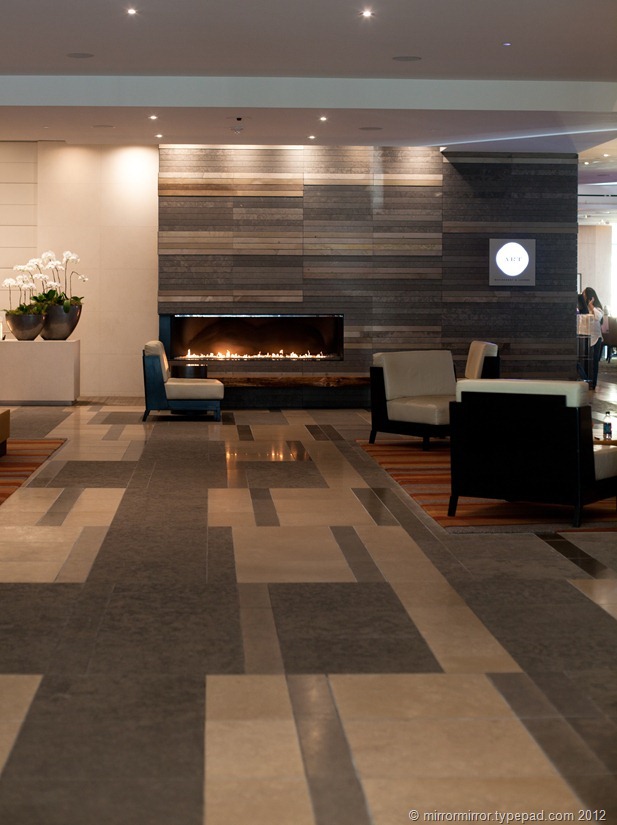
In the lobby, slatted wood walls are juxtaposed with intricate stone floors and striped carpets to give a clean, modern almost Asian feel.

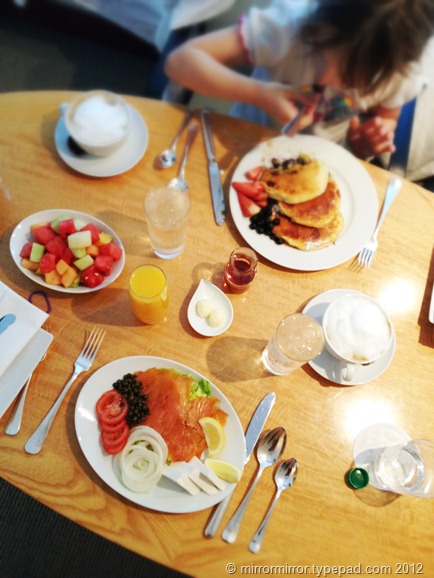
Oh and the breakfast wasn’t bad either.


four-seasons-seattle (11 of 24)


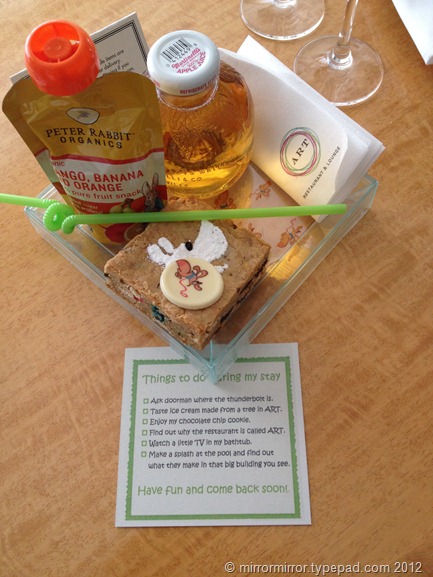
We were also really impressed with the welcome given to the Minx.  When we booked they asked for her name and age, and there was a welcome pack waiting for her in the room, with a little treasure hunt questionnaire for her to complete.


four-seasons-seattle (5 of 24)


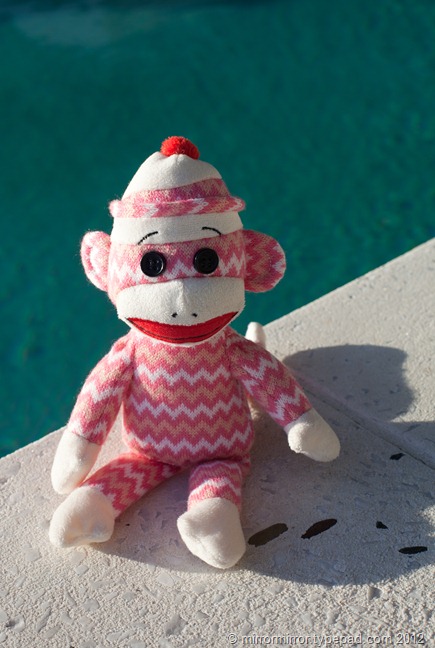
It’s the first hotel we’ve ever stayed in which provided a mini kids robe and slippers, to the Minx’s enormous delight and to cap things off, they also gave her a little pink sock monkey, from which she became inseparable. And yes, I do know that my daughter is INCREDIBLY spoiled.


four-seasons-seattle (17 of 24)

Here is ‘Chaussette’ lounging by the pool.


We left feeling incredibly relaxed and asking ourselves why on earth we haven’t done this sooner.  Truly that view is good for the soul.  Four Seasons Seattle, we will most DEFINITELY be back.


four-seasons-seattle (13 of 24)

Thanks once again to the lovely Sheri at Pacific Northwest Journeys for arranging our stay.   We paid for the hotel room ourselves.

   
Share

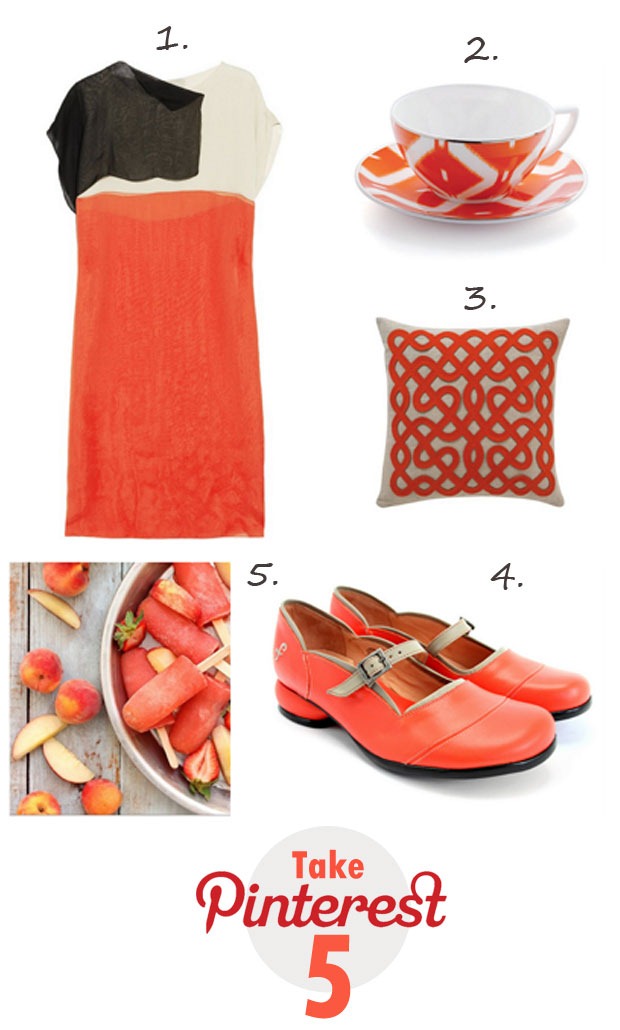
Pinterest Take 5: Persimmon


I bought an orange, or, more precisely, that orange-veering-to-coral-pink known as persimmon, sweatshirt last week.  At least five people have since told me that it is the ‘colour of the season’.

All I know is that if you have boring mid-brown hair and pale skin with a warm undertone as I have, there is no more flattering colour on earth, and you will have to rip this sweatshirt from my back.

It’s been popping up all over Pinterest too.


persimmon


1. Bottega Veneta Silk Chiffon Colour Block Dress at Net-A-Porter via Anne Deotte 

2. Jasper Conran for Wedgwood Kilim Teacup and Saucer via Mackenzie

3. Labyrinth Persimmon Pillow by Dwell Studio via Bibi Rogers

4. Fleuvog Sandra shoes via Casapinka

5. Peach, Strawberry and Vodka Popsicles by Endless Simmer via Kimberly Taylor Not quite persimmons I know, but the colour is persimmon perfection and they did seem a little more seasonally appropriate.

   
Share

Adventures In Baking: Meyer Lemon, Rhubarb & Pistachio Bundt Cake


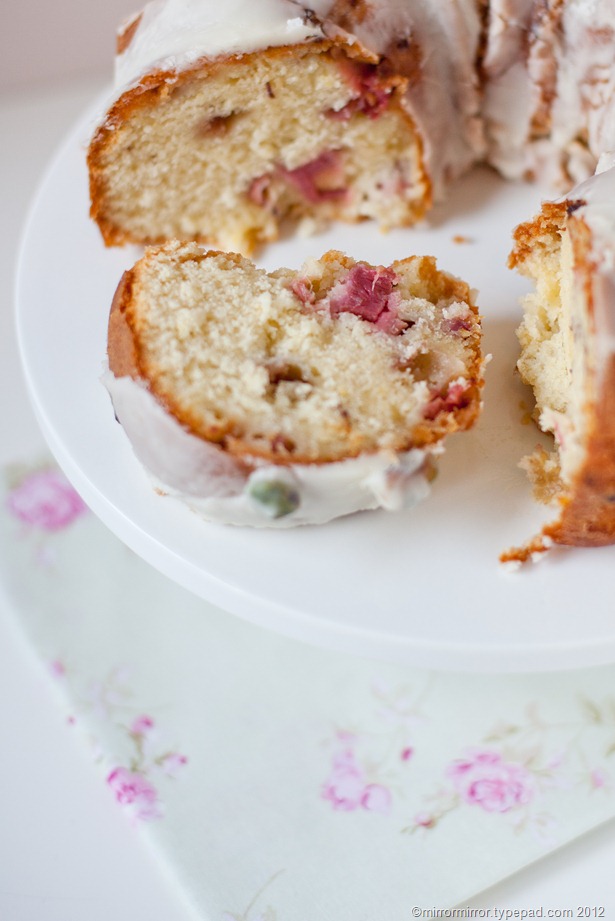
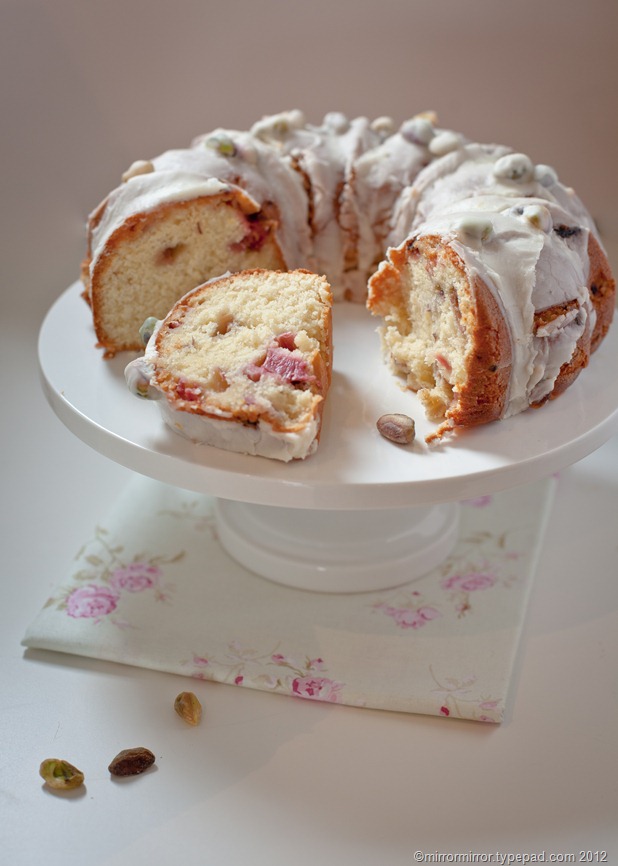
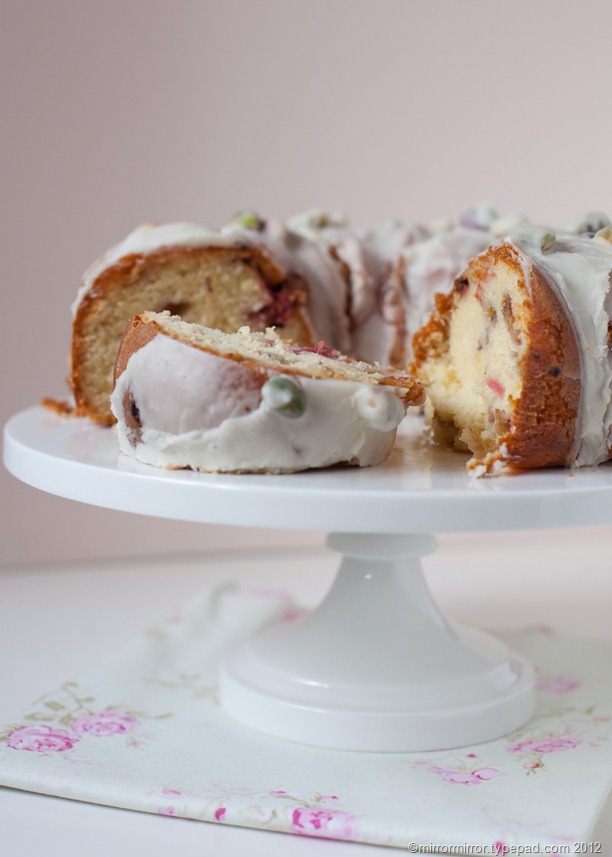
Continuing in my quest to make the most of my new bundt tin, and take over the world one bundt cake at a time, a couple of weeks back I made a Meyer Lemon, Rhubarb and Pistachio Bundt Cake.  This ethereally soft and springlike bundt cake couldn’t be more different from the squidgy, fudgy chocolate cake I made for the Joy the Baker event, but it was still devoured with alarming alacrity by the whole family.


lemon-rhubarb-pistachio-bundt-cake (2 of 6)


This cake is an adaptation of a recipe from Kimberly Taylor’s charming blog which bowled me over the minute it popped up on my Facebook page.  Her cake features Meyer lemons and rhubarb, but I couldn’t contemplate putting these two ingredients together without adding pistachios, the flavours are a match made in heaven and the delicate pink and green pastel colours are so very spring-like.

Meyer lemons are a wonderful seasonal American delicacy, thought to be a cross between a true lemon and a mandarin.  If you can’t get hold of them then normal lemons will do just fine. I amended the recipe by adding in some ground almonds/almond meal, some pistachio flavouring and sprinkling the finished cake with whole pistachios.


Ingredients

For the cake

1 cup butter

1 3/4 cups bakers’ (caster) sugar

zest of one lemon (Meyer or normal)

3 large eggs

1/2 tsp pistachio flavouring (or almond extract)

Juice of 1 Meyer lemon or 1/2 normal large lemon

1 3/4 cups all purpose (plain) flour

3/4 cup almond meal (ground almonds)

2 teaspoons baking powder

1/2 teaspoon salt

2/3 cup buttermilk

3 cups fresh rhubarb, cut into 1/2 inch pieces


For the glaze

2 1/2 cups icing/powdered sugar

Juice from one lemon

2 tablespoons softened butter

Whole pistachios to sprinkle on top


lemon-rhubarb-pistachio-bundt-cake (6 of 6)


Method

Preheat oven to 350 degrees F/ 180 degrees C.

Brush melted butter into every single nook and cranny of your bundt pan and then shake in a couple of tablespoons of flour, so that every part of the surface is greased and floured. Shake out the excess flour.

Sift the flour, baking powder and salt together into a bowl. Stir in the almonds.

Cream together the butter, sugar and lemon zest until very pale and fluffy. Whisk the eggs together in a small jug and then little by little beat them into the creamed mixture, scraping down the sides as necessary. Add the pistachio flavouring and lemon juice.

With the stand mixer on a lowish speed, add a third of the flour mixture and then a third of the buttermilk and then alternate until all the flour and milk are fully incorporated. Mix for one additional minute.

Stir in the chopped rhubarb with a wooden spoon. Pour the batter into the prepared bundt tin. Bake for 1 hour. Insert a skewer or a stick of spaghetti and if comes out clean the cake is ready. If not return to the oven for a few more minutes until a skewer comes out clean.
Set a timer and leave the cake in the pan for 20 minutes, no more, no less. When 20 minutes is up (the optimum time, according to Joy the Baker, to ensure best bundt removal) turn the cake out onto a wire rack to cool fully.

To make the glaze, whisk the butter and lemon juice together. Whisk in half the icing sugar.  Add the second cup of icing sugar and whisk until incorporated.  The glaze should be thin enough to pour, but thick enough to cling to the cake.  Either add sugar or juice to amend the consistency as appropriate.

Sprinkly a few whole pistachios over the top and serve when the glaze is fully set.


lemon-rhubarb-pistachio-bundt-cake (5 of 6)

Share

Homemade Vanilla Extract


At my baking class on Monday night (and thanks so much to everyone who supported it in any way, either by being there or spreading the word on Facebook and Twitter) we talked about making your own vanilla extract and I realised I hadn’t shared this with you on the blog.


homemade-vanilla-extract (4 of 5)


As you can imagine, since I am a cake baker, vanilla extract is one of the most used ingredients in my kitchen, which was not good given how fiendishly expensive it is.

After doing some research online, I tried making it last summer, and I am utterly delighted with the results.  Like so many other homemade foodstuffs, there’s no turning back when you’ve tasted homemade. And this is so, so EASY.

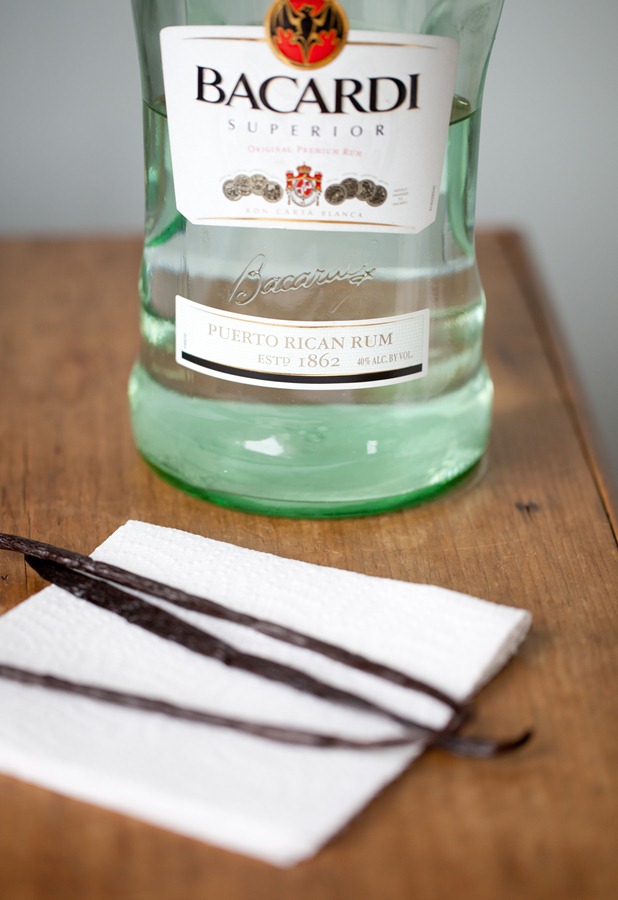
All you need is a smallish bottle (depending on how much extract you want to make), some unflavoured vodka or white rum and some vanilla pods. 


homemade-vanilla-extract (5 of 5)


I buy my vanilla pods in bulk via Amazon, so much cheaper than the single pods in glass jars you find in supermarkets. As for alcohol, if you want a pure vanilla flavour use unflavoured vodka.  I however prefer to use a white rum such as Bacardi.  The rum has a flavour that goes very well with vanilla, and adds an additional something, something to cakes and desserts.  But which alcohol you choose is up to you.

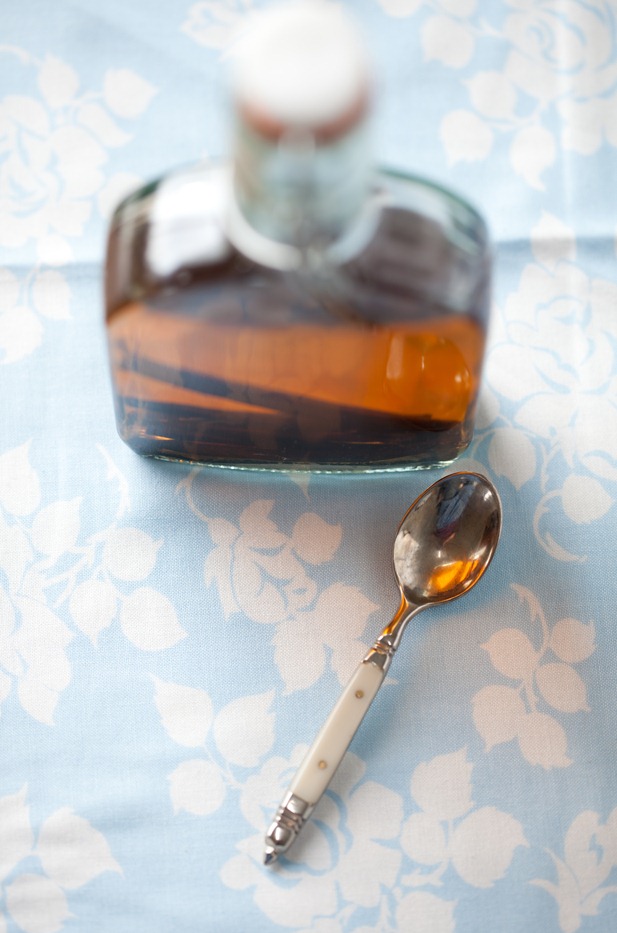
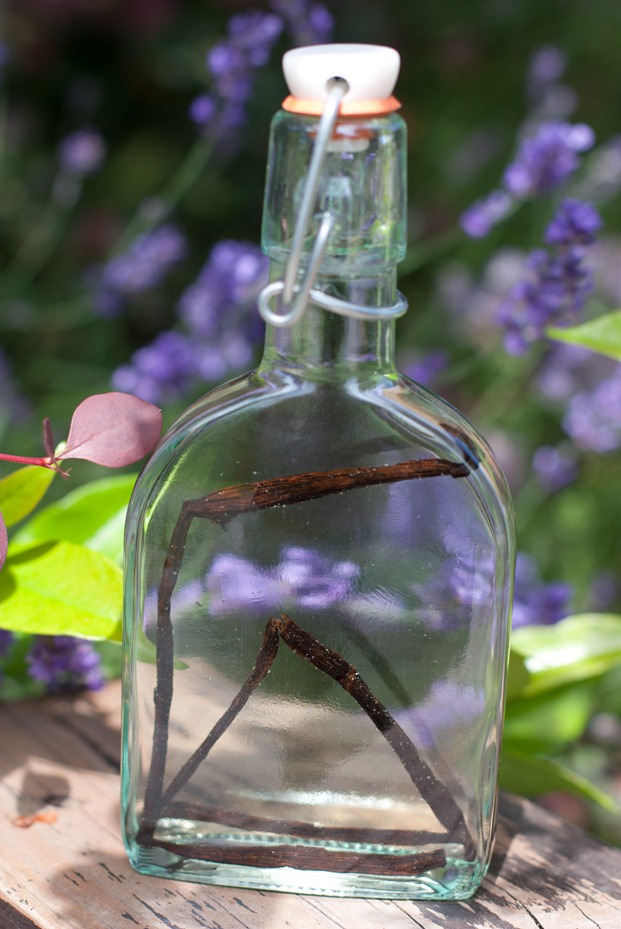
Then all you need to do is fill your bottle with alcohol, score a few vanilla pods lengthwise so the seeds are showing (don’t scrape them out) and then add them to rum or vodka.  How many you add is up to you and will depend on how the big the bottle is, how strong you want the extract to be and how many you can afford to use.  I currently have around six in my biggish bottle, but experiment with what seems right for you.


homemade-vanilla-extract (1 of 5)


Here’s my bottle posing out in the sunshine last summer, just after I’d made it.

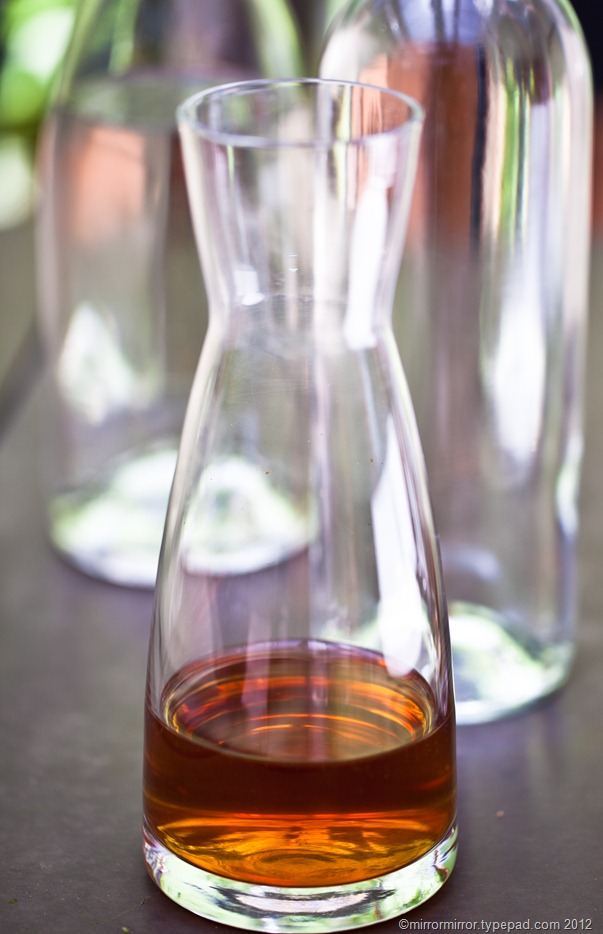
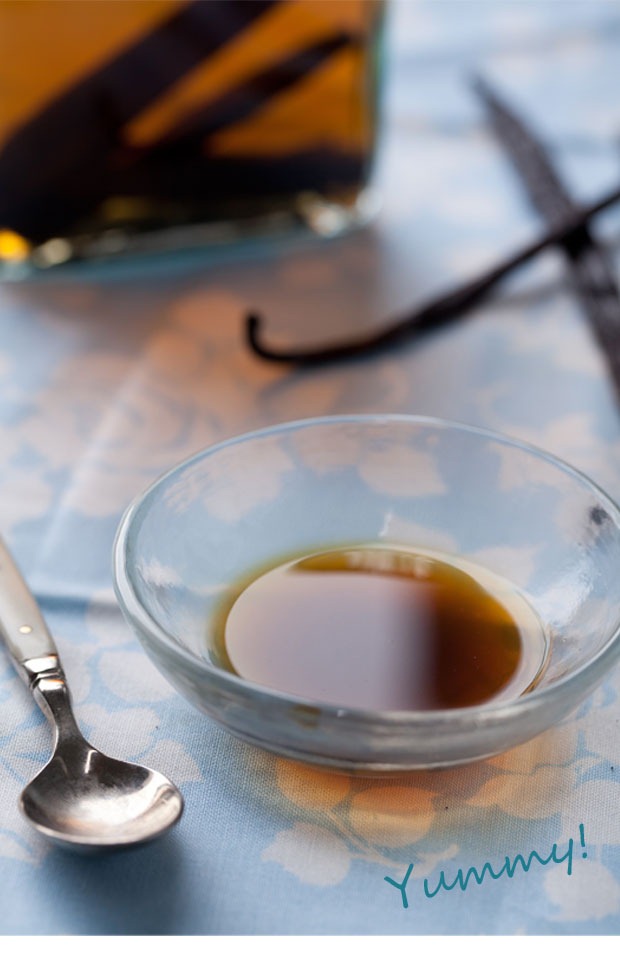
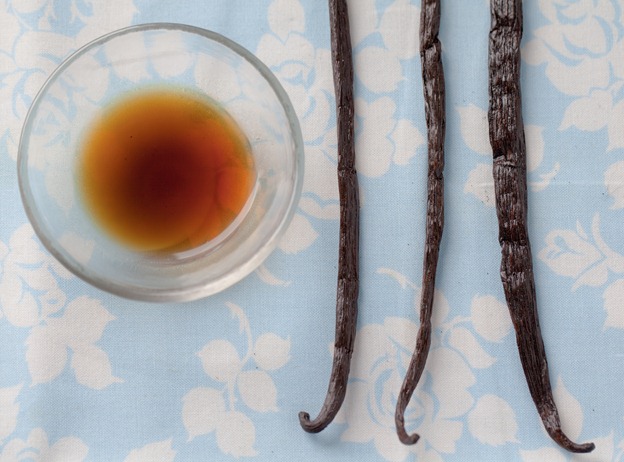
Then leave the bottle in a cool, dry place (mine is in the fridge door) somewhere where’ll you see it often. Then, every so often, pick up the bottle and give it a shake.  After several weeks the clear alcohol will darken to brown and will be ready to use.  Thereafter just keep the bottle topped up with additional alcohol and vanilla pods as necessarily and depending on how strong you want your extract to be.


homemade-vanilla-extract


If you want to get going on your Christmas gifts now (hahahahahahahahaha!:-Ed) then homemade vanilla extract is a very quick, easy and thoughtful gift for the baker in your life if you put it in a fancy bottle.


homemade-vanilla-extract (3 of 5)

Share

How To Bake British Without Freaking Out


victoria sponge (1 of 1)


I just wanted to let you all know that there are still some places left for the class I’m giving on Monday night at fabulous Seattle cookbook store Book Larder.

And it would be lovely to see blog readers there.

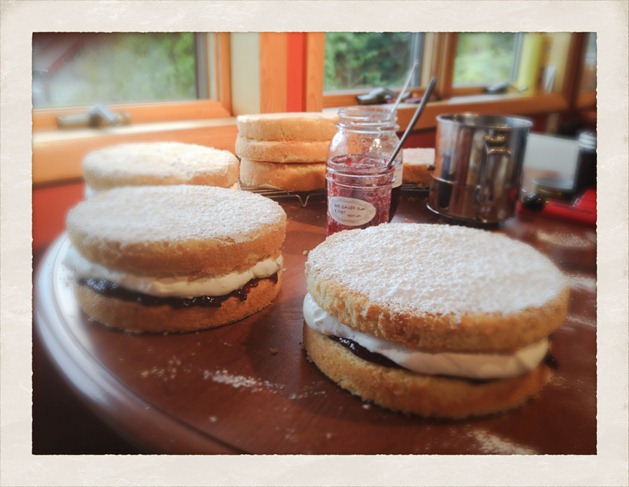
The class is called Baking In Translation – How to Bake British Without Freaking Out and is for anyone who’s tried to use a recipe from British website or cookbook and been flummoxed by the strange ingredients or metric measurements.

I’ll be covering the basics of weighing and measuring in metric rather than using cup measures; discussing differences in flours, sugars and creams; translating strange ingredient names and suggesting the best sources and substitutions for hard-to-find ingredients.  I’ll be demonstrating how to make a traditional English Victoria sponge cake and maybe, if there’s time, English flapjacks (sort of sticky sweet granola bars, not pancakes) and there’ll be treats to sample.

The class will run from 6.30 to around 8.30 and you can find full details and buy tickets here. Here’s my previous blog post on the subject.

I’d love to meet Seattle blog readers and if you can’t make it, anything you could do to promote the class via various social media would be very much appreciated.

See you on Monday!


Share

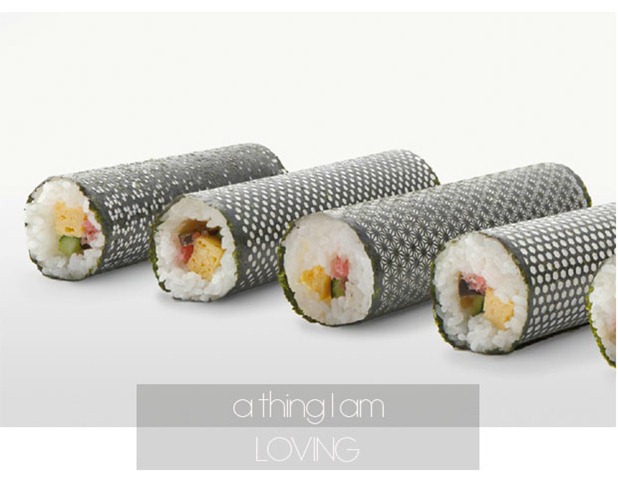
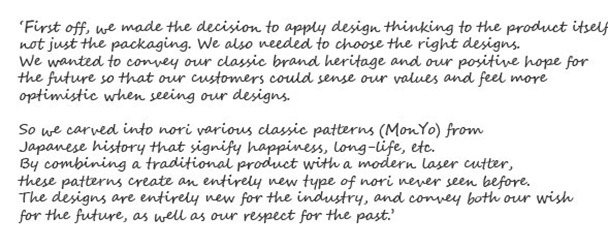
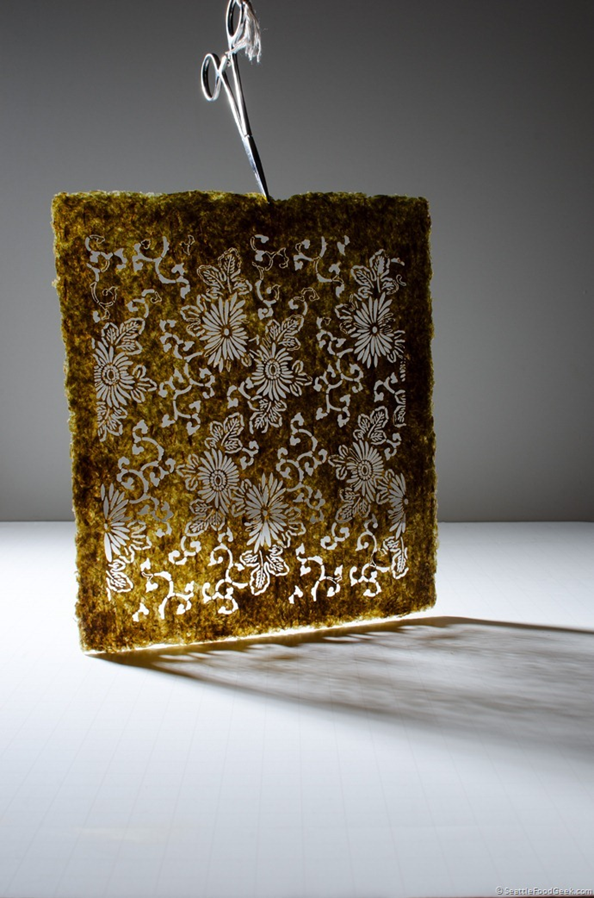
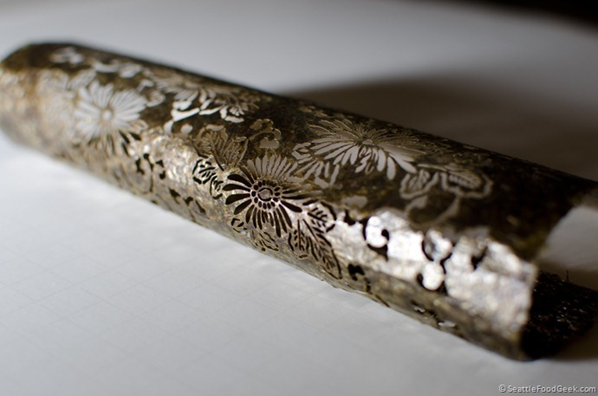
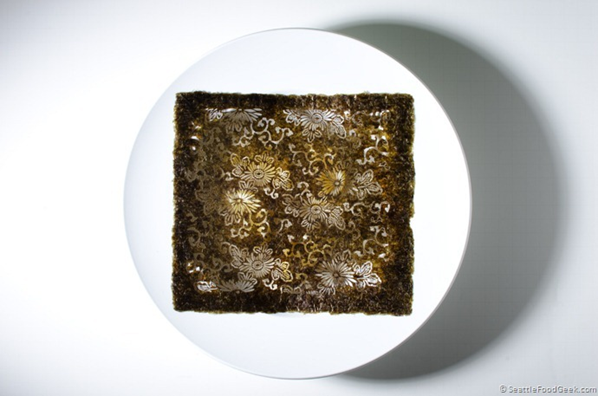
Things I Am Loving: Laser Cut Nori


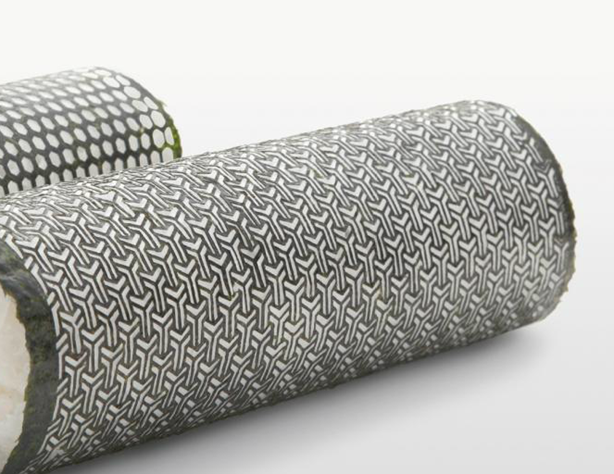
Speaking, as we were, of lace effects in unexpected but obvious places, I just wanted to share my love for these award-winning nori sheets (found via JeannieJeannie).

laser-cut-sushi


laser-cut-nori5


Ad agency I&S BBDO Inc in Japan was asked to create an online campaign for the Umino Seaweed Store, a company producing nori (the sheets of seaweed used in making sushi) that had been badly affected by the tsunami.

Unfortunately, and particularly in a Japanese context, nori is a very boring product to advertise, so the company looked for ways to differentiate the product and get it some online buzz. 

Remember I did a certificate in Online Marketing last year?  Well, we were told again and again that original and persuasive content is the key to online campaigns that work, so the agency’s strategy of  tweaking the product itself in an original and beautiful way was utterly inspired.

Because of the horrible circumstances of the tsunami, the agency looked to traditional Japanese designs for longevity, good fortune, hope, happiness etc. to create a positive vibe around the product and the campaign has since won many awards.


laser-cut-nori


After poking round the Internet, I discovered that Seattle’s very own Food Geek had also had a very similar idea (and made some beautiful photos). Feast your eyes on these.


laser-cut-nori2


laser-cut-nori3


laser-cut-nori4


Can someone please produce these commercially? They would make such beautiful onigiri.

   
Share

The Sun Always Shines On TV


sunset-from-plane (1 of 1)


But apparently not in real life.  Our trip to Southern California was mostly foggy and overcast and not very warm. Especially galling as the weather was apparently delightful in Seattle.  The photo shows our first glimpse of the sun in three days as the plane soared over a thick blanket of cloud in LA. 

But still we did manage to have a great time. Thanks to L’Auberge Del Mar for another magical stay (see last year’s blog post here) and to the chic and groovy resorts of Del Mar, Encinitas, La Jolla and Laguna Beach for showing us beautiful beaches, whales and seals in abundance. We also had a surprisingly fun time at Seaworld (actually it was surprisingly fun for me, for the Minx it was expectedly awesome).

We ate epic fish tacos at Raul’s Shack in Encinitas, legendary shrimp tacos at El Pescador Fish Market in La Jolla (are you seeing a theme here?), excellent gelato at Gelateria Frizzante also in La Jolla, a superb breakfast at Americana in Del Mar and took my elderly aunt for a rather touristy but surprisingly good value and good champagne brunch at Las Brisas in Laguna Beach. The new chef at Kitchen 1540 at L’Auberge is also doing an extremely good job as far we can see.

SoCal, we will be back, despite your terrible weather.


Now if you’ll excuse me, I have overflowing suitcases, an overflowing garden and an overflowing inbox to attend to and beautiful Seattle sunshine that has my name on it, so better blogging service will resume tomorrow. In the meantime last week’s amazing guest posts are worth a read.

   
Share