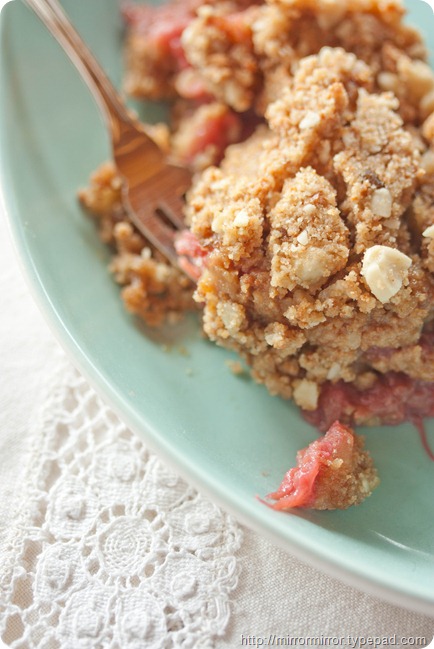
Recipe of the Week – Rhubarb and Amaretti Crumble


IMG_6748


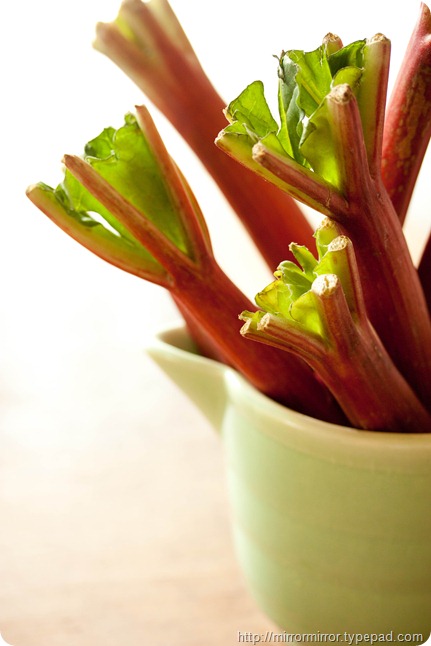
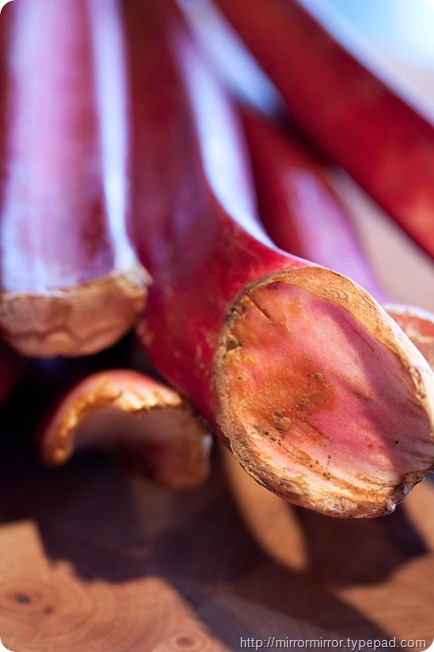
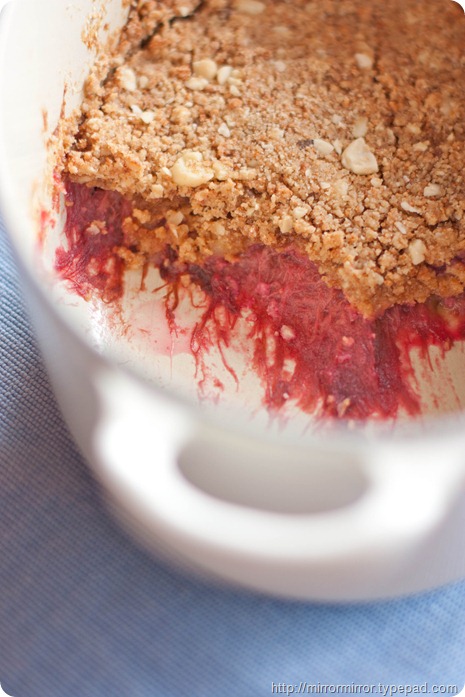
Oh, I know we’ve done crumble almost to death recently, but a couple of weeks ago I had some late rhubarb (one of the few redeeming features of the cold, wet Seattle spring we’ve been having) and made that most quintessentially English delight – a rhubarb crumble.


IMG_6688

IMG_6662 

And, not a just any old crumble either, but a slightly adjusted Rhubarb & Amaretti Crumble, courtesy of dear old Delia Smith, the doyenne of English cooking.  Which ended up being just about the most fabulous crumble I’ve ever eaten in my life.

Ingredients

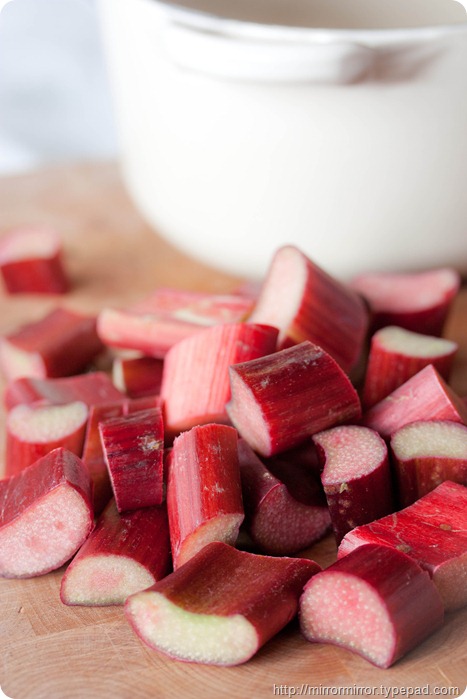
Approx 10 sticks of rhubarb

4 tbsps water

6 tbsps caster/baker’s sugar (or to taste).


Crumble Topping

40g chilled butter

75g self raising flour (or plain/all purpose flour with 1/2 tsp baking powder)

50g demerara sugar

50g whole almonds

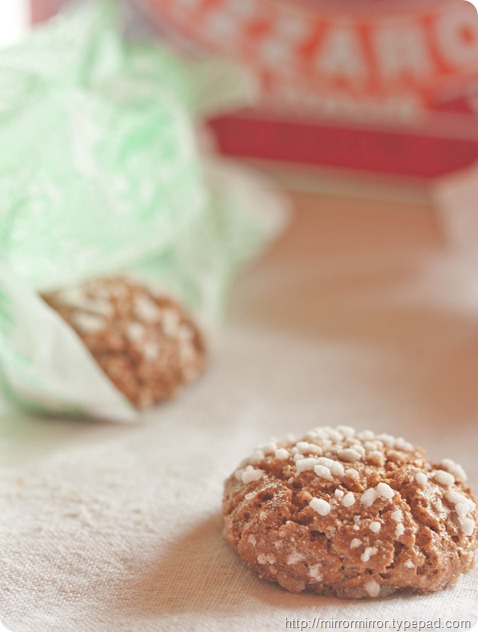
4 Virginia Amaretti biscuits.

Unfortunately I forgot to measure out everything in cup measures, but if you use the proportions of dried ingredients  to butter to sugar that I give here then you should be OK.


Method

Unlike Delia I stewed the cleaned and chopped rhubarb beforehand in the sugar and water for about ten minutes until soft, just because that’s how I’ve also always done it. I also didn’t add ginger  because I wanted the full flavour of the Amaretti to come through (also, truth be told, because I’m not very fond of it).  But feel free to add a teaspoon of ginger or cardamom at this stage and follow Delia’s method for cooking the fruit in the recipe link above.

Preheat the oven to 180 degrees C /350 degrees F /Gas Mark 4


IMG_6704

Then put all the crumble topping ingredients into the food processor and whizz until crumbled.


IMG_6751


Pat the crumble ingredients down over the stewed fruit and bake in the oven for around 35 mins until slightly golden round the edges and dig in.  Normally I like crumble served slightly warm, but this was fabulous spooned up straight out of the fridge.


IMG_6737

That’s it for the moment folks. On Sunday evening we’re off on our three-week European grand tour – a week on the French Riviera, a few days in Provence, a couple of days in Paris and a week in London, meeting friends, godparents and family along the way. There won’t be any proper bloggery while I’m away, but I’ll try and post up some ‘Postcards from Europe’ so you can vicariously join us on our travels.  Don’t miss me too much.
Share

This Week’s Recipe – Madeleines au Chocolat


IMG_6579 

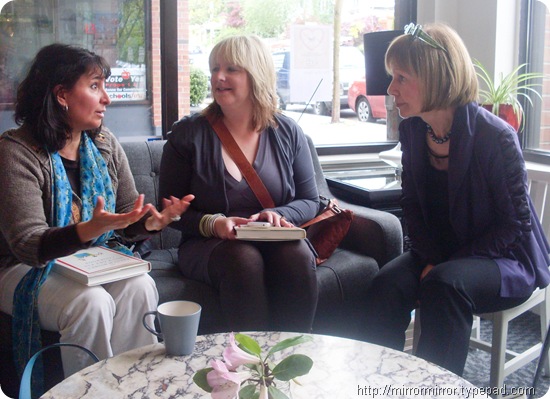
A week or two ago I was lucky enough to be invited with a host of other Seattle foodbloggers to meet Mireille Guiliano, the extremely petite and chic (that’s her on the right below) author of ‘French Women Don’t Get Fat’  who was promoting her new cookbook ‘The French Women Don’t Get Fat Cookbook’, who has been one of my foodie heroines for the longest time.

Her books are full of good sense about eating only delicious food, eating slowly and deliberately, eating exactly what you want to eat but only in small portions, eating a good breakfast and balancing each meal between carbs, proteins and fats. She exercises by walking and doing yoga, and she looks… incredible.

<KENOX S760  / Samsung S760>


For Mireille cooking can’t be separated from the joy of eating and her cookbook is a delight, full of charming anecdotes about the role food plays in Mireille’s life, making it definitely a cookbook for the bedside table.

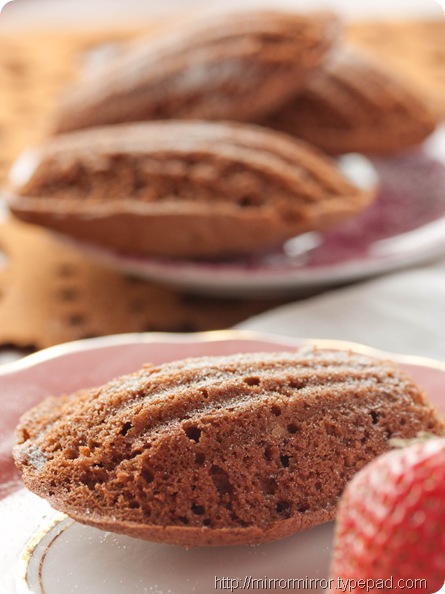
It’s also full of recipes which aren’t really diet food, but which are rich and flavoursome and for which a little goes a long way. Her recipe for Chocolate Madeleines is a case in point. Six tablespoons of butter sounds like a lot, but not so much when spread between twenty madeleines, and just one of these is light and fluffy and decadent enough to satisfy any chocolate craving.


 IMG_6507

Ingredients

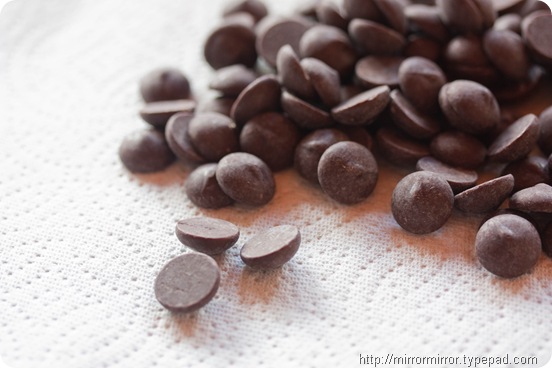
3 1/2 oz  (100g) of dark chocolate

6 tbsps unsalted butter, cut into small pieces

1/2 cup plus 3 tbsps all-purpose/plain flour

1 tsp baking powder

2 large eggs

1/2 cup sugar

(I also added 1/2 tsp salt, because I like what salt does to sweet things, and 1 tsp of vanilla essence).

Method

Combine the chocolate and butter in a bowl set over a pot of simmering water and melt, stirring until smooth. Remove the bowl from the heat and leave to cool.

Sift together the flour and baking powder and reserve.

Whisk the eggs until frothy, gradually add the sugar and continue whisking until the mixture is pale yellow and has thickened.

Gently fold in the cooled chocolate-butter mixture until well combined. Then gently fold in the flour until just combine. Then cover the mixture and chill it in the fridge for 3 hours.

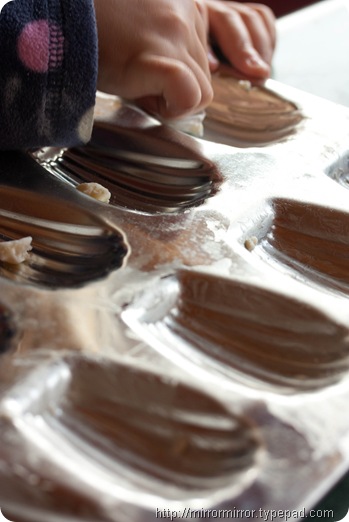
Thoroughly butter your madeleine tin, which is an excellent job for small fingers, and preheat the oven to 400 degrees F (200 degrees C).


IMG_6509


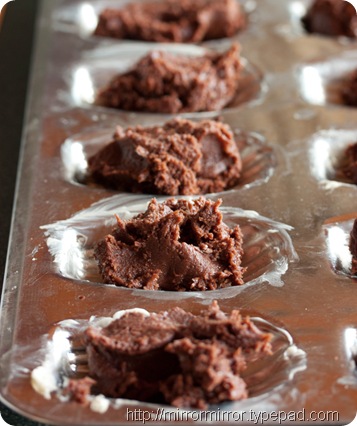
Spoon the chilled batter into the madeleine pans until they’re three-quarters full.

The mixture will be quite thick and cold at this point, so don’t make the mistake I did with my first batch of these and not spread them right into the crevasses of the madeleine shapes. I’d expected the mixture to spread while cooking, but it didn’t enough and my first batch were very misshapen.


IMG_6520


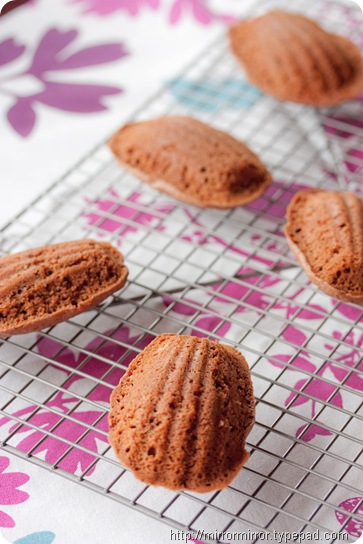
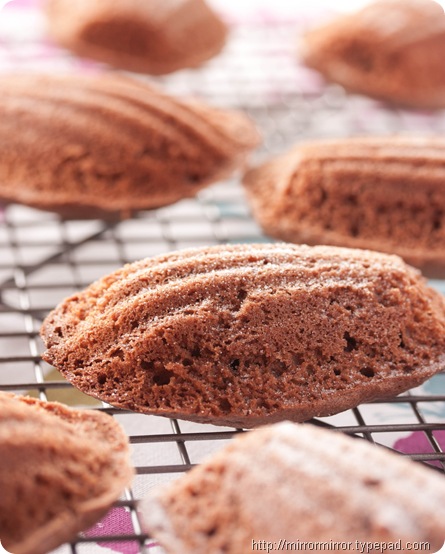
Bake for 11-13 minutes until puffy. Do not overbake.  Cool on a rack and serve either slightly warm or at room temperature. Eat and marvel at how much slimmer you’re feeling ALREADY.


IMG_6546

 IMG_6580

Things have been all over the place this week because of my computer problems, but I’m intending to make Wednesday ‘ Recipe of the Week’  day – where I play at being a food stylist  – going forward. Thanks to Keren at Frantic Foodie for organising the coffee morning and do check out Mireille’s excellent website which is full of ways to keep slim the French way. Oh and you can buy the Atelier LZC tea towel I used above from mirrormirror.

Share

Low Light Food Photography with Lara Ferroni


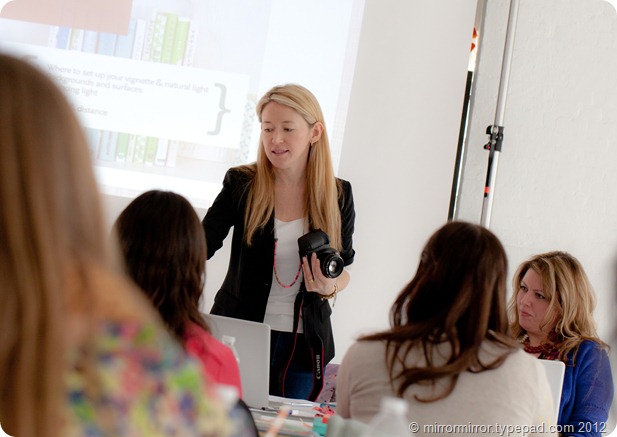
A couple of weeks ago I did another photography workshop with Lara Ferroni, this time talking about food photography in low lighting conditions.

I take all my photographs in natural light, as I don’t even possess a flashgun for my camera, but after getting the opportunity to play with Lara’s flash rig and huge studio lights I was busily working out how I could afford to buy all sorts of gear to counteract the Seattle gloom. (The answer, in case you’re wondering, is that I can’t. Not for the moment anyway.)

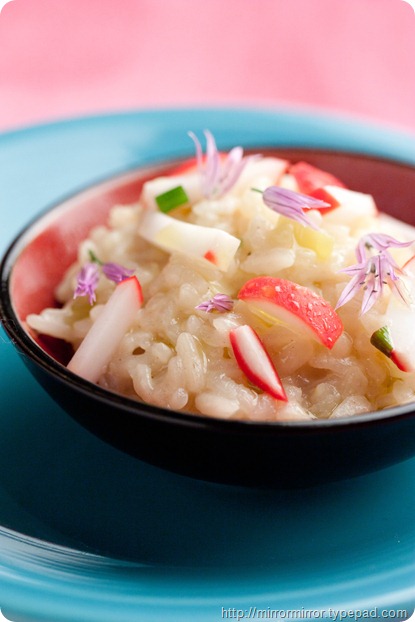
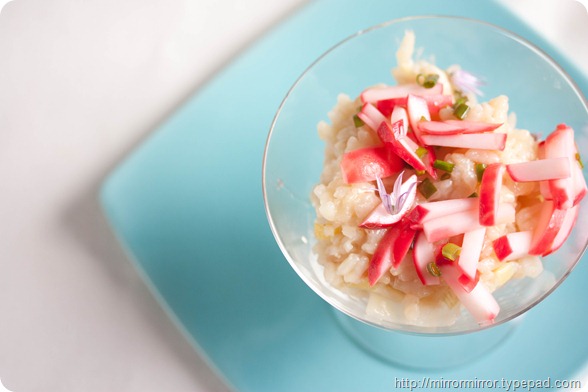
But it was all super interesting and gave us another opportunity to style and photograph the dishes that Lara had prepared, including the most delicious radish risotto, the recipe for which will be coming up in the next week or two.


Here are some of my favourite shots from the session.


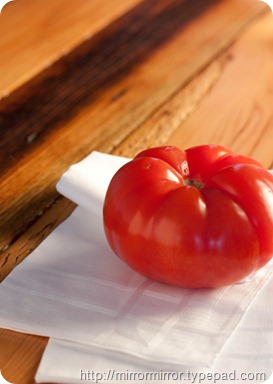
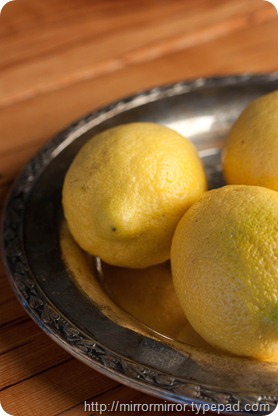
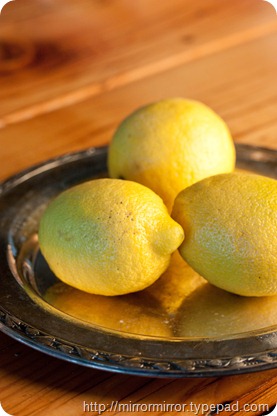
IMG_6299 IMG_6301


Not surprisingly we spend a lot of time discussing light and shadows in Lara’s workshops. These tomato and lemon photos used the same continuous studio lights, but for the ones on the right I used a ‘bounce’ of white polystyrene to soften the shadows.  I actually like these pictures equally but it’s interesting to see how something so simple can totally change the ‘mood’.


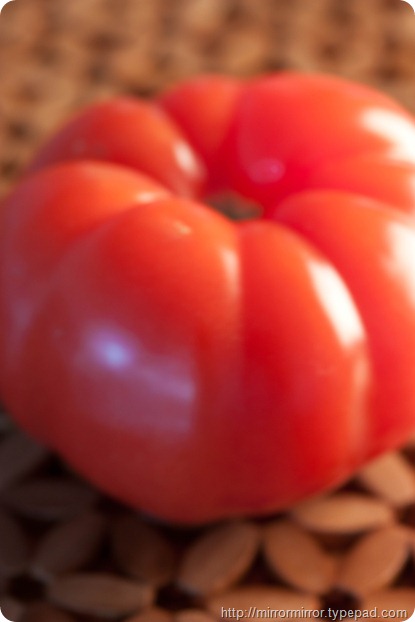
 IMG_6314 IMG_6304


Yep, I know it’s completely out of focus, but for some reason I really like this shot.


IMG_6326


This radish risotto was SO good.


IMG_6401


IMG_6432


There are more photos here on my Flickr. As part of my increased commitment to photography I’m going to try and post more stuff up there. Do feel free to make me a ‘contact’ on there – I’d love to see your photos.

I also can’t recommend Lara’s workshops highly enough if you have any interest in still-life photography (not just food). I can’t wait to apply some of my new techniques to mirrormirror product shots.

I’m also going to take the time to practise food styling at home. Henceforth on the blog there will be a weekly recipe, which I’ll take the time to style and shoot as best I can. Coming up on Wednesday, chocolate madeleines!

Share

Cakespy HQ


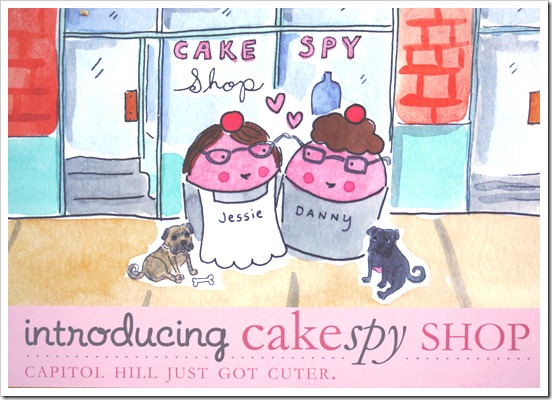
For a spy Cakespy really isn’t very discreet. Jessie Oleson was the toast of Seattle society last week as she opened her new gallery and shop featuring some fabulous indie art together with her own original ‘Cuppie’ artwork and a variety of other cute dessert-related products.


IMG_6281


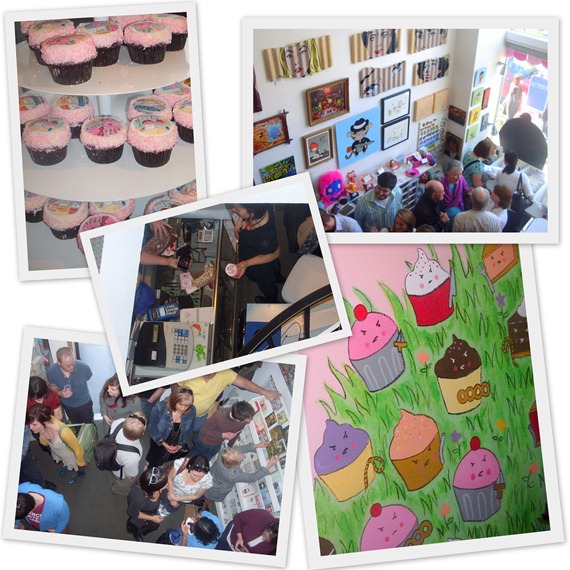
We went along to the opening party last Saturday and the place was heaving with partygoers, spilling out onto the pavement outside in the evening sunshine.

There were custom cupcakes from Trophy  featuring edible artwork by Jessie, her husband Danny’s band Exohxo played a fabulous set and we got to see Jessie’s new mural in person.  The Husband and I hung out with Megan Not Martha and Carrie Cupcake in the upper gallery, while the Minx, wearing her best cupcake-themed sandals for the occasion, mingled with the partygoers below and got very indignant when we went down the stairs to join her, telling us in no uncertain terms,  ‘Go away, I’m talking the grownups.’

If you didn’t get to the party, I highly recommend that you check out Jessie’s shop which is a very sweet addition to Capitol Hill. All details and Jessie’s online store are here at www.cakespyshop.com.


tobefiled2

Share

An Extremely Cool Mother’s Day Idea


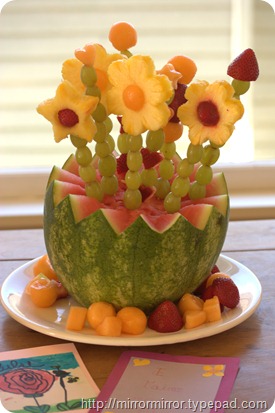
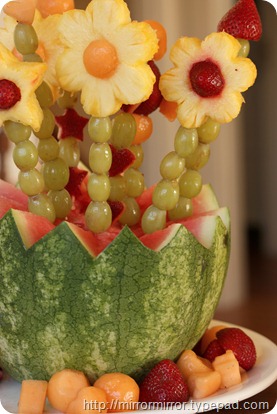
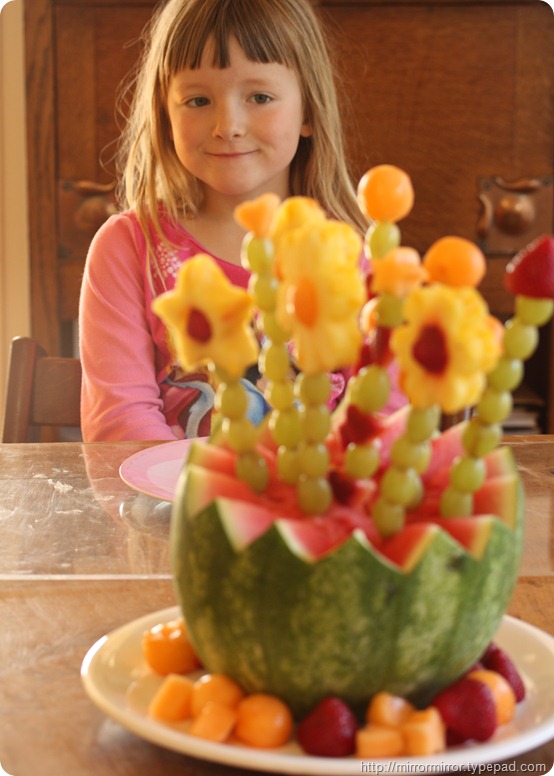
Yesterday morning I was woken at 6.20 AM by a very excited little girl, eager to present me with her Mother’s Day gift.

Because I’m an extremely bad mother, I must confess I was not exactly thrilled to see her at that time of the morning.  However when I saw what she’d made, it was so spectacular even I couldn’t find it in my heart to be grumpy.


 IMG_6176.CR2 IMG_6189


Funnily enough the Minx had no idea that I had recommended Edible Arrangements in my Mother’s Day Gift Guide on Shelterrific. Instead she had referred to instructions given in a recent issue of Sparkle World magazine.

The Husband reports that it’s a really great project to do with a young child – he got to cut the watermelon ‘vase’ and wield the melon baller, while the Minx was in charge of design, cutting out daisy and star shapes and threading fruit on to skewers.

And it was a superbly pleasurable way to have a light and totally guilt-free fruity breakfast before going out for Mother’s Day brunch.
Someone was rightly extremely proud of her little self. And I am very, VERY proud of her.

Hope all you other mommas had a great day too.


IMG_6186


We went out for the brunch buffet at Urbane, the restaurant in the newly-opened Olive8 building. Loved the restaurant, loved the decor (would have taken pictures had the battery in my camera not died at the wrong moment), and the brunch was excellent.  Highly recommended to all Seattleites, especially the Nutella brioche which was one of the most delicious things I have ever eaten in my life.

Share

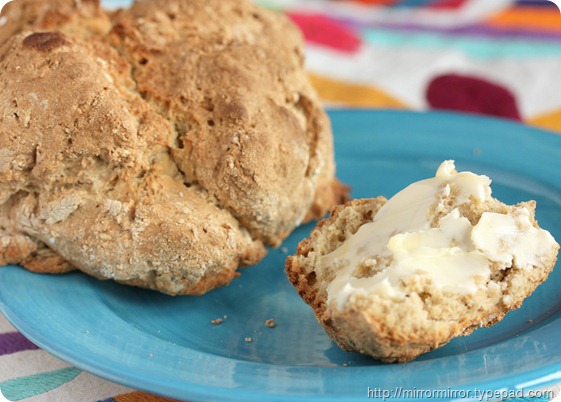
Last Night’s Supper – Irish Soda Bread


IMG_6115


Tremendously appropriate for Cinco de Mayo don’t you think?

Oh well, the vagaries of my appetite don’t follow the calendar. I ended up making soda bread last night as curried butternut squash soup was on the menu and we didn’t have any good bread in the house. I’d also fortunately just bought a giant bag of wholewheat flour by mistake.

I’d never made soda bread before so I looked up a number of different recipes online and came up with this hybrid version.

Ingredients

4 cups wholewheat flour

1 cup bread flour (we only had white bread flour in the house)

1/3 cup rolled oats

1 tsp baking soda

1 tsp salt

2 cups buttermilk

1/2 cup normal milk (I added this because I didn’t have enough buttermilk, I’m sure all buttermilk would work)

1 tablespoon runny honey


Neither the honey nor the oats are particularly usual additions. I did find one or the other in some recipes though and included them to save the bread from that saliva-sucking dryness you get from some soda breads.  They worked a treat and gave the bread a delicious hint of nutty sweetness. 

The above ingredients make 4 small loaves. We shared one loaf between two of us with our soup.


Method

Preheat the oven to 425 F/220 C.  Lightly butter two baking sheets.

In a large bowl stir together all the ingredients, until a soft, slightly sticky dough is formed (according to many recipes I read, stickiness now avoids dryness later).  Form the dough into four balls with a light hand – no kneading and certainly no bread machines required. Mark each loaf with a X and place on the prepared baking sheets.

Bake for 30 minutes until the crust is golden and the bread sounds hollow when you knock it on its bottom.  The beauty of this bread is that from looking in the bread bin to discover there’s no bread in the house to eating a delicious loaf takes about 50 minutes tops.

Serve warm with lashings of unsalted butter.

Regret unsalted butter, but then think ‘what the heck’, and reach for more. It also makes SUPERB toast the following day. (Ours kept well in a ziploc bag overnight).

Share

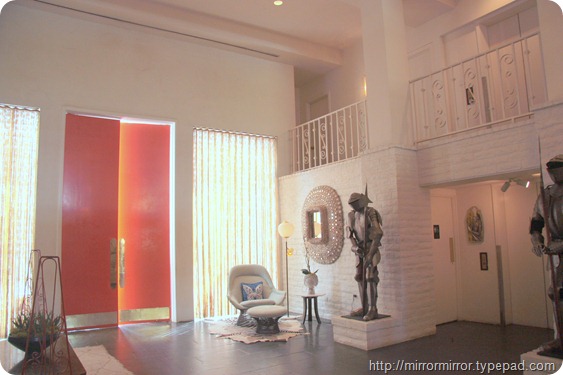
Jonathan Adler at Le Parker Meridien – Palm Springs


The last day of our trip to Palm Springs was also the only day we had grotty weather. It was sunny enough for swimming in the hotel pool until lunchtime, but then we checked out and went for lunch at the Parker, with interior design by Jonathan Adler.

From the moment we walked through the enormous orange front doors it was obvious we were in the presence of decorating GENIUS.


IMG_5566


Even the Minx thought so.


 IMG_5537 IMG_5535


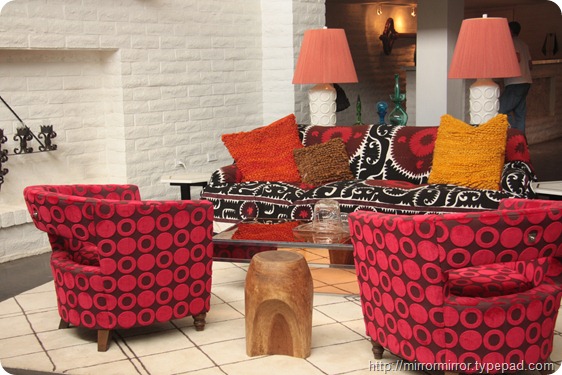
To be fair Adler is definitely a decorator, not a designer and he does make it easy for himself. The building is not especially exciting and he hasn’t done anything particularly original with the space. Pretty much everything is painted white with dark wood floors, and the whole would be incredibly boring if it were empty.

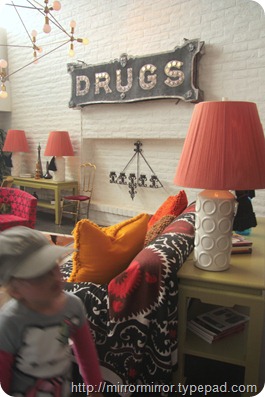
But he has created the perfect backdrop for his superb vignettes of furniture and quirky accessories all topped off with his incredible sense of colour.


IMG_5559

IMG_5587  IMG_5567

IMG_5543

IMG_5565


Everywhere you turned there were little Adler-esque touches.


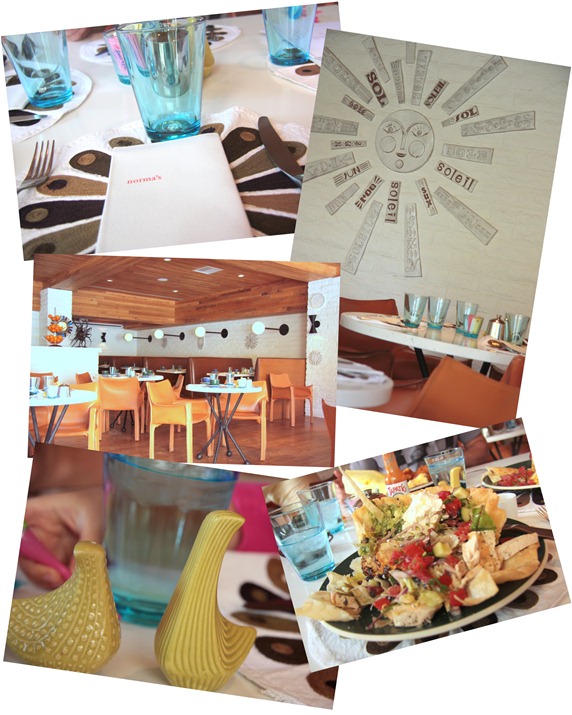
The Parker


The restaurant – Norma’s – was quite blandly decorated but the food was good and it’s obviously worth it to come here and have a bit of nose around the hotel.


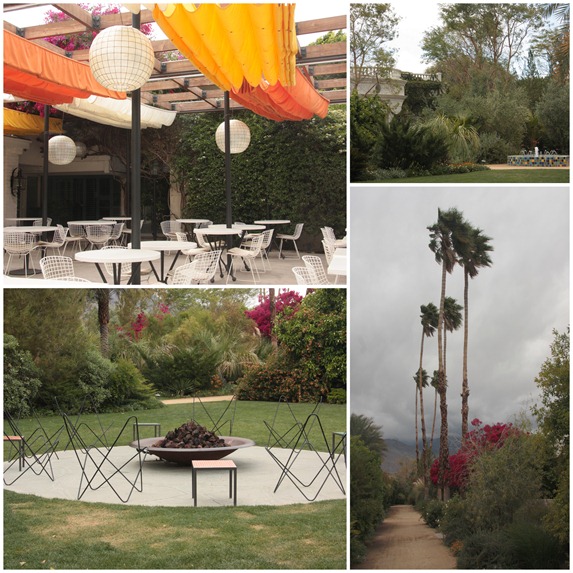
Palm Springs1


The outside spaces looked like they might be interesting, but by this time the weather was really closing in and it was time to get the hell out of Palm Springs.


Palm Springs1-1


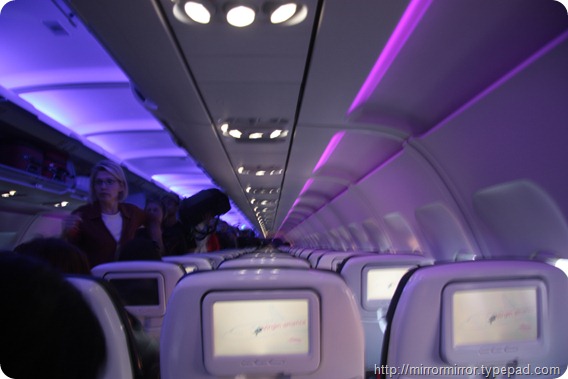
Just a quick word here in praise of Virgin America. We flew down the West Coast with them and it was such a pleasure to travel with an airline that was on time, had superbly pleasant customer service, fabulous seatback entertainment for everyone, and, to the Minx’s utter delight PINK and PURPLE interior lighting. Truly the key to a little girl’s heart.


IMG_5596


In other tales from our trip to Palm Springs, check out

The Ace Hotel and Swim Club here.

The Colony Palms Hotel here.

Out and About in Palm Springs here

The Aerial Tramway here.

Joshua Tree National Park here


Share

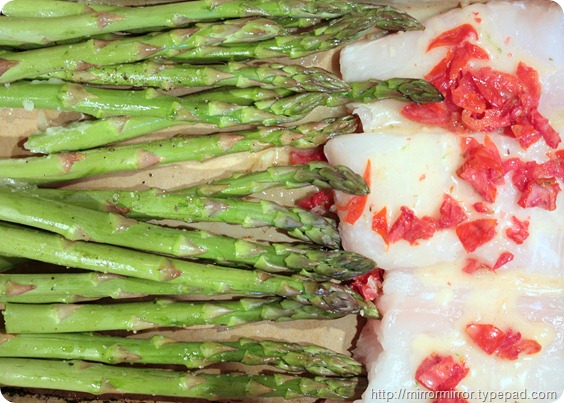
Last Night’s Supper – Roasted Asparagus and Halibut with Tomato-Lime Butter

This supper couldn’t be more seasonal, delicious, easy or quick, making it perfect for a midweek supper.

The halibut round these parts is rightly famous, but you could make this with any firm white fish, and Washington asparagus is finger-licking good. 


IMG_5858

Ingredients

3 tablespoons olive oil

1 pound pencil-thick asparagus

Sea salt and freshly ground pepper, to taste

4 1-inch thick halibut fillets, about 1 1/2 to 2 pounds

3 tablespoons butter, melted

1/4 cup roasted tomatoes, finely chopped

1/4 teaspoon each dried thyme and oregano

1/4 teaspoon lime zest

Juice of 1/2 lime


I got this recipe from the website of PCC our local, and favourite, supermarket.  Click on the link to get the recipe but essentially all you do is dress the asparagus with the oil, salt and pepper and place it in a roasting pan next to the halibut fillets topped with a flavoured butter made by combining the rest of the ingredients. If you can’t find roasted tomatoes in oil at your local supermarket, sundried tomatoes would work, or you could make your own by grilling/broiling or baking some cherry tomatoes sprayed with olive oil beforehand.

Preheat the oven to 450 degrees F/230degrees C/Gas Mark 8 and then put the whole dish in the oven for 10-12 minutes until the fish is opaque. See what I mean about easy? We served ours with some tiny potatoes but I was too busy eating to take a picture. This would be stunning with Jersey Royals (how I MISS Jersey Royals).

Share

Colony Palms Hotel – Palm Springs

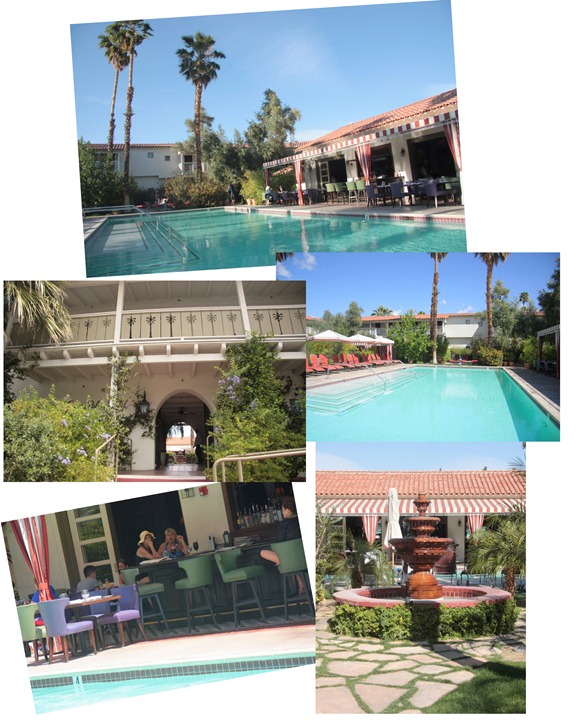
The second hotel we stayed in was the newly refurbished Colony Palms Hotel, fabulously located close to the centre of downtown Palm Springs.

Again we’d been a little wary of booking here – a bit concerned that it would be a little too strait-laced and respectable for the Minx.

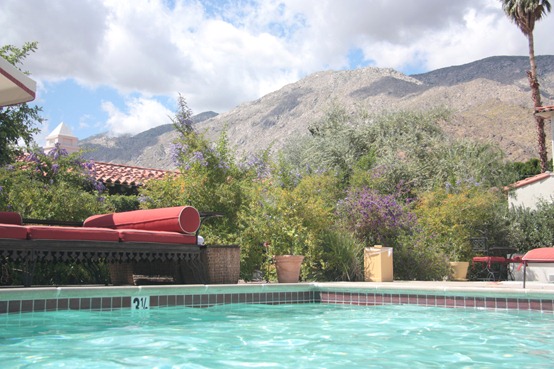
Again we needn’t have worried, the hotel was utterly different from the Ace, with a more glamorous and intimate vibe, but there were still plenty of other kids there, the Minx loved the pool and the staff could not have been friendlier or more welcoming.


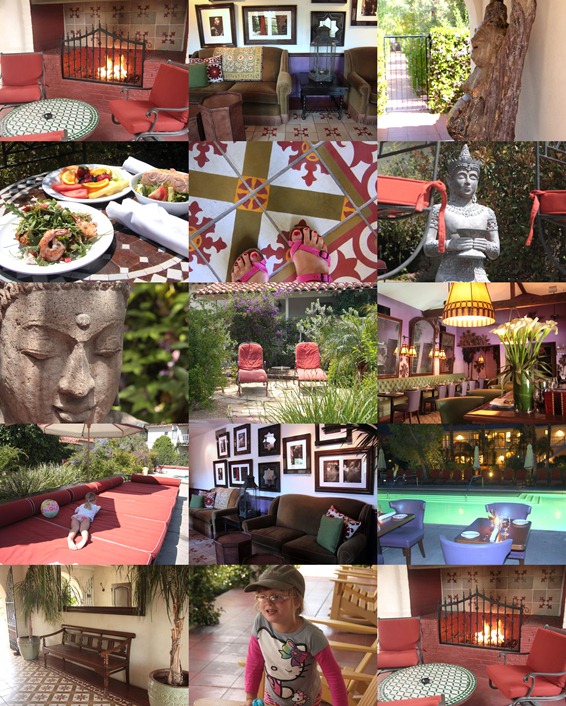
Colony Palms

The hotel was built in 1936 by a Palm Springs mobster and used to house both a speakeasy and a brothel. It has recently been extensively and expensively refurbished.  The building is in a more traditional Spanish colonial style focused around a gorgeous swimming pool and restaurant area and surrounded by lovely gardens full of secluded nooks and crannies.

It’s not my favourite style of architecture – where is the reasonably priced funky modernist kid-friendly hotel in Palm Springs? – but it was certainly hugely comfortable and luxurious.

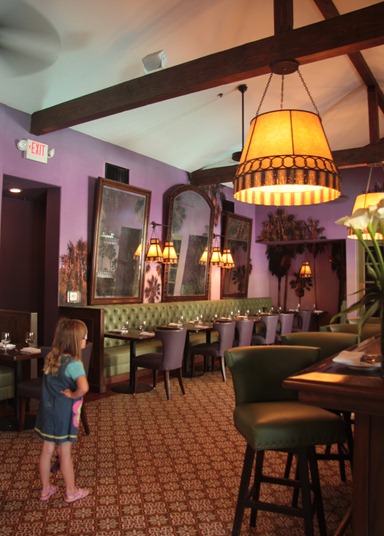
The interior is by Martyn Lawrence-Bullard.  He’s used a lot of Spanish influences – coloured tiles, bright colours, spindly wrought iron  – and mixed in some Turkish, Moroccan and Indian elements – with graphic embroideries, Indian statues and Moroccan tables tucked into the corners.


Colony Palms1


The hotel also has a pretty swanky poolside restaurant, the Purple Palm, attached, and the food was really good, the best we had in PS and that’s saying something.


IMG_5441 

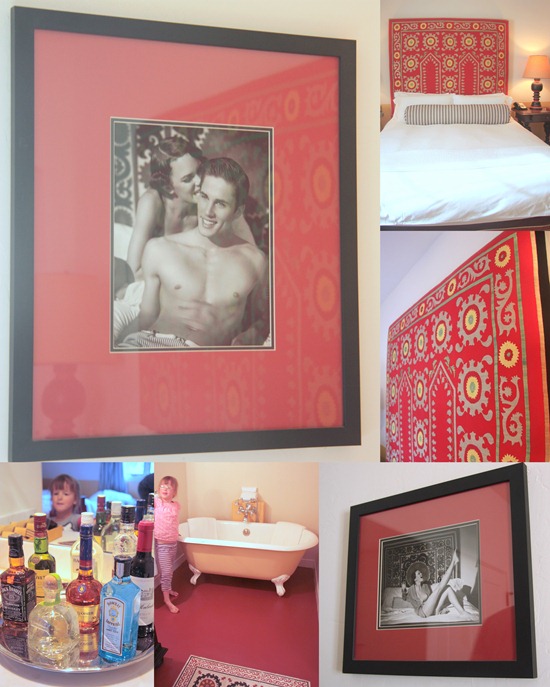
Our room featured an incredibly comfortable bed, with padded embroidered headboard; big bottles of spirits in the mini-bar; an enormous bathroom with painted cement floor; embedded Spanish tiles (which I stupidly forgot to photograph) and a roll top bath.  The cheesy photos of airbrushed models cavorting round the hotel were hilarious. I’m not sure if that was intentional.
 

Colony Palms2


The location was excellent, within walking distance of lots of great shops and restaurants and with the prettiest view we saw of the neighbouring San Jacinto mountains.


IMG_5463


All in all it couldn’t be more different from the Ace and yet I’d recommend it just as much, and combining the two made for a really interesting Palm Springs overview.

See also

Out and About in Palm Springs

Ace Hotel & Swim Club, Palm Springs

Share

Some More Photography Links


IMG_5756


We’ll be going back to Palm Springs later this week, but I wanted to get these links out there today in case anyone wants to sign up for tomorrow’s CreativeLIVE course (see below).

I’m on a bit of a crusade at the moment to take my photography to the next level. I’m feeling very photographically frustrated as all I can see when I process my photos are the flaws, and other peoples’ work still seems so much better than mine.

I’m not even quite sure why I want to get good – I have no aspirations to be a professional photographer – but it’s going to be useful for mirrormirror photography if nothing else, and it should make the photos on the blog a bit prettier.

The first thing I’ve been doing is listening in to CreativeLIVE’s course on the Fundamentals of Digital Photography, taught by John Greengo. The course is given as as a 10 week series of weekly video lectures and the best thing about it is that it’s FREE, as long as you tune in to watch the video at the appointed time. It’s also interactive, with questions taken via the website and Twitter and there is the opportunity to buy all the videos so you can refer to them when it’s convenient.

The course so far has been a bit waffly – though it was bound to be frustrating when I’m sitting watching them at 11 am on a Wednesday surround by stacks things To Do – but every so often Greengo will come out with a really useful nugget of information that makes the investment in time worthwhile. It would probably be even more useful for someone who’s just starting with their SLR as he really does get down to basics. Week Three is tomorrow (Weds 21st), so I’m also hoping that now we’ve got all the introductory stuff out of the way, there’ll be lots of real meat going forward. Overall I do highly recommend this, especially as it’s FREE. (CreativeLIVE’s other courses also look like they could be worthwhile – might even sign up for the watercolour one).


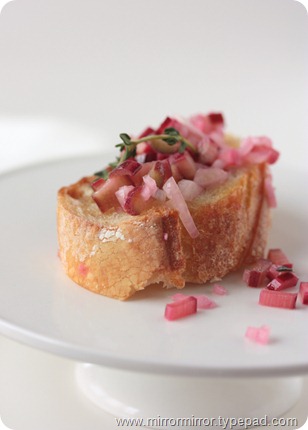
IMG_5780Last Saturday I also attended a workshop on Natural Food Styling and Photography with Seattle-based photographer Lara Ferroni.  The workshops cost around $100 each but with only six people attending and the opportunity to work in Lara’s amazing new downtown Seattle studio space Spare Room they are worth their weight in gold.

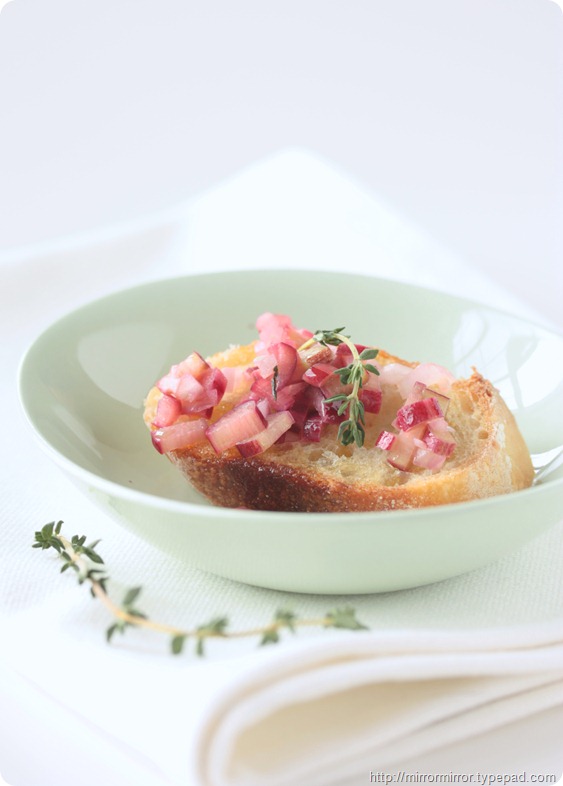
Lara showed us lots of good stuff about manipulating lighting, ideas on composition and clever food styling tricks  and it was fun to choose our own props from her prop-laden shelves to practise styling our own shoots. The above shot is of a wonderful rhubarb crostino that Lara prepared (waiting to get hold of the recipe for that, it tasted as good as it looked). I can’t wait to start using some of the things I learned going forward (the shots for flapjack recipe were done before I’d done the course).

I’m also going to be doing her workshop in Low Light Food Photography on May 17th if anyone wants to meet up there. Lara also writes a really useful blog about food styling and photography called Still Life With…

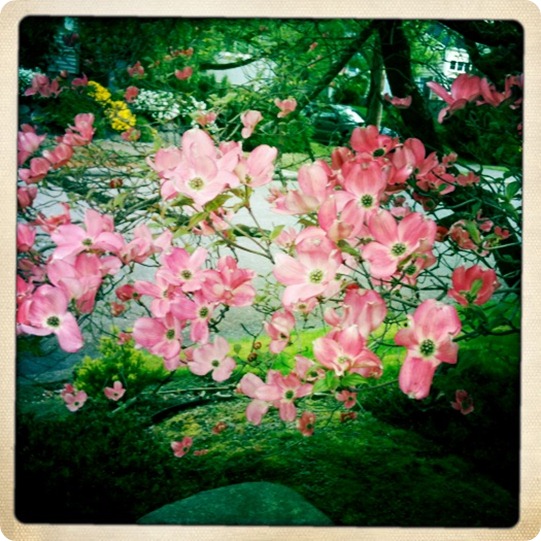
Finally the world and his wife has been raving about the new Hipstamatic app for the iPhone.  My very first camera was a little Kodak Instamatic which I loved to pieces. I haven’t played with the app much yet, but I’m loving it so far.


007


UPDATE:  Just want to make clear that the CreativeLIVE course is based in Seattle but available to watch wherever you are in the world. Just make sure you tune in at the right time for your time zone (you can calculate that on their website).

The Food Styling workshops are located in Seattle, so mostly for local peeps (though for the last one someone had driven down from Vancouver to attend).

Share