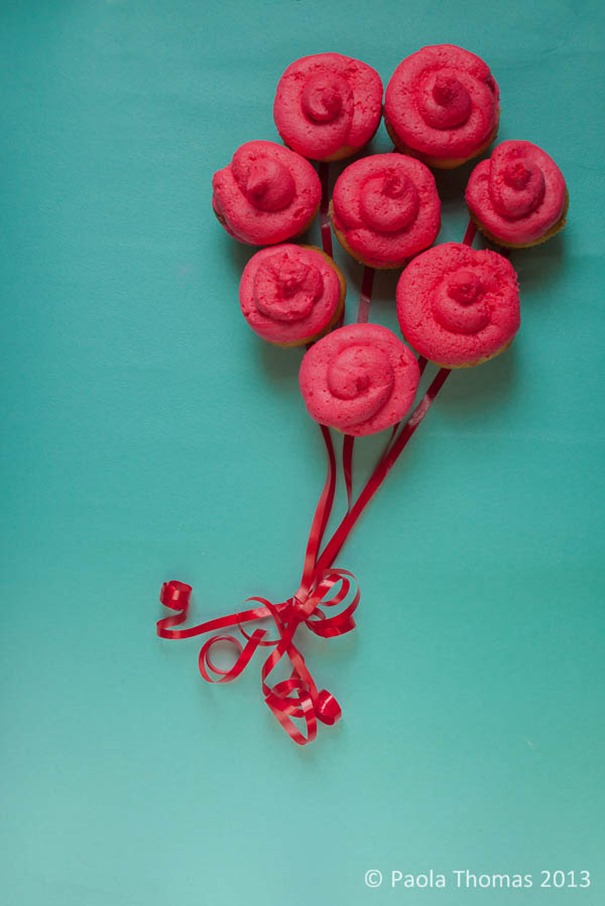
So last week’s assignment was simple. A concept shot inspired by “Red Balloons’.
Because I wanted to do something a bit different, and because blowing up balloons makes my cheeks hurt, and because I’m trying to improve my food photography, I decided it might be easiest to just whip up a bunch of cupcakes.
In that I was almost certainly wrong. Trying to organise and tame that ridicuously curly gift ribbon with tiny bits of sticky tape into strands that might possibly look like they were floating through the air tested my patience to the very limits. Food and product stylists everywhere, I salute you.
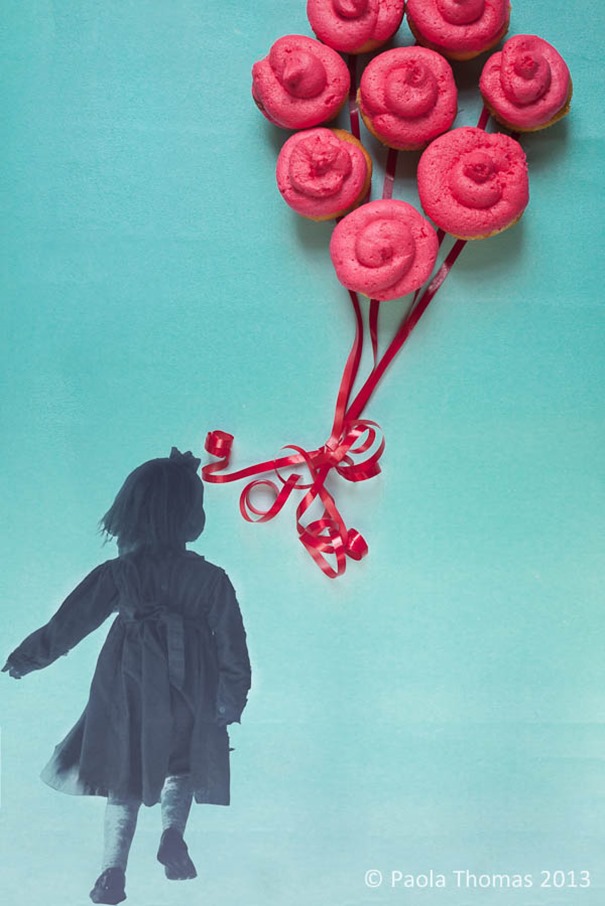
I was worried that the photo above might be insufficiently conceptual, so then dug up a photo I had of a tiny Minx chasing balloons. I used my still extremely crappy Photoshop skills to turn her into a Brush and included her in the picture.
I wasn’t entirely happy with this shot either as I couldn’t help wishing that the Minx had been stretching up towards the balloons, and the composition just didn’t look right. The Minx thinks it’s fabulous though, so I think I’ll make a canvas copy for her toyroom.
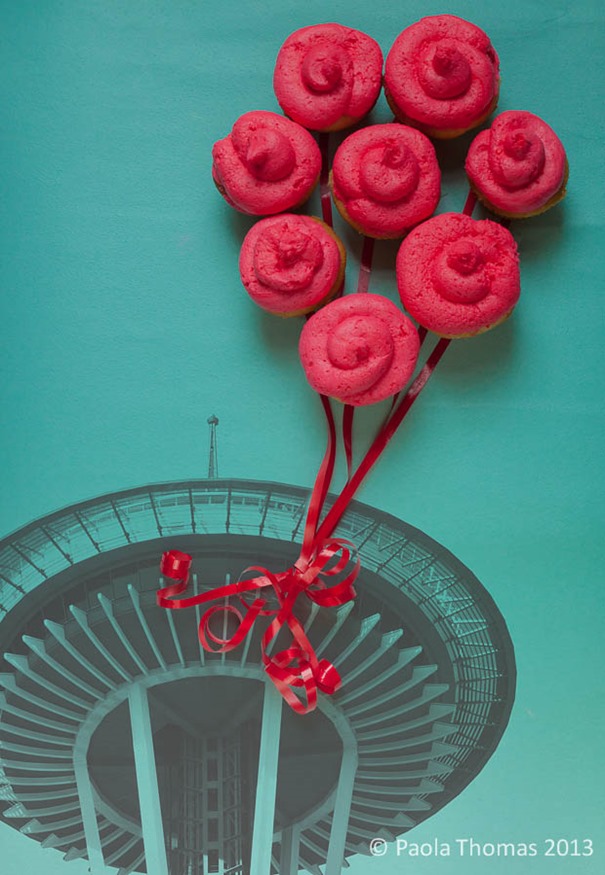
In the end I decided to use the same conceit but have the cupcake balloons wafting in front of the Space Needle.
This involved taking a photo of the Space Needle, converting it to a Brush and then using a mask to reveal the bunch of ribbons. My Photoshop ‘skills’ pretty much exploded at this point.
To be honest, I think this is my least favourite of the Project 52 images I’ve produced to date, and I’m not sure that red flying cupcakes look particularly appetising, which, after all, is the point of food photography. But it was a fascinating creative exercise and certainly tested my Photoshop skills, such as they are, to the very limits and beyond.
HOW TO CONVERT AN IMAGE INTO A BRUSH IN PHOTOSHOP
You can convert any image into a brush in Photoshop which gives it an interesting flat effect and means you can colourise it, move it about, multiply it, turn it, stamp your photos with it and do all sorts of jiggery pokery (note use of correct Photoshop terminology). In fact do all the things you can do with the standard Brushes, but with a photo.
– Use your preferred selection tools to select the area of the image you wish to use. (I had trouble selecting the Minx as you can see, the Space Needle was much simpler).
– Go to Select –> Inverse and then delete the areas of the image you don’t want to use, so that you end up with your image on a transparent background.
– Convert the image you want to use to black and white, remembering that grey areas will show up in the brush but white areas will be transparent.
– Adjust contrast etc. to get a good strong B/W image
– Draw a box around the image with Rectangular Marquee Tool and go to Edit –> Define Brush Preset. And that’s it, you’ve created a new fancy Brush!
– If you want to save your brush permanently go to Window –> Brush Presets –> click on the Brush Presets Icon (second from left along the bottom) and Select the Brushes you want save. Then save them in a named set.
If you want to download some groovy premade Brushes for your digital artwork, check out Brusheezy or TwoPeasinaBucket.
And if you want to see how Photoshop Brushes can be used to make all sorts of crazy and inspiring art then check out this CreativeLIVE course with the incredibly bubbly and charming Khara Plicanic, which was one of the most fun courses I attended at Photoshop Week.
I spent the last couple of days at CreativeLIVE again, doing a course on Photoshop Working Foundations with ace photographer and Photoshop guru Ben Willmore. My only regret is that I wish I’d done this course before Photoshop Week as I would have got so much more out of all the other courses I sat through.
I can’t recommend this course highly enough if you want to get the basics of Photoshop – selections, layers, masking, adjustments etc. down pat. One of the most useful courses I’ve ever done and it would be a great purchase if you are fairly new to Photoshop.


Leave a Reply