I thought we’d relax after yesterday’s trip to Vancouver with a little photography. I was fascinated to see that a full 89% of you who responded to the recent Urtak survey said you enjoyed photography, so I hope this next post will prove to be both interesting and useful to many of you.
I had the enormous pleasure of meeting Michele, a professional architectural photographer, on the Blogging Your Way weekend. Her blog is newish, but wonderful – she has a warm, witty, very funny voice and takes seriously awesome photographs. And yes, you have to read her blog posts in a Brooklyn accent.
First of all, I’m totally having an anxiety attack because someone reads my blog. And not just someone, but the lovely, creative, funny, and incredibly spirited, Paola. And not only does she read my little photoblog, Tripping on Asphalt, but she likes it enough that she’s asked me to write something for her wonderful blog. I’m melting into a little puddle on the floor. Then she’s all, “Sorry for the short notice, Love” and I’m swooning over the super-cool accent (because, of course, I read her emails with an accent), and in my head I’m all, “seriously, sister; if you’d given me a week instead of 24 hours, I’d’ve died from an anxiety attack instead of getting myself together and writing this post”.
So here we are! My name is Michele, and I began my architectural photography business, Sequined Asphault Studio, back in 2005. I was born and raised in Brooklyn and now live in Connecticut with my very tall husband and my very small dog, who I am trying to teach to work a cocktail shaker. If you’d like to get to know me a bit better, consider yourself warned, but you can read about some of my random idiosyncrasies on my blog, Tripping on Asphalt .
Paola tells me you love photos! So we thought I’d share with you just a few of the techniques I use to create an image; techniques that you can easily steal to make your own photos even better. For the last tip you’ll need a dslr/slr and be able to set it to manual mode, but for all the others any camera will do. Now, I tend to steer away from the how-tos for fear of being Miss Bossy Pants, but for Paola, I’m going to be adventuresome. I humbly present to you, Five Simple Tips to a Better Architectural Photo.
Tip 1: Use a Tripod.
I basically can’t talk to you any more if you don’t follow this advice, because everything else I’m going to tell you requires you to put down the camera so that you can be more conscious of everything in your shot. If you’re using one already, 5 points for Gryffindor! If you are not, don’t despair, just give it a go. And don’t break the bank if you don’t have one already. Chances are you can find something in a friend or relative’s basement. If not, get an inexpensive base model and it will serve you loyally.
Now, if you are attempting to get a shot of newly mobile toddlers using a tripod, you will get a headache trying to get them in frame, which will lead to more vodka and less pictures. But a tripod can elevate many types of photography, even, or maybe especially, a basic family portrait where you can mindfully set up your shot and possibly hop in after you’ve set the timer.
Tip 2: Be Conscious of Your Lines
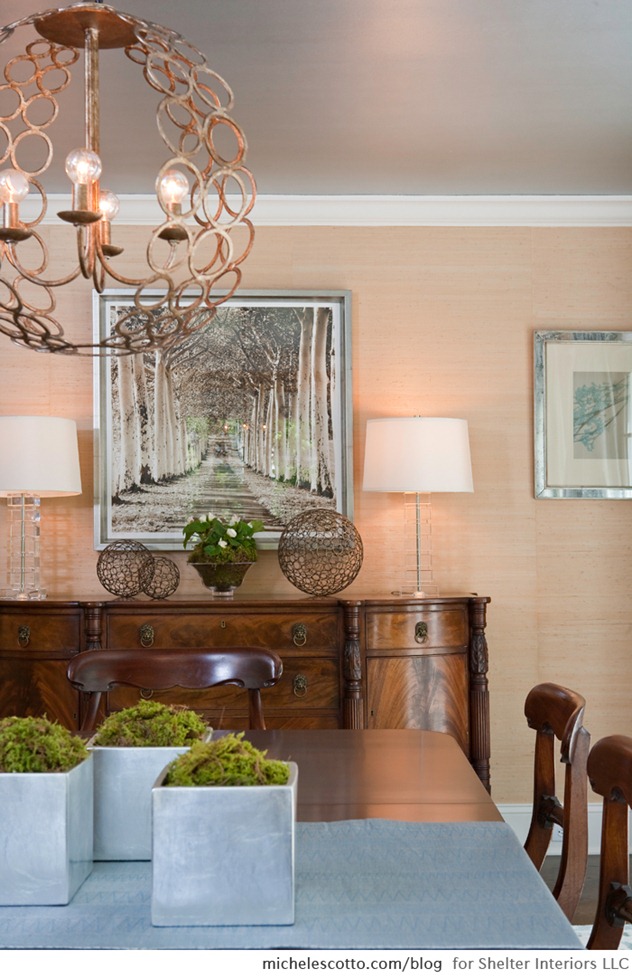
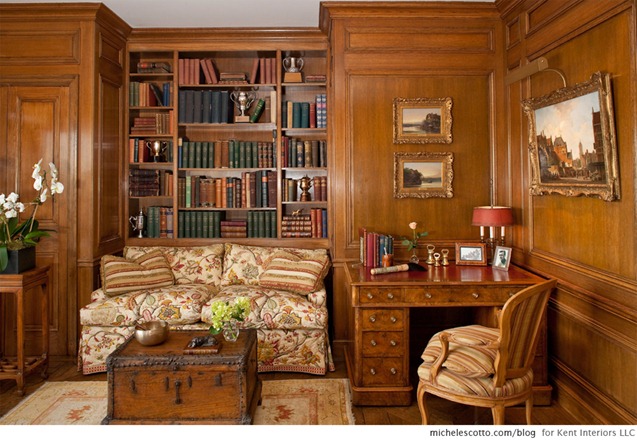
Now that your camera is on a tripod, look through your viewfinder at the walls, moldings, doorways, bookcases, trees, or anything that creates a right angle or parallel lines within the frame of your photo. Get right up in your viewfinder and position the camera so these lines are as straight as possible. Especially the floor and ceiling. I shoot directly to the computer and can double check on a larger screen, but you can use your viewfinder and LCD screen quite effectively. Most often when things look cockeyed on the screen after I’ve take the time to perfect my lines, I find I’ve been looking through the camera at some messed up angle, so make sure you’re not crooked either.
While you’re at it, analyze the lines you’ve got. If you don’t want to see the ceiling, zoom in and get it out of there. Make sure those lines include exactly what speaks to you to photograph. Nothing more, nothing less.
Tip 3: Consciously Choose Objects to Convey the Mood
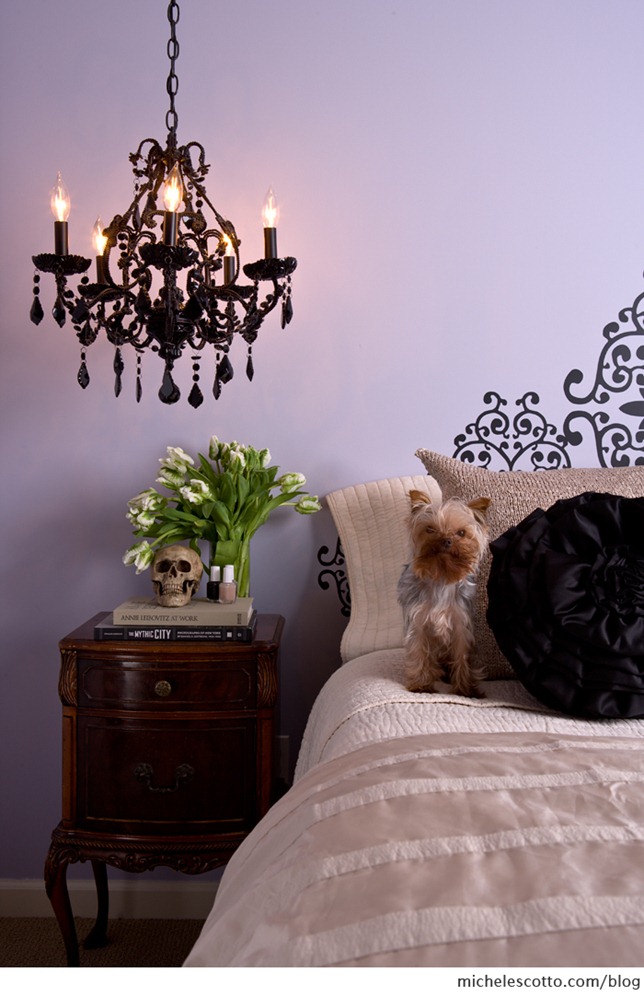
My husband, Dug, is convinced that my 3 pound Yorkie, Chewbacca, would make every single photo I take better. (Paola would likely prefer a disinterested cat.) I’ve unsuccessfully tried to explain to Dug that at some point, people might stop paying me for my services if I refuse to take photos without Chewie. To which he calmly shakes his head and repli es, “Have they met him?”
But Dug makes an excellent point. Animals warm the heart and can create a more inviting photo. Embrace animals, or items that show personality. Since this shot was taken in my own home, it was super simple to grab Chewie and everything on that nightstand from other places in the house to create a quick scene that reflects me, instead of the clutter that was actually there, which also reflects me, though I’d prefer my used Kleenex and iPhone charger not be recorded for posterity.
Tip 4: Declutter and Edit Out Objects that You Don’t Want Stealing the show
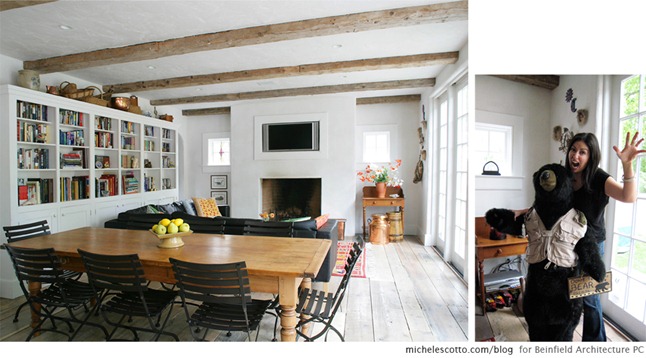
Sometimes there can be too much personality. Go ahead and move stuff out of the frame that’s distracting. Declutter. And here we come back to the tripod again. Because once you’ve got the camera pointed at your subject matter, you can keep going back and checking the composition to actively decide what you want in the frame and what you don’t. Get all the crap out of the way because the only thing that matters for your photo is what the camera can see. Armageddon can be, and often is, 2 inches outside of the frame, and no one will ever know.
I loved this bear. I totally wanted to take him home. But if I’d left him in the shot, no one would be looking at the architecture, right? They’d be all, ‘Bear!’ Which was pretty much how I felt all day at this shoot. “Bear!’ We even set him a place at lunch. You can also see the equipment and wiring in the corner behind me that we covered with the homeowner’s cool jugs (now I’ve gone and accidentally made a boob reference and I’m never going to get invited back).
OK, bear with me while we get a tad technical. (and now I’m punning, how unfortunate)
Tip 5: For a Sharp All Over Photo, Set a Large Numbered f-stop
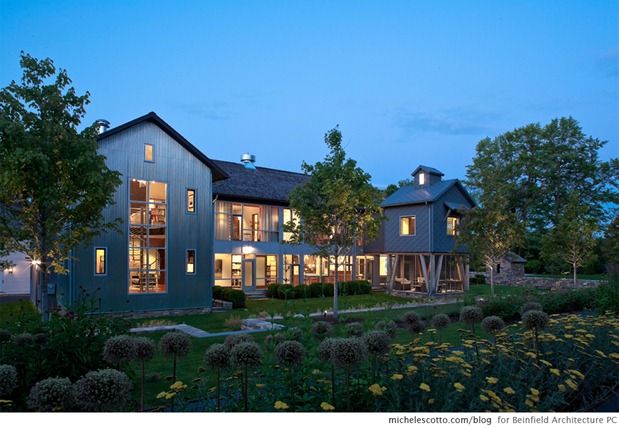
When I’m setting up an overall, wide-angle shot, I want everything as crisp and sharp as possible throughout the entire image. None of the beautiful bokeh, the blurred background that pops your subject, people love so in portraits. To make this happen using only available light, crank the f-stop setting to as high a number as you can go (a higher number is actually considered a smaller f-stop because it means the resultant opening for light is very small), then find your shutter speed through experimentation. You’ll need a much longer exposure, so just keep adjusting your shutter speed to find the right balance of light. Anything moving in a long exposure shot, like an animal, person, or branch in the wind, will end up a motion blur, which can be pretty interesting.
This night shot is an extreme example but the shutter was open for 3.2 seconds and the f-stop set at f/16. Obviously I couldn’t hold the camera still for 3.2 seconds, so thanks to my trusty tripod, that’s 3.2 seconds during which I was sipping pinot noir.
Our time here has come to an end, lovelies. I thank you so much for the opportunity to chat, and thank you Paola for having me as your Guest Blogger for the day! I’d love to hear if you’re able to make use of any of these tips, or if you have any questions I can tackle about the kinds of photos you see on my site or in the design magazines. Drop by any time for a visit.
xoxo MS T




Hi Michele! Thanks for the tips, they are great! Large vs small f-stop always confuses me, but this helped!
Useful advices! Thank you very much! BTW I dont know where Id be without my tripod.SUch a handy piece of equipment. Especially for night photos, which you already pointed out.
OMG I love the painting/print of the line of white birches?
You wouldn’t by any chance be able to tell me where I could find this would you? I’d love to hang this in my place 🙂
thanks so much!
This is super helpful for me! I need to follow tip #1 and buy a tripod asap. headed over to amazon to find one now.
Thanks so much for reading and commenting!
Paula, I tried to find out for you but designers aren’t so keen on sharing trade secrets. And Brianne, good luck and let me know how it goes.
That’s a shame 🙁 I always thought they liked to promote items used in their shoots by offering a source list, that way the artist gets futher exposure and revenue of course.