Smashing Pumpkins


Pumpkins

Our baby pumpkins ripening in the sunshine (about two weeks ago)

It’s been absolutely pissing it down in Seattle today, so it was a pleasure to flick through my summer photos and find some that I had been meaning to share back then, but never got round to.


vegetable garden (1 of 1)


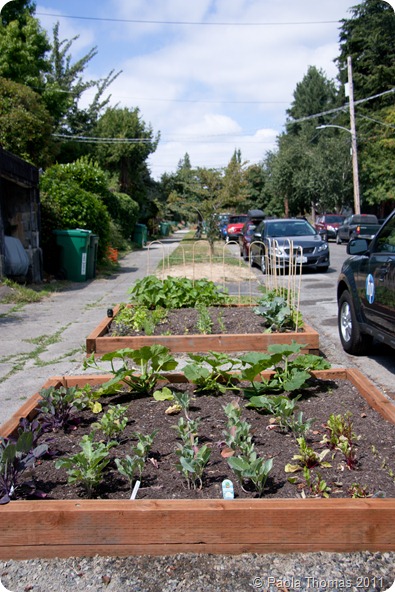
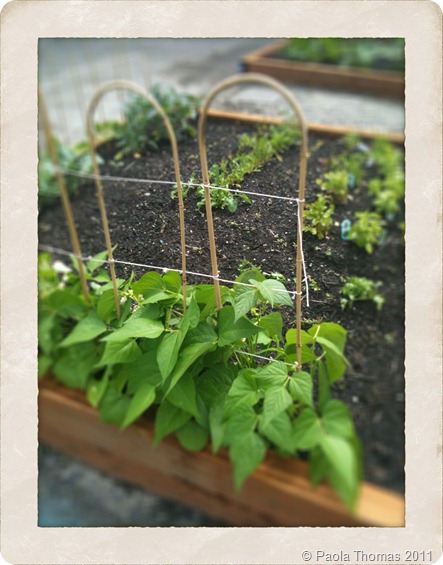
This summer we finally had some fabulous raised beds built next to the sidewalk/pavement in front of our house so we could grow our own vegetables.


vegetablegarden


In the US homeowners are responsible for the street area in front of their homes (in the UK this is the responsibility of the local council) which has led to a great trend of street-level vegetable gardens, especially in my neighbourhood where the front gardens are often steeply sloping.

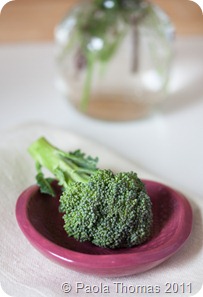
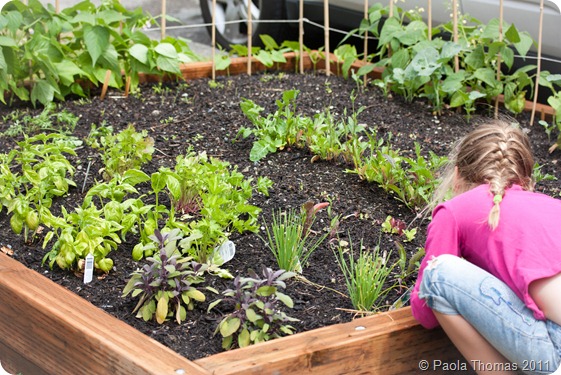
Our garden met with mixed success, mostly because it wasn’t built until the end of June, so we sowed our seeds really late, though we did manage great crops of French and borlotti beans, quite a lot of salad and herbs and a few sprigs of broccoli.

The Minx enjoyed helping out and the cats thought we’d built an extra specially huge giganto litter box, so the they were a great hit with the whole family.


vegetable garden4

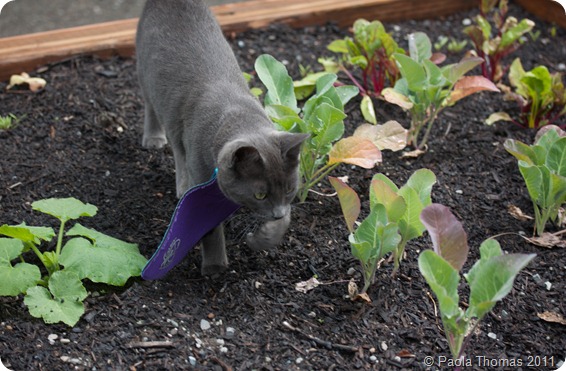
catbib (1 of 1)

Harriet models her ‘cat bib’ (www.catgoods.com) which is meant to stop her catching birds. And it works!


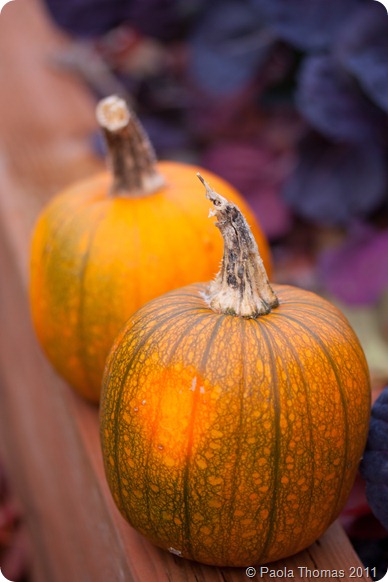
The Minx was desperate to grow pumpkins, so we dedicated half of one bed to her ‘pumpkin patch’. Again the late planting and cold summer was not a recipe for success but we ended up with two small pumpkins (another one was stolen out of the garden on Halloween, would you believe?) which we have been desperately trying to ripen in time to make pumpkin pie for Thanksgiving.


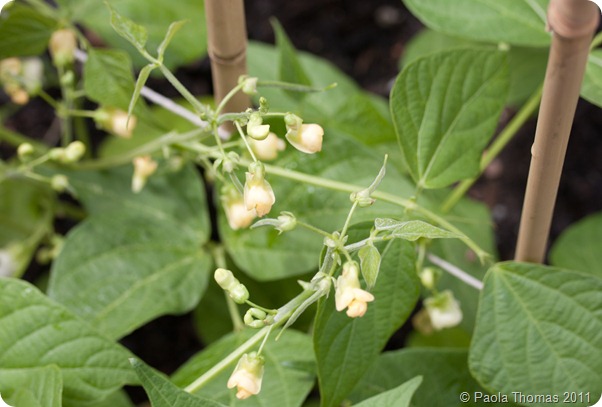
baby beans

Tiny French beans basking in the sunshine
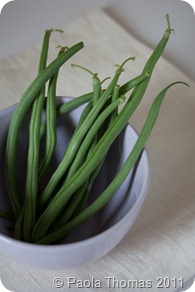
french beans boltedlettuces broccoli
Harvesting French beans, bolted salad leaves and broccoli

So the pumpkins have finally ripened and I’ve signed up to make pumpkin pie with them for Thanksgiving, which is a bit scary as I’ve never made pumpkin pie before (or even eaten them much). Hit me with your best recipes, secrets and tips for a great pumpkin pie. PLEASE.
     
Share

Things I Am Loving–Cross Stitch iPhone Cover


I’ve only ever done cross-stitch once before, when I decided to make a sampler from a kit for a friend’s baby, because it looked like it would be quicker than knitting a sweater.  Yeah right.  I just hope that the cross stitch fabric wasn’t somehow imbued with all the cursing that occurred in its presence.

And yet, and yet.  These fabulous iPhone covers from fabulous NYC yarn shop Purl Soho are enough to make me want to pick up the cross-stitch needle again. Only the thought of having to buy lots of different expensive packs of embroidery thread is preventing me.

purlbeeiphonecase

If you’re braver than I am, full instructions are on the Purl Bee blog here.  The iPhone covers themselves are available to buy in the PurlSoho shop here. The only problem is choosing what colour to get.


Export3

Share

Lest We Forget


Every year around this time I get sad that I can’t buy poppies in the US.

In the UK it’s a huge big deal, with poppies for sale in every public building and in many shops, worn by every public figure, sold out on the streets and laid in wreaths around the war memorials which are in every city, town and village. Even schools get in on the act and since the donation amount is not fixed, ever since I can remember I was supposed to hand over a little of my pocket money to buy a poppy.


remembrancepoppy2


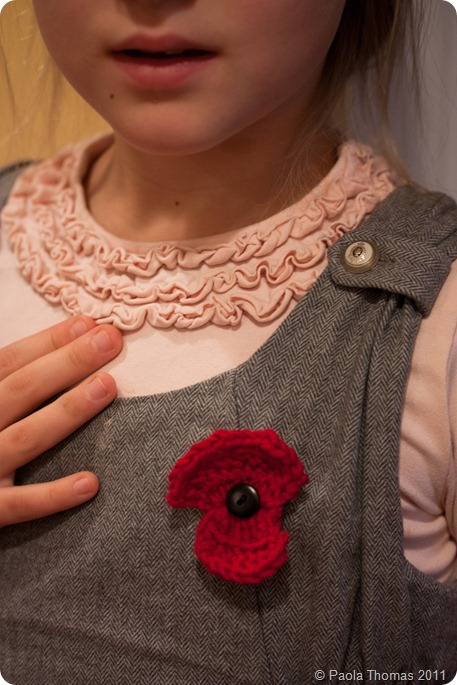
So this year I decided to crochet poppies for the family. I used this pattern with full details on my Ravelry page.  The shape is based on the paper poppies for sale on behalf of ex-servicemen and women in the UK.


remembrancepoppy


It was a good excuse to start talking to the Minx about the horrors of war and the debt we owe our soldiers and she went off to school this morning wearing her poppy with pride.  We even read In Flanders Fields together, though I suspect most of it went way over her head.


In Flanders fields the poppies blow
Between the crosses, row on row,
That mark our place; and in the sky
The larks, still bravely singing, fly
Scarce heard amid the guns below.
We are the Dead. Short days ago
We lived, felt dawn, saw sunset glow,
Loved and were loved, and now we lie,
In Flanders fields.

Take up our quarrel with the foe:
To you from failing hands we throw
The torch; be yours to hold it high.
If ye break faith with us who die
We shall not sleep, though poppies grow
In Flanders fields

Share

Scary Things In Bedrooms


Remember when I posted this nightmare-inducing room from MyHotel in Brighton earlier this year? 


myhotelbrighton


Well, I was reminded of it yesterday when I caught a glimpse of the nursery Christina Aguilera had decorated for her son Max. (I know this is old, but I didn’t see it when it came out).


christinaaguileranursery


That child is going to need years of therapy.  Is this a trend?

Share

Adventures in Baking – Torta alla Gianduia with Pears


Keep reading, I’m hosting a giveaway at the end of this blog post


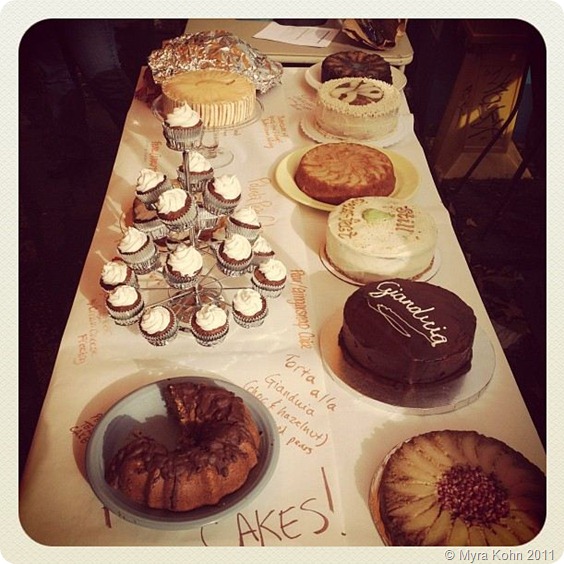
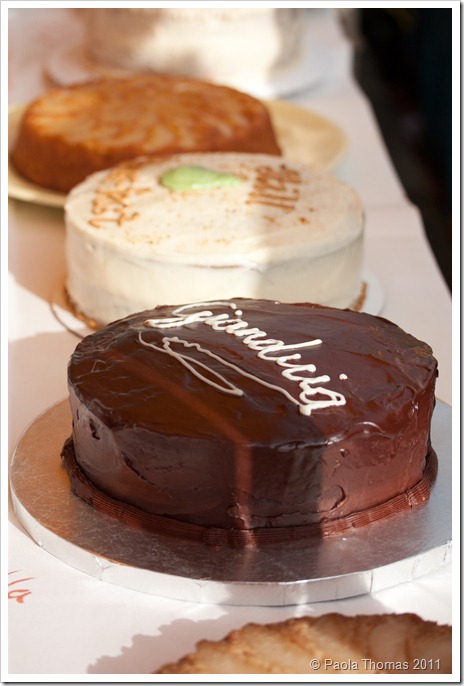
Following on from my astonishing third place triumph in the Queen Anne Farmers’ Market Pie Competition almost exactly a year ago, I thought it was about time I entered another baking competition, this time Edible Seattle’s Cake v Pie Competition. Since I am an equal opportunity baker and like baking and eating both pies and cakes, I decided this time that I would play on Team Cake.


tortagianduia

My cake and its competition (Photo by Myra Kohn)

The only catch was the theme – ‘Trouble in Pearadise’ or pies and cakes featuring pears. Making a pear pie or tart is easy peasy lemon squeezy but there aren’t so many pear-y cakes out there.  I started to think about what flavours go with pears – chocolate, of course, and all kinds of nuts, and hit upon the idea of incorporating pears into a torta alla gianduia, the traditional chocolate and hazelnut cake of Piemonte, my mother’s home region in Italy.

Gianduia has a long and illustrious history in Piemonte, where expensive chocolate was stretched with the addition of hazelnut paste, from the hazelnut trees which grown in abundance in the region.  It’s one of the most famous flavours in the world today, as Nutella, from Ferrero, a great Piemontese company, is just a commercial form of gianduia paste.

The climates of Piemonte and the Pacific North West are not dissimilar and I was delighted to discover that hazelnuts grow well in the PNW too, most famously in Oregon. So this cake would be both delightfully seasonal and local.

This cake is a little complicated, but you’ll end up with a dense, fudgey, chocolatey, delight, which perfectly complements the sweetness and delicacy of juicy pears. But don’t just take my word for it. 


Step 1 – Poaching the Pears

I found David Liebovitz’s guidelines on poaching pears here to be super useful.

Ingredients

4-5 firm ripe pears (I used some lovely Bartlett pears from my organic box)
1 litre/1 quart water
1 1/3 cups (250g) sugar
1 miniature bottle Frangelico (Italian hazelnut liqueur or another liqueur to taste)

Peel, core and quarter the pears. Heat the water and sugar together until the sugar has dissolved. Add the pears and cover them with a circle of parchment or greaseproof paper with a small hole cut in the middle.  This ensures that the pears don’t float up from the liquid and turn brown. Simmer gently for 10-15 minutes making sure the pears don’t turn mushy. Remove the pears and boil the peary liquid down fiercely until you have a thick syrup. Turn off the heat, pour in the bottle of Frangelico, add back the pears and set aside to cool.

   
IMG_1044 IMG_1048


Step 2 – Making the Cake

This recipe is based on this one here by Annamaria Volpi, with a few tweaks.

Ingredients

1½ cups (180 gr) ground hazelnuts (you could substitute other nuts such as almonds or pistachios)
7 oz (200 gr) semi or bittersweet chocolate, finely diced (I used Guittard 72% cacao)
4 + 4 oz (115 + 115 gr) sugar
7 oz (200 gr) butter, at room temperature
8 eggs, separated
¾ cup (110 gr) plain or cake flour

Preheat oven to 350 F (175 C).  Oil a 9 inch (23cm) Springform cake tin and line it with parchment paper.  Sprinkle the paper with cocoa powder. I wanted to make a three-layer cake. You could bake yours in a 10 inch (25cm) pan and just cut it in half for two layers instead.

Melt the chocolate in a bain-marie or glass bowl set on a saucepan of simmering water.

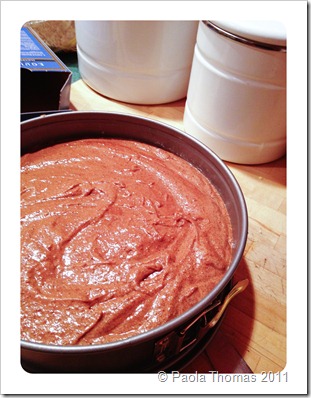
Cream the ground hazelnuts, 4oz (115g) of sugar and the butter together until soft and fluffy. Add the melted chocolate and mix together until smooth. Combine the egg yolks one at a time with the hazelnut-chocolate mixture, reserving the egg whites.  Sift the flour and stir it in thoroughly.

Beat the egg whites. When they are half beaten add the remaining 4 oz (115 gr) of sugar and beat until stiff peaks are formed.

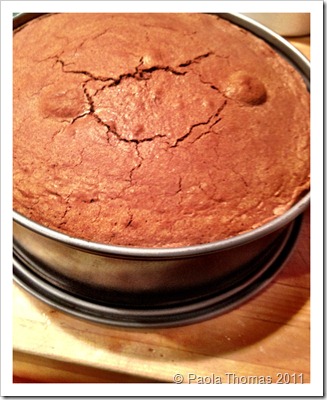
Fold the egg whites carefully into the hazelnut-chocolate mixture. Pour the mixture into the cake tin, level with a spatula and bake it for approximately 30–40 minutes (for a 10 inch cake) or 50 minutes for a 9 inch cake. The cake is ready when a stick of spaghetti poked into the centre comes out clean and dry.

Remove from the oven and let the cake cool at room temperature. Then remove from the cake pan.  When it is fully cooled, slice into two or three layers.


IMG_1051 IMG_1049


Step 3 – Making the Chocolate Ganache Filling and Topping and Assembling the Cake

Ingredients

1 cup (250 cc) double (heavy) cream
12 oz (340 gr) bittersweet or semisweet chocolate, diced
2 oz (60 gr) butter, at room temperature

Pour the cream into a heavy-bottomed saucepan and heat over a medium heat until just starting to bubble. Add the diced chocolate and beat together until the chocolate has fully melted into the hot cream. Beat in the butter. Leave to cool at room temperature for 2 hours. I hurried mine along in the fridge which is fine, but make sure it doesn’t get too cold and stiff.

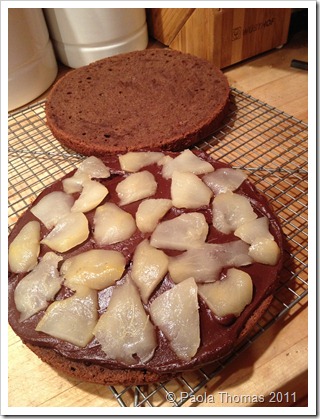
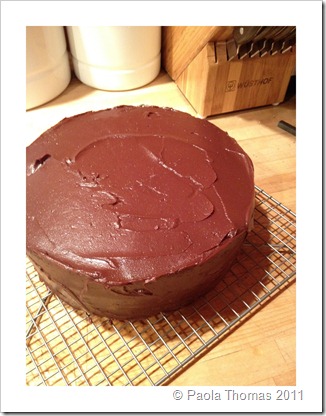
Take your cake layers and spoon a few tablespoons of the peary poaching syrup over the cakes. Wait for it to soak in.  Spread the bottom two layers with chocolate ganache and then top with sliced poached pears. Assemble the cake and spread the remaining ganache all over the top and sides.  Put the cake in the fridge so that the ganache sets firmly.


IMG_1052


Step 4 – Glazing and Decorating the Cake

You only need to do this step if you’re feeling fancy, though I’m glad I did.  The first ganache layer (step 3) will produce a perfectly delicious cake. This is what you need to do if you want to create a smooth, shiny finish, say for example if you’re entering a cake competition.

Ingredients

¾ cup (180 cc) double (heavy) cream
6 oz (180 gr ) dark, bittersweet or semi-sweet chocolate, diced

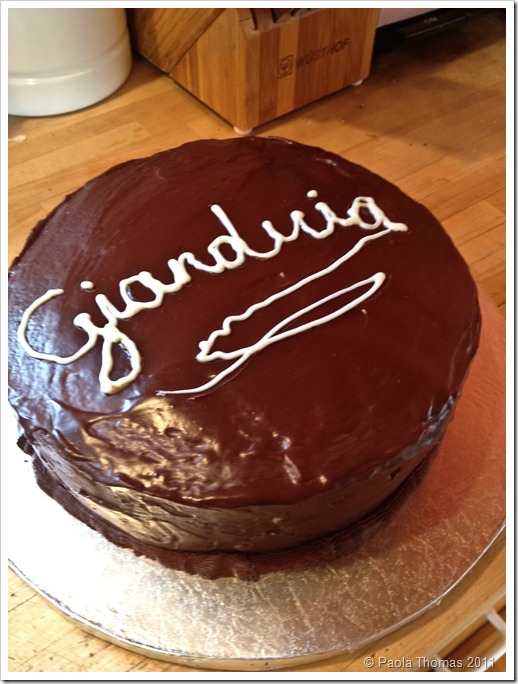
Pour the cream into a heavy-bottomed saucepan and heat over a medium heat until just starting to bubble. Add the diced chocolate and beat together until the chocolate has fully melted into the hot cream and the ganache is very light and soft.  Immediately spread the glaze over the refrigerated cake with an offset spatula.

In Italy it is traditional for some reason to write the word ‘Gianduia’ on the cake in script.  So I melted a little white chocolate and piped it on.

Here is my cake basking in the sunshine.


tortagianduia (1 of 1)


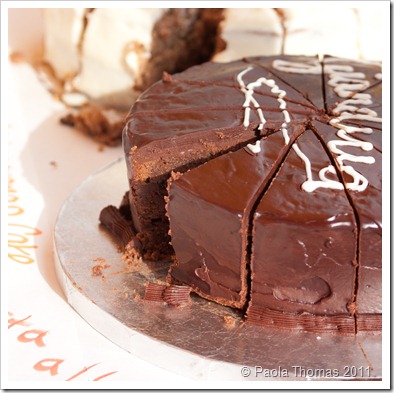
Here’s a glimpse of its fudgey insides.


tortagianduia (1 of 1)


And here I am after my cake won second prize! Told you it was a good recipe.


paolathomas

Photo courtesy of Myra Kohn

My prize was a year’s subscription to Edible Seattle a monthly magazine focusing on the fabulous food bounty of Seattle and its surrounding area, and the farmers and chefs who bring it to us. The only problem is that I’m already a subscriber. So I have a subscription here to give away.  It would obviously be most relevant to a blog reader from the Seattle area, but it’s so full of great recipes and fascinating articles that I’d encourage anyone interested in food to enter.

If you’d like to enter the giveaway, please leave a comment below telling us what is your favourite autumn ingredient. I’ll draw the winner at random on Friday 11th November. Good luck!

Share

Adventures in Cooking – Rosehip Syrup


Do you have a favourite foodstuff you remember from childhood that is no longer available but that you’d love to magically taste again?


IMG_0284 IMG_0296


For me that foodstuff was something you may not even have heard of – rosehip syrup.  During the war citrus fruits were extremely scarce in the UK and a cottage industry grew up picking homegrown rosehips and preserving them as syrup, as they are apparently astonishingly high in vitamin C and packed with antioxidants.

Even into the 70s rosehip syrup was available at the ‘chemists’ and we always had a bottle in the house, either drinking it diluted as a cordial or eating it spooned neat over tinned rice pudding or stirred into ice cream.  Because, you see, even though it was born out of austerity, rosehip syrup is extremely very delicious indeed.  Imagine a complex but delicate sugar syrup redolent with tastes of tangerine and apple and perhaps the odd echo of something tropical, mango perhaps, in the background, and you’ll see where I’m coming from.  Unfortunately for me, the manufacturers Delrosa stopped selling rosehip syrup in the UK some time in the 70s, though it is apparently still available in some developing countries.

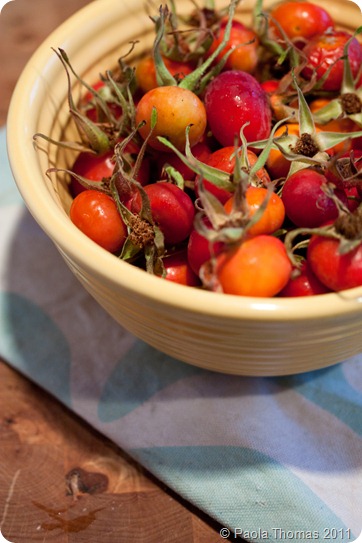
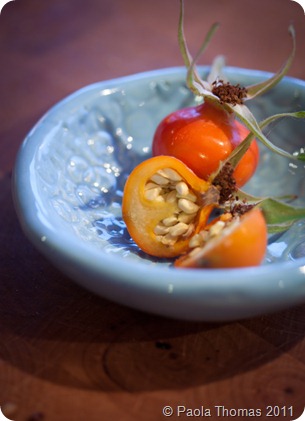
So it happened that I was out blackberrying in Seattle one day in September and came across a row of rosa rugosa bushes, complete with fat, juicy sunset-coloured hips. Would it be possible to recreate my childhood memories? I decided to pick some and find out.


IMG_0229


It seems I’m not the only person trying to recreate their British childhood and if you search there are a number of recipes online. I decided to follow the instructions given in this blog as they seemed very thorough.

The process is, however, surprisingly easy.

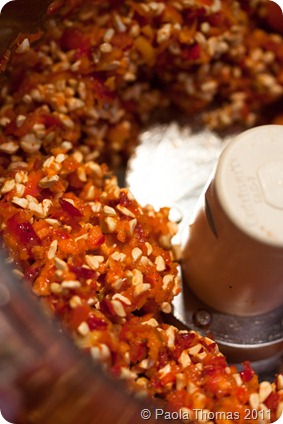
I had around 1/2 lb of rosehips which I ground to a pulp in the food processor.  Did you know that rosehips are full to bursting with hundreds of tiny seeds?


IMG_0240 IMG_0260


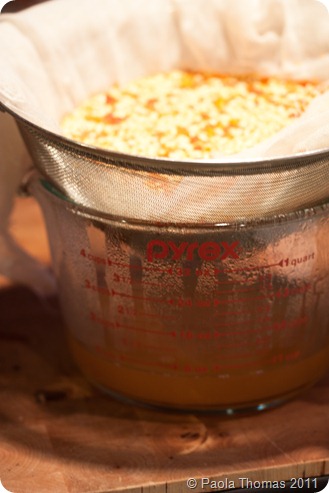
The next step is to add the rosehip pulp to 3/4 pint of boiling water, turn off the heat and leave it to stand and infuse for 15 minutes. Filter the pulp through muslin or cheesecloth set in a sieve, until fully strained, about 10 minutes.   Take the pulp left in the muslin, place it back into the saucepan and this time add 1/2 pint of boiling water and repeat the whole process.  It’s important to make sure that the little itchy hairs which are apparently inside some rosehips (I didn’t see any in mine) don’t get into your final infusion.


IMG_0269


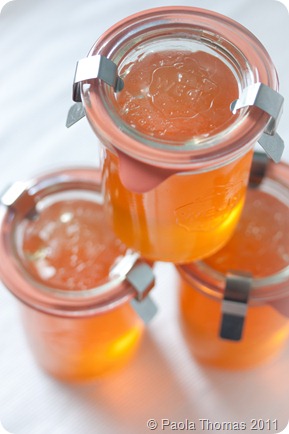
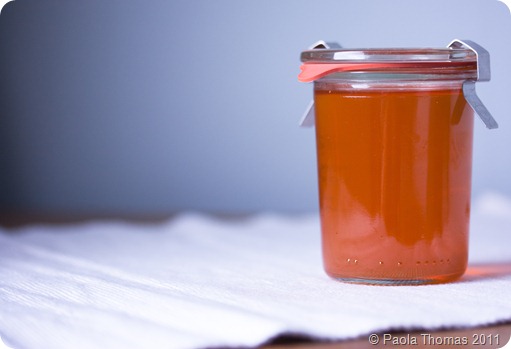
When the infused liquid has fully filtered through, tip it back into the saucepan and reduce it down to half a pint.  Add 5 oz of sugar, boil it all up together until a syrup forms, about 5 minutes, and then pour your finished syrup into sterilised jars or bottles.

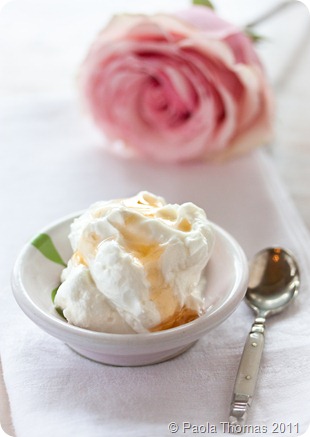
I served it to the Minx poured over Greek yogurt and fresh berries, or you could add it to sparkling wine to make an elegant cocktail, soak it into a rich, dense almondy cake, use it in place of maple syrup on pancakes or waffles or swirl it into ice cream or whipped cream.


IMG_0278


Or you could do as I did.  Take a dessertspoonful, add some chilled sparkling water and travel thirty odd years back in time.

If you could, which foodstuff would you make magically reappear?  Have you ever tried to recreate it from scratch? Am I weird that I like eating roses?  Talk to me!

Share

Adventures in Knitting–Clues 4 and 5


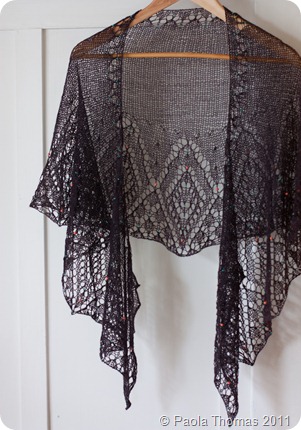
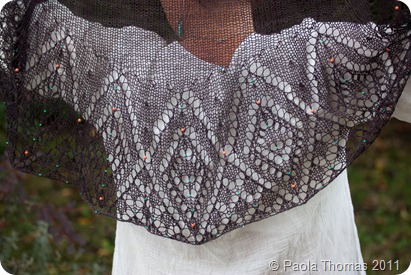
I finished my shawl.

IMG_0394 IMG_0370
IMG_0398 IMG_0379


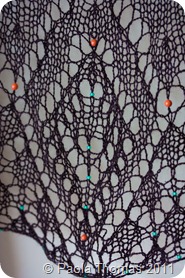
I’ve been knitting this as part of a ‘Mystery Knit Along’ on Ravelry with a different ‘clue’ released every ten days or so. To be perfectly honest I don’t think I would have knitted this if I’d known what it looked like beforehand , it’s a bit too baroque and lacy for me, though I do like how it works with the coral and turquoise beads. I would have at least gone with a smaller needle or thicker yarn as it’s definitely too loose and webby.

Still, I did learn that it’s possible to knit up something rather fast, if, instead of just playing with it in desultory fashion in front of the TV, you REALLY focus on progressing from step to step.

Clue 1.

Clue 2.

Clue 3.

Here’s the final pattern, if you’d like to knit this. The design is called Polaris and is inspired by a starry night which is rather lovely.

I think that’s me done with mystery knit alongs for the time being.  It was far too terrifying not knowing where this was going.

Share

Teensy Wee Chairs


Now that we’ve got Halloween out of the way, it’s time to start thinking about Christmas.

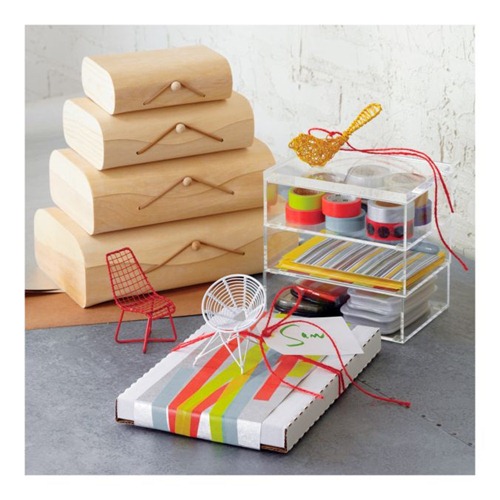
birchstorageboxesformatHD11

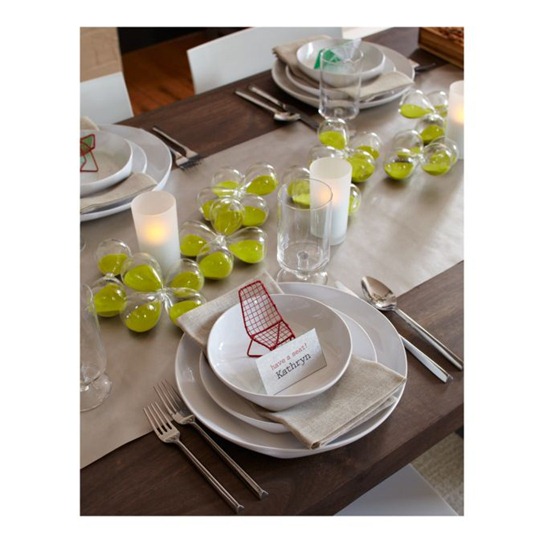
Ha! April Fool! (Or whatever the November equivalent is).  I refuse to even think about Christmas until the beginning of December.  However I was waylaid on my Facebook by these cute chair ornaments from CB2 and I was wondering how I could justify buying some.

They’re a bit too modern to go with our other tree decorations and to be perfectly honest don’t really say ‘Christmas’ to me at all, which might be a good thing as they can be used in other ways.  But how? Nicole at Making It Lovely is going to use them as porch furniture in the dollshouse she’s decorating.

I think they look great, if a little random, used here for table decorations.  I might get a couple just to sit on our living room shelves. redreedchairrarednrXMBH11

Anyone else got any bright ideas?

Here I am at 10pm on a Friday night writing a blog post.  NaBloPoMo is not getting off to a particularly auspicious start.  And I’m apparently supposed to be blogging over the weekend too. Whose silly idea was this?

Share

How the Dukan Diet Worked for Me


IMG_1966 IMG_0863
IMG_1963 IMG_0866   

       November 2009 
            (at around 175lbs)

           November 2011 
                (at around 144lbs)


Remember how I’ve tried to lose weight before on this blog? With very little success?

I’d been trucking along at around 175lbs for the previous couple of years and the arthritis pain in my knee was getting worse and worse.  So on June 1st this year I started yet another diet. This time a friend in the UK recommended a regime called the Dukan Diet, a French diet which had recently become very popular in the UK, as it was reportedly used by Carole Middleton (mother of Kate). 

The Dukan diet is sort of Atkins on steroids and has four phases.

First you ‘Attack’ which lasts for 3-7days (depending on how overweight you are) and where you eat NOTHING but lean protein (0% dairy, chicken, fish, eggs, seafood, lean beef etc.) and two tablespoons of oatbran to keep things moving.  This is HARD, does horrible things to your blood sugar and bowels and has I’m sure contributed to the diet’s reputation for unhealthiness.  However it was effective, I lost 6lbs in 5 days.

Then you ‘Cruise’, alternating 1 day of lean protein +oatbran with 1 day of lean protein + all the low carb vegetables you can eat +oatbran. And you’re supposed to do this until you reach your target weight. I’ve been cruising since June and have lost a total of 31lbs, with a 11lbs to go until I reach my target weight and a normal BMI. 

If and when you hit your target there are two more phases, ‘Consolidation’ and ‘Stabilization’ but I’ll talk about those when I get there.

I’m finding the diet comparatively easy as it doesn’t involved any weighing and measuring and counting, you’re allowed as much as you want of the permitted foods. Also, and interestingly, it seems that my tastes are changing, my carb cravings have gone right down, I feel nauseous if I eat too much fat and things like cakes and biscuits seem much too sweet (you’re allowed Splenda on the diet but that’s it).

I also feel really well in myself – my skin is good, I have loads of energy and the arthritis pain in my knee has GONE, which is incredible, as I was almost crippled with it back in April on our trip to San Diego.  I’ve also been upping the exercise, either doing a Jillian Michaels DVD every day or walking as the diet suggests, and doing lots of swimming over the summer. Nothing too crazy though.

Unfortunately recent weeks have been a struggle and it’s only going to get harder as we get closer to December, but I am DETERMINED to knock this on the head once and for all and get rid of those last 11lbs if it kills me.

Let me know if you’re interested in finding out more, and I’ll blog about some of my menus and stuff in the upcoming weeks.

In the meantime on the left is a picture I had taken in May 2010 wearing a sweater I’d just knitted and on the right, as I am today, wearing the same sweater.


IMG_6271 IMG_0331

I thought I might try NaBloPoMo, where I commit to posting every single day for a month,, as a way of getting back into blogging again.  Of course, I’m two days late even starting, so we’ll go to December 3rd. ‘K?

Share