So today, chaps, we’re going to do some science (cue sound of frantic scurrying in opposite direction).
Fortunately this science involves the melting and eating of chocolate, which makes me wonder why they didn’t teach this sort of science at school (though I was always quite partial to Chemistry, which is really just cooking for people who don’t like to eat).
But I digress.
Last month I was looking for a quick, easy and luxurious Valentines’ treat that I could make for my beloved family, which didn’t actually involve much, you know, actual work.
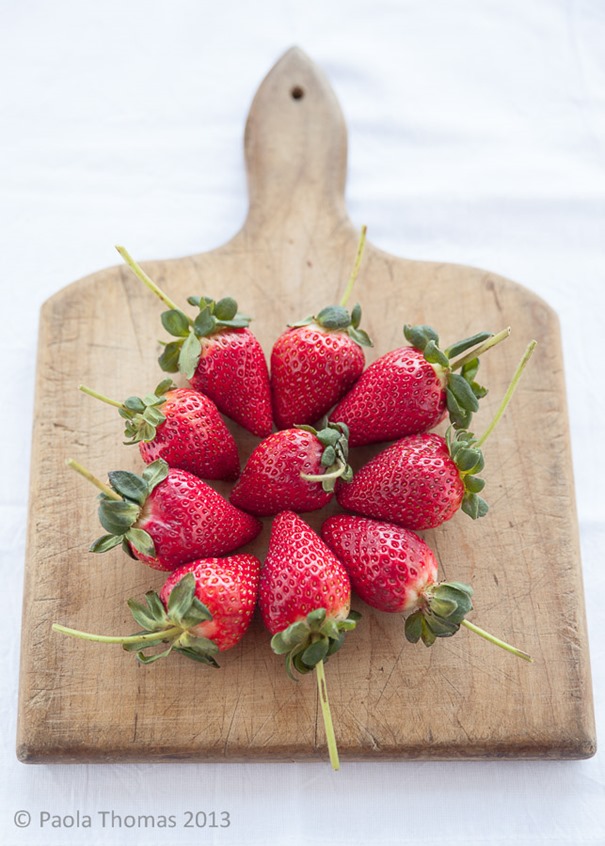
So I hit upon the idea of chocolate dipped strawberries. Obviously this was not a particularly original Valentines’ idea, so much so that even my local rather crappy supermarket was equipped with the right sort of hideously expensive, resolutely hothoused, absolutely gigantic, long-stemmed strawberries that you need (and that I never, ever saw in the UK).
The only tricky thing about dipping strawberries in chocolate is that the chocolate needs to be tempered, so that the chocolate you end up with after melting and cooling remains glossy and has that perfect chocolate ‘snap’ to it, instead of being dull, mealy and soft.
This is because cocoa butter has a crystalline structure. In properly tempered chocolate (like the stuff you buy) all the crystals are lined up neatly and in the same direction, which gives the chocolate its texture and sheen. When you melt chocolate the crystals get all higgledy piggledy – the chocolate tastes the same, but the snappy texture and glossy sheen will have disappeared – UNLESS you bring it back into temper again.
There you go, the science is over. You can take you fingers out of your ears and stop singing lalalalalala now.
 |
 |
Tempering chocolate is one of those things that sounds scary but really isn’t. I’d never done it before making these and ended up with a pretty good result. The one thing I’d say though is that if you’re a beginner, you’ll need a good food thermometer. The temperatures have to be precise, and while it’s apparently possible to discern changes in the texture and look of the melted chocolate when it hits the right temperatures if you’re experienced, I really couldn’t see much difference.
Method
And now that I’ve put the fear of God into you, here’s what you do.
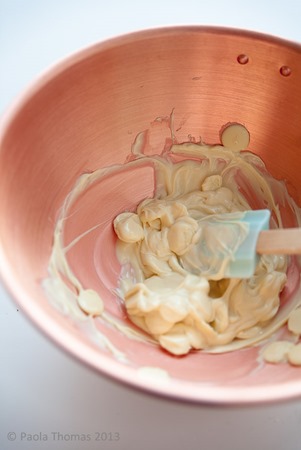
First break your chocolate into chunks or, as I did, use Guittard chocolate wafers. Chocolate chips made for cookies are not suitable for tempering.
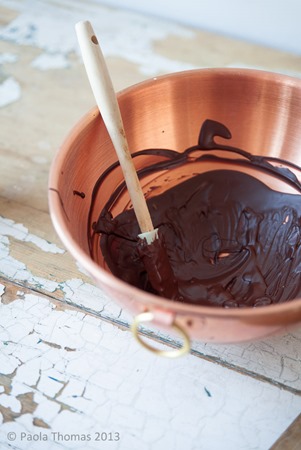
Using a double boiler, or a glass Pyrex bowl over a pan of simmering water, bring your chocolate to a melting temperature ie. 115 degrees F (46 degrees C) for dark chocolate and 110 degrees for milk or white. Be super careful not to heat it too high otherwise it will seize. Also WATER + CHOCOLATE = TROUBLE. Don’t say I didn’t warn you.
At this point if you have a cold marble slab in your kitchen you can pour the chocolate out and start throwing it around so that it cools to the correct temperature. You’re on your own with that though. I’ve never done it before.
 |
 |
If you’re not using a marble slab, grab a handful of unmelted chocolate wafers or chunks of chocolate and add them to the chocolate and stir as if your life depended on it. This is called ‘seeding’ and the fact that the crystals in this tempered chocolate are properly arranged will help the crystals in the melted chocolate to arrange themselves accordingly. Keep adding a few chocolate wafers and stirring the chocolate until the temperature drops to the recommended temper point – 88- 90 degrees F (31-32 degrees C) for dark chocolate and 80-82 degrees F (27-28 degrees C) for milk or white. This will take about 15 minutes and is hard work.
If the chocolate gets too cool and too stiff to work at this point you can reheat it a little with a hairdryer, but be careful not to take it warmer than 92 degrees or else it will be out of temper again.
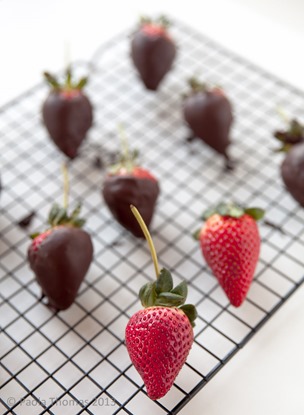
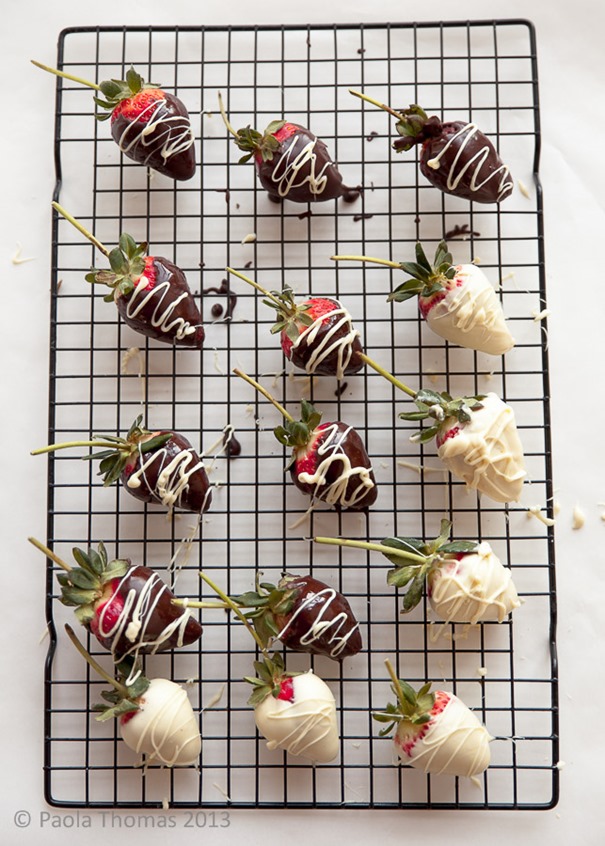
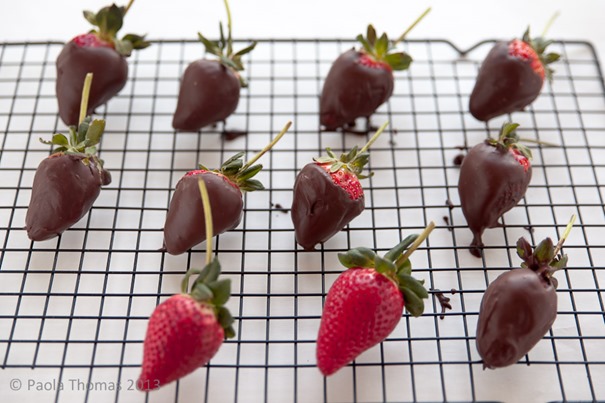
Once you’ve got your melted tempered chocolate, things get much easier. Dip the strawberries in the chocolate and lay them on a sheet of baking parchment or Silpat (I learned to my cost that the baking rack isn’t a good idea as things stick).
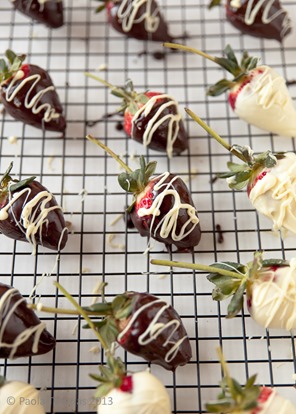
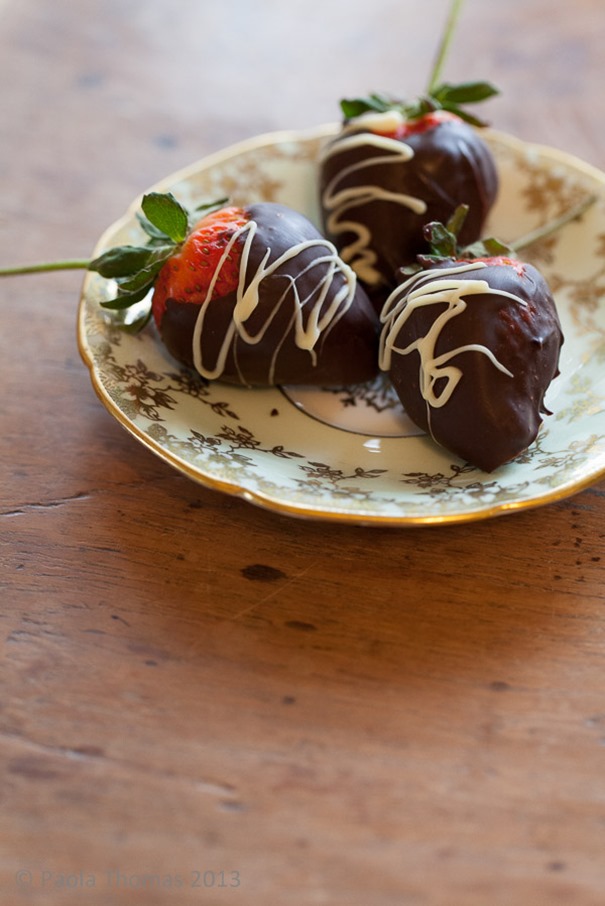
If you want to make artsy white chocolate dribbles, snip the corner off a small Ziploc bag, fill it with melted tempered white chocolate and wave the bag about over your chocolate covered strawberries.
And that’s it. Easy peasy lemon squeezy.

These look fantastic!
Your photos are looking very nice, and your finished berries are highly tempting. I agree about the large faux fruit that commercial strawberries have become. Even local commercial strawberries are sometimes disappointing these days. The best ones are the slightly misshapen, smallish berries we beat the birds and slugs to in my neighbor’s garden. I hope to grow some equally unimpressive but delicious strawberries in my own garden should that ever take shape again.