I’ve been spending a lot of time over the last few weeks or so on product photography and had an interesting chat with Megan Not Martha about it a few weeks back, so I thought it might be useful for those of you with Etsy or Ebay shops to put together a list of things I’ve learned through trial and error about photographing and styling.
I don’t pretend to be any sort of an expert, but since the initial mirrormirror photoshoot where we did the styling and a photographer friend came and shot the images, I’ve done the styling and product photography for mirrormirror myself.
Most of what I’m going to say below is nothing but common sense. But these are all mistakes I’ve made not once, but several times. (Mind you, it’s possible you’ve got more common sense than I have.)
- Get the best camera, and particularly lens, you can afford. My photography has dramatically improved since I bought a dedicated 60mm lens for my Canon EOS 350. There is a reason why pros have all that fancy gear.
- Use a tripod. It’s a pain to adjust it, but you’ll thank me I promise. Perfectly sharp shots always look best.
- Experiment with depth of field (how blurry the background is). I try to shoot a number of shots at different apertures so I can choose how much or how little of the background I want to blur out. But always have at least part of the picture perfectly focused and sharp.

Maybe the photographer was drunk. Early prototype of the shot that was recently featured in Homes & Gardens.
- Make sure your camera and lens are clean. It’s a pain to have to Photoshop out fluff on the lens from otherwise great shots.
- Underexposure can be corrected. Overexposure can’t be.
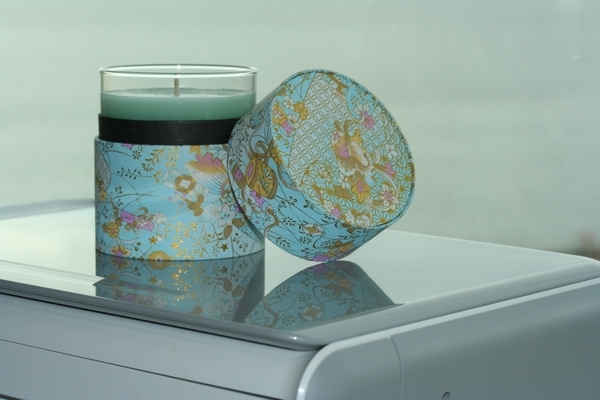
Never knew a shiny printer could be so useful
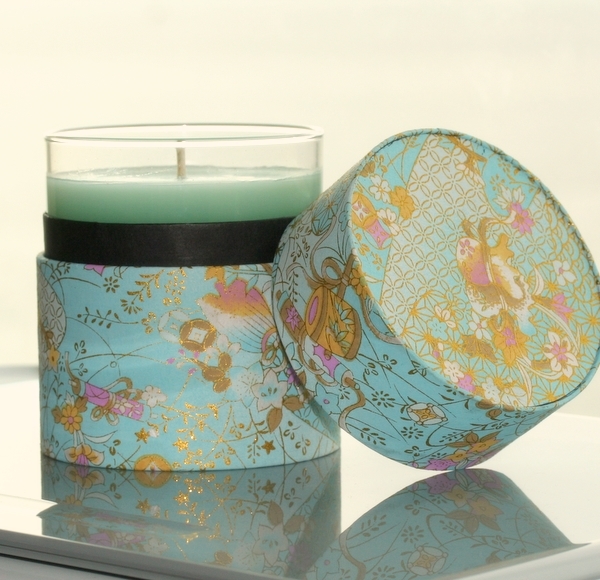
Cropped and lightened. How did you get that reflection?
- I don’t use artificial light, preferring to take my chances with daylight. Mostly because I wouldn’t know where to begin with lightmeters and suchlike. Remember though that bright sunlight will give you dark shadows, without the subtlety that you see through the viewfinder. Soft diffuse light is generally best unless you want your pic to look really ‘summery’.
Hard dark shadows work in this case (I think)
- White light is best. I’ve learned to my cost that light diffused through sheer green curtains will give everything a sickly green cast.
- Crumbs and dirt will always, always, always show up. It’s easier to brush them aside than spend hours photoshopping them out.
- Creases. Always show up more in front of the camera for some reason. Copious ironing is essential. Unfortunately.
- Check what’s in the background. I photograph in odd corners of my house, so unattractive piles of filing always seem to get in the shot.

Hey nice cot!
- But remember, the crop tool is your friend.

Hey presto, no more telephone point or scraggy bit of torn watercolour paper
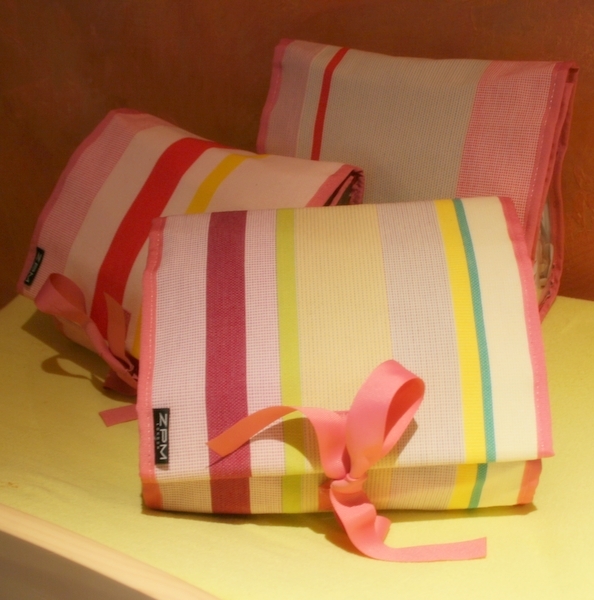
- Collect beautiful linens and fabrics – which are not too patterned and distracting. They’re the easiest backdrop. Use any fabrics that come to hand – teatowels, bath towels, napkins, pillow cases.

I hope that changing table is clean
Very obviously a baby muslin

Shot which has appeared in The Times amongst others

Is it usual to eat brownies off an old pillowcase?
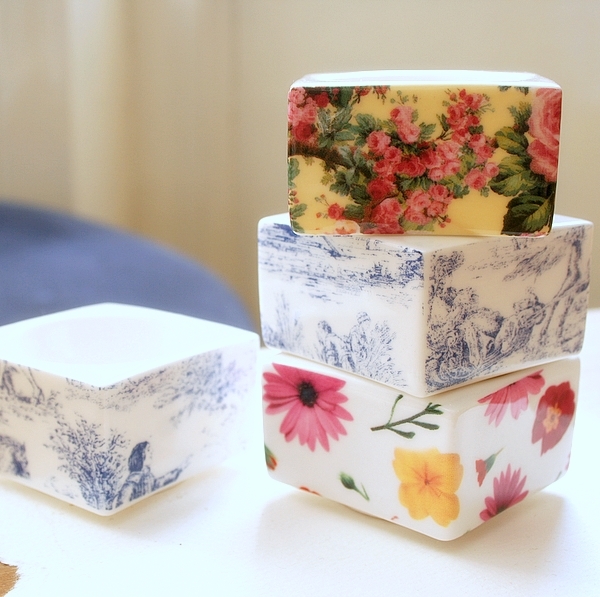
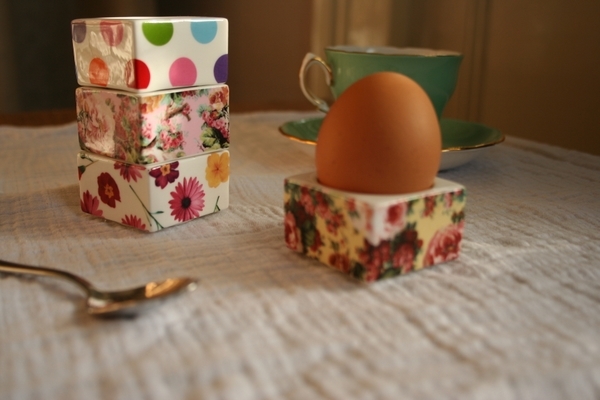
- Collect beautiful and interesting objects. Small things which can add a bit of life or beauty to an image. I’ve photographed products on books, bars of chocolate and matchboxes amongst other things. Cakes, biscuits, f ruits and flowers are cheap additions for a hint of human interest.
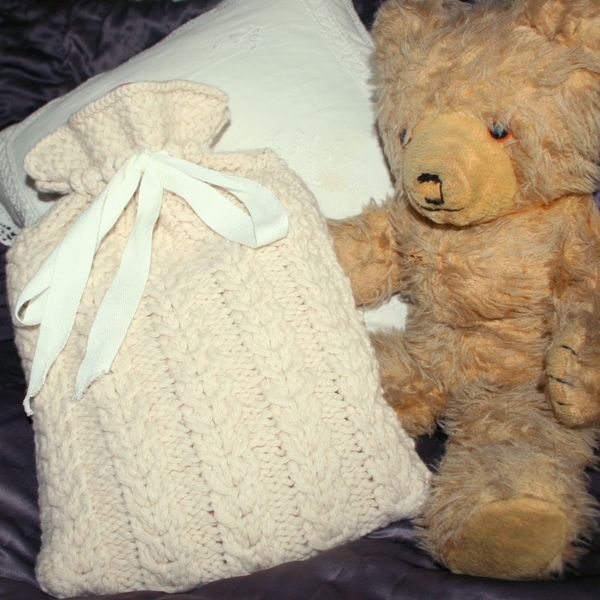
Fame at last for my old teddy

Books are a great prop
- Use Picasa for most photo enhancing applications. It’s much easier than Photoshop.
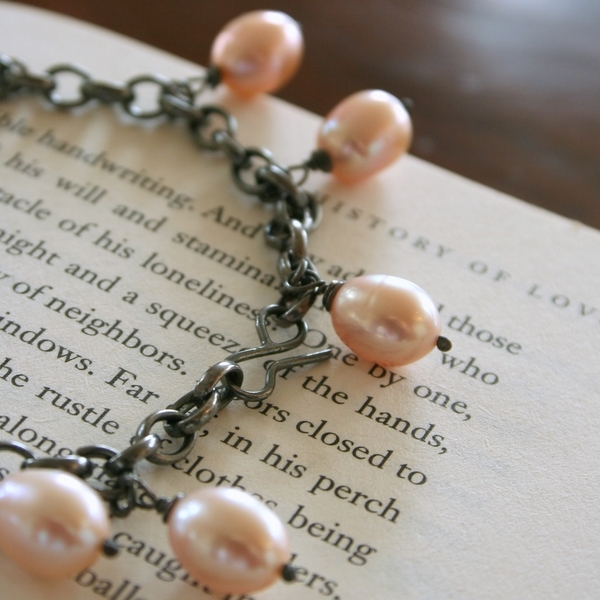
- Identify the elements you want to highlight and focus on them. Make sure patterns, labels, jewels or other design elements are clearly visible and pin sharp..
- Jewellery needs a lot of adjusting to make sure it hangs properly. Focus on arranging the necklace not the model.
- Having said that, get the model to comb her hair and touch up her make-up between shots.

Get a hairbrush!
- Look out for unwelcome reflections in mirrors and windows. Photographing mirrors is a nightmare for this reason.
Oh and check out Abigail, Ursula and Corey for very different, but wonderfully effective ways of styling products.
Has anyone got any more tips they’d like to share? Or seen other great online stylists?

What a fantastic post. Today I am shooting the front page picture for Ghost and it is to be taken outside a big country house. Guess what – there’s thick fog outside my door. Any suggestions on how to get rid of it?
Photoshop?
How very exciting. Good luck!
An excellent post… and extremely helpful.
I never understand how important good light was.
El.
I enjoyed reading your post. Very helpful.
Thanks for the great tips, this is my first visit! Great blog!
Melissa
Everything I wanted to know but was afraid to ask. this is a hugely helpful post.
Oh Paola, thanks so much for this post. I have been struggling mightily with my photos and this should really help.
Awesome advice — thank you.
great post, but where is the bottom necklace from? i want to buy one…!
let me know, thanks.
Jen Ramos
‘Earth Friendly DESIGNER Cards’
http://www.madebygirl.com